How To Make The Rye Jacket In Boiled Wool


Here you can see I have cut away most of the seam allowance around the pockets and simply stitched them in place. I did the same to the top hem of the pocket too as it was too bulky to turn and turn to hem and completely unnecessary anyway.

I cut the seam allowance right down around the collar too. It made a much crisper edge laying the wrong side of the collar together and simply stitching around the outer edge. I also used a knitted interfacing on the wool to keep that softness and allow it to retain the movement of the wool.

I kept the collar attachment the same but decided the to do the cut away along the centre fronts, again to reduce the bulk. After attaching the facing around the neck I pinned the front facing to the front edge of the jacket and stitched on the right side 1cm in from the edge. Then I trimmed the seam allowance right down again. So neat and crisp!

The main body seams I kept the same, just no overlocking. The hem I just turned up and stitched, then trimmed that extra seam allowance away again.
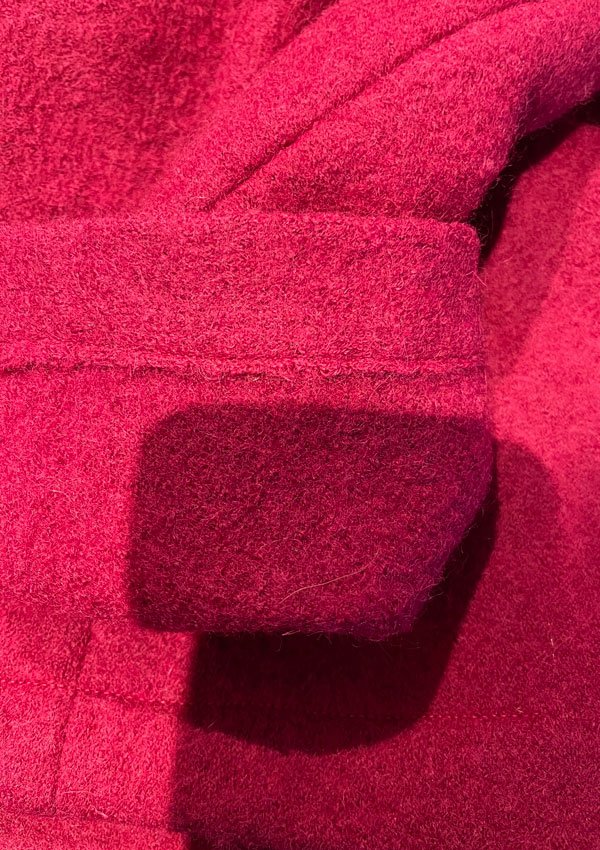
I did the same for the cuffs.