How To Make Your Own Quilted Fabric For Dressmaking
Introduction
Tutorials on how to make your own quilted fabric often focus on quilting or crafting applications. The basic principals may be the same but making quilted fabric for dressmaking has a few additional factors to consider, such as how to apply the technique to large pattern pieces, which kind of fabrics and wadding are best for garments that need to be washed and worn, and how to make the quilted fabric double sided - often a requirement for dressmaking.
With the recent release of our Selmeston Quilted Jacket pattern (the Mayfield Jacket can also be quilted, we have a blog post about that), I thought it would be good to show how to make your own quilted fabric, specifically for dressmaking.
But why would you want to?
Why Make Your Own Quilted Fabric?
There are plenty of ready made double sided quilted fabrics available and the easiest thing to do is to buy one of those and get stitching.
But the advantage of making your own is that you can choose which fabrics you want to use, and you may have fabrics in your existing stash that would be perfect for your make - they just aren’t quilted (yet!). So you can make your own custom quilted fabric using exactly the fabrics you want (and perhaps already have) rather than having to choose from the ready made options.
If you are more ambitious, or an experienced quilter, you can even patch together scraps to create a great patchwork quilted jacket.
Video Tutorial (Optional)
If you prefer a video tutorial to a written blog post, we have a video showing the whole process over on our YouTube Channel. Just click the image below. Otherwise scroll past and carry on reading. The images used in this blog post mainly come from the video tutorial.
What Equipment Do You Need?
To make your own double sided quilted fabric, you’ll need a few basic tools. Pins and scissors are a given, but you’ll also want a good water soluble marker or chalk wheel for marking up the fabric. Chalk wheels or water soluble pens are good options, but even a soft pencil will do the trick in a pinch.The main point is that we’ll be marking the fabric on the right side, so we need to be able to rub or wash away the markings after we’re done.

You’ll also need some good rulers, a set square, or ideally a Pattern Master (or different brand equivalent). Quilting rulers can be useful for this task as well. As we go through the tutorial you’ll get a good idea of the features of the rulers that we’re using, which will help you pick the right tools for the job.
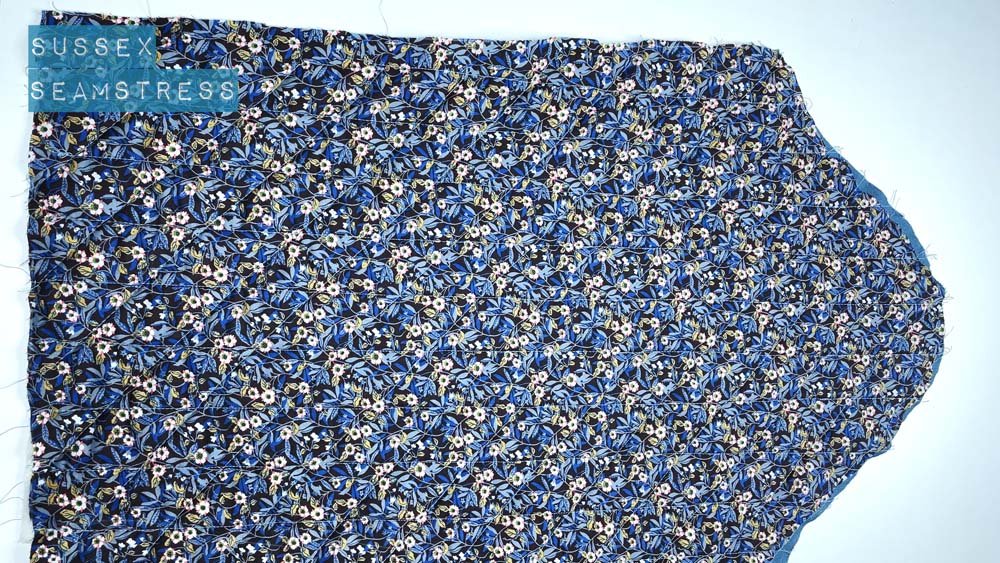
Cut The Outer Fabric
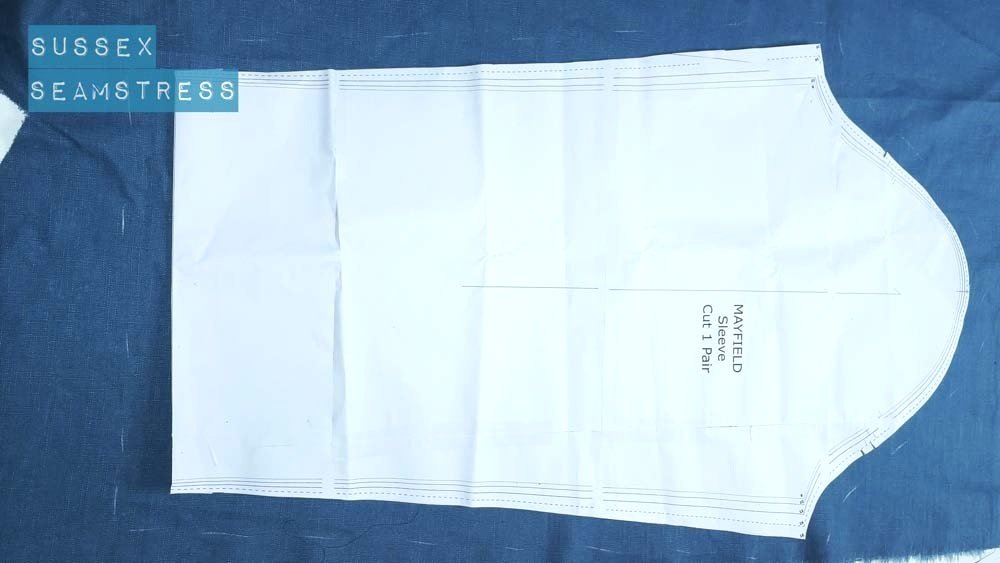
The first step is to lay the pattern piece on the outer fabric (we’re using the sleeve from the Mayfield Jacket). Mark around this with chalk, leaving a gap of a couple of centimetres (an inch or so) around the outside. This will allow for some shrinkage of the fabric, which can happen as we perform the quilting process. We’ll not cut out the pattern piece for real until the very last step when our quilted fabric is complete, for now we just want to make sure we have a piece of fabric that is large enough but not too cumbersome to quilt.

Cut around the marked lines and you’ll be left with a piece of outer fabric slightly larger than the pattern piece.
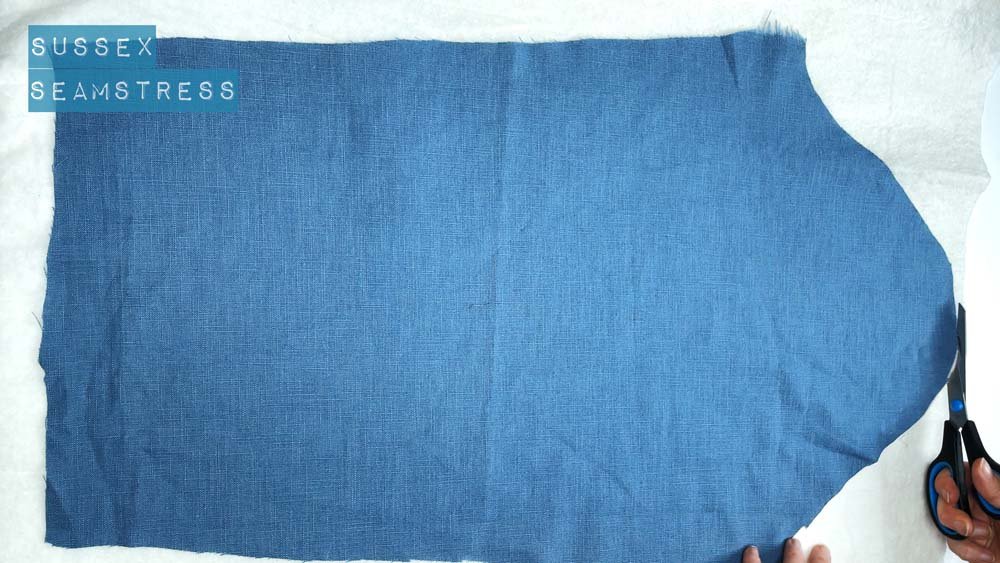
Cut The Inner Fabric

Now lay the outer fabric piece onto the inner fabric, ensuring the grain lines are aligned. Trace around the outer fabric onto your inner fabric, using chalk. Remember you need a pair of sleeves so making a note of which inner goes with which outer as you cut is advisable.
I’ve chosen cotton based fabrics for both inner and outer layers as it will give a 100% natural fibre make (assuming we chose appropriate wadding, which we’ll come to in a minute). However, you might decide to use a lining fabric for the inner layer, for example.
Cut the inner fabric out and you’ll have an inner fabric piece that’s roughly the same shape as your outer fabric piece.
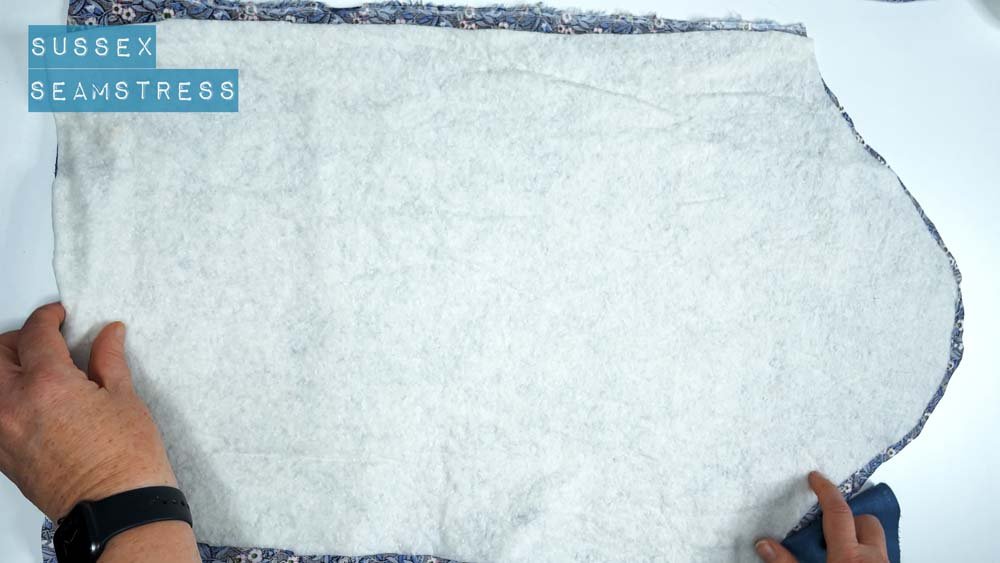
Cut The Wadding
Wadding (also known as batting) is what goes between the inner and outer layers of the quilted fabric and gives it that lovely soft and warm feeling. There are different types of wadding available, at varying prices, and it’s important to think about which type you want to use.

This cotton based wadding is quite dense, soft and warm and is a natural fibre. One advantage of using this kind of wadding is that if you are using cotton fabrics your entire garment will be made from the same kind of material, meaning the washing and care requirements will be similar for the inner and outer fabrics as well as the wadding. This will mean it can be washed at a higher temperature, for example. However, it is more expensive than synthetic options. Bamboo is another lovely natural option.

Synthetic wadding is less dense, and a bit courser. It’s not quite as luxurious as the cotton wadding, but it is a lot cheaper. So if budget is a significant factor, this may be a better option, and will still produce a nice quilted fabric - just be aware of the care requirements. You may not be able to wash this at such a high temperature for example. If you are using synthetic fabrics to quilt with this may not be such an issue.
Place the outer fabric on the wadding. There is no grain in wadding, so you can lay it down however you wish. You can even baste together scraps to use if you have them. Then just cut around the outer fabric.
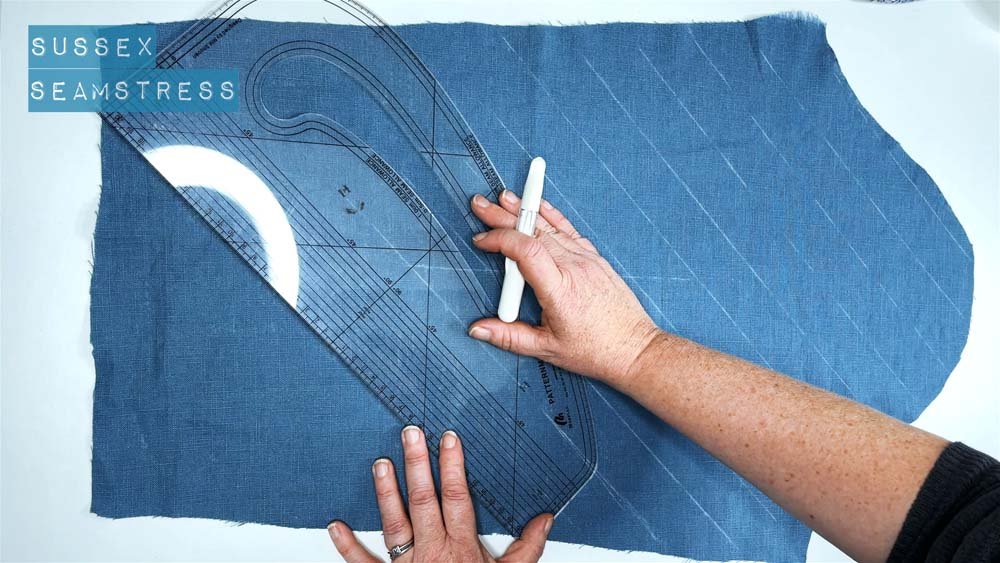
Mark The Quilting Lines
For this step we just need the outer fabric. There are many different options for the shape of the quilting pattern. You could use squares, lines, diamonds, the choice is yours. For this tutorial I’m going to show how to mark out the quilting lines for a diamond shape. Just adapt the marking out method to suit whichever shape you want the quilting lines to follow.

Using your water soluble marker, or chalk , draw a straight line in the centre of the out fabric piece, aligned with the grainline of the fabric.

For drawing the angled lines you can use a Pattern Master ruler, a similar quilting ruler, or a set square. For our diamond pattern we’ll want something that can mark out 45 degree angles. Using the line you’ve already drawn as a base line, draw a line at 45 degrees as shown.

You should have something that looks similar to the above.

Pattern Master rulers or similar quilting rulers also have sets of regularly spaced lines marked on them that allow you to draw parallel lines. These are ideal for marking our quilting lines. Decide on the size of shape you want and then use the ruler to mark equally spaced lines parallel to the diagonal line you’ve already drawn.

For this example I’m going to draw lines every 4cm (just under 2 inches).
Here’s how it looks about half way through the process.

And here it is with all the diagonal lines drawn. If your ruler is not long enough to span the entire pattern piece, just move it further down the line you have drawn and continue drawing until it reaches the edge of the fabric.

Now we’ll draw the horizontal lines that will form our diamond pattern. Using the first horizontal line that you drew as a starting point, draw lines parallel to that, at your desired intervals. Again, I’ll be using about 4cm.

This is what it looks like about half way through. (The camera is slightly angled so the lines may not look as parallel as they really are)

Then we just move the ruler to finish off the lines if they don’t reach the edges.
Pin The Layers

Now it’s time to pin all the layers together prior to stitching. First place the inner fabric, wrong side up, on the table.
Then place the wadding on top of that.

And finally the outer layer goes on top, right side up.

Carefully pin all layers together. Start in the centre and work your way outwards, ensuring the layers are as flat as possible. Avoid placing pins near the horizontal lines, as these are the lines we will stitch first.
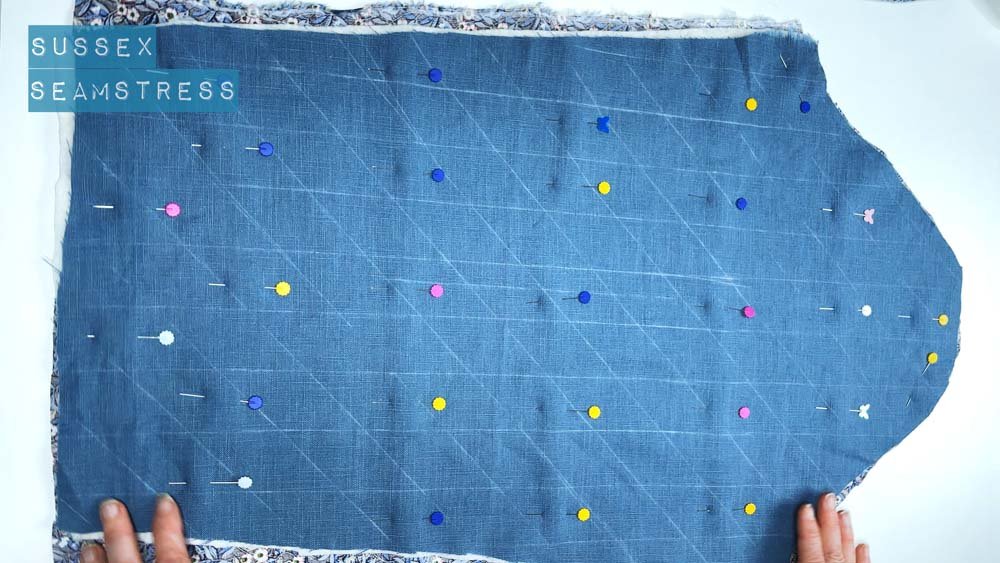
Continue pinning until you have good coverage of pins, holding the layers firmly together.
Stitch the Quilting Lines

Using a stitch length of 4, stitch along the horizontal lines on the outer fabric, being careful that the fabric does not ruckle up. I always start in the middle and work my way out to the sides and i always stitch in the same direction for each line. If you have a walking foot for your machine, this is the perfect time to use it. Depending on the thickness of the wadding you may also want to change the foot pressure to reduce the pressure on the fabric. For the relatively thin wadding I was using, a standard foot and pressure was fine. You can remove the pins as you go.

Once the first set of lines has been stitched, remove the pins if you haven’t already, just so they are not in the way, and then repeat the same process for the diagonal stitch lines.

You should now have a piece of double sided quilted fabric! I usually give this a good steam to pre-shrink before I cut out (natural fibre fabrics and wadding only)
Cut Out The Pattern Piece

All that remains now is to pin your pattern piece to the quilted fabric and cut out as usual.
Making a Whole Garment
For a full garment, you would then repeat the process for all of the pattern pieces. To save time, for smaller pieces you can block cut, i.e place multiple pattern pieces on to one piece of fabric and then cut out a rectangular piece that encompasses all of the pattern pieces. You can then quilt that larger single piece of fabric, knowing that it will be big enough to cut out all of the smaller pieces from once you’ve quilted it.
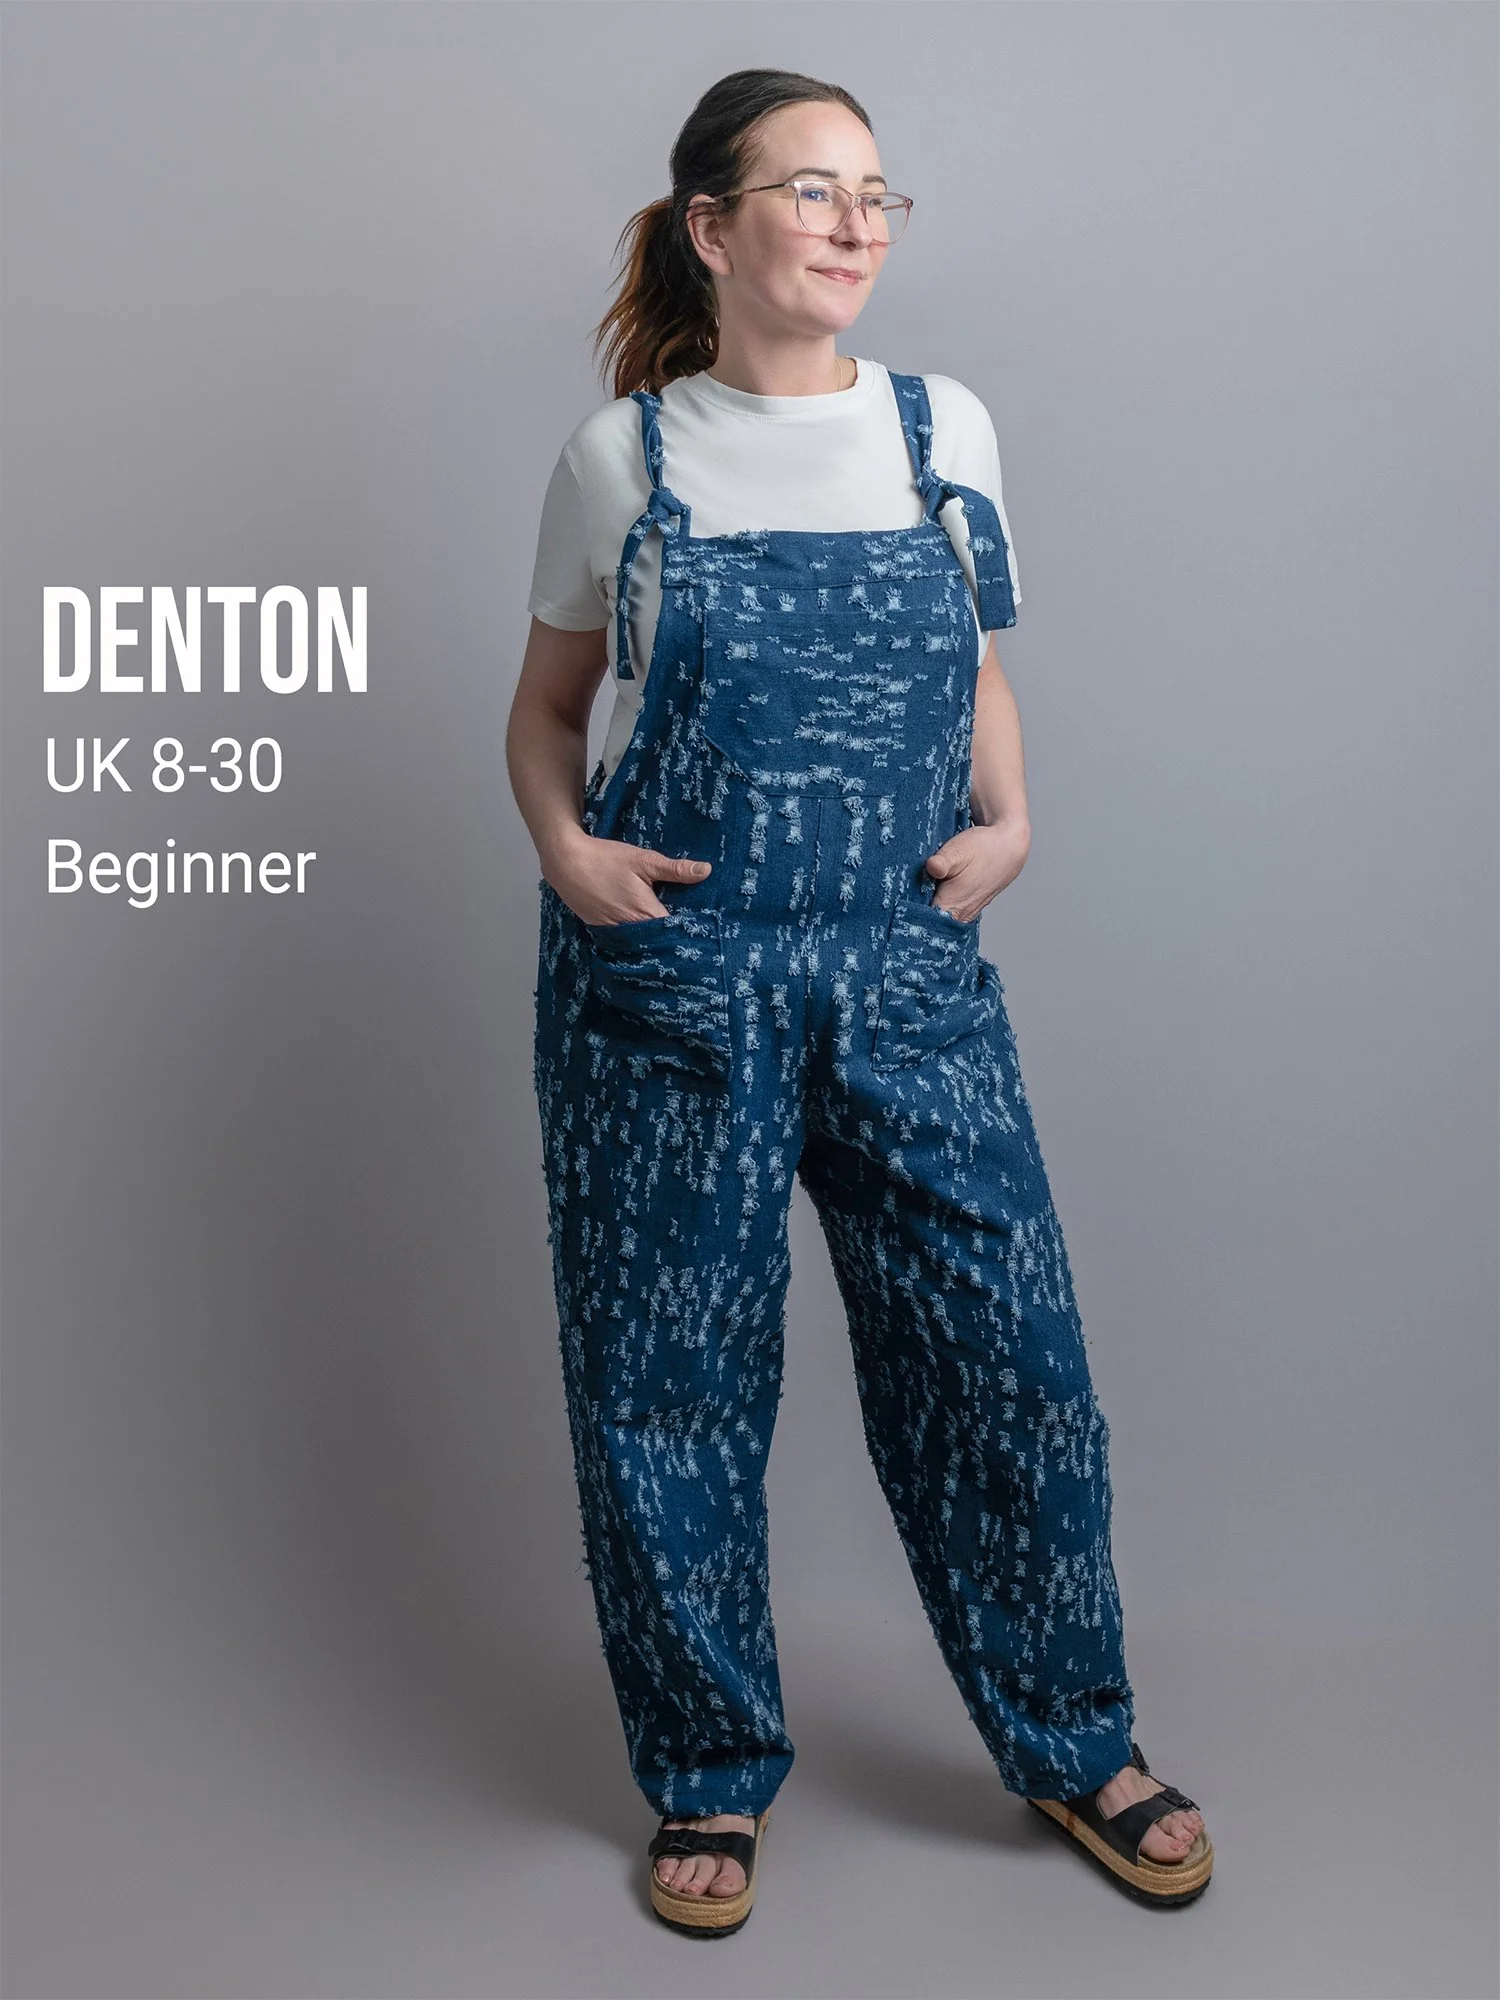
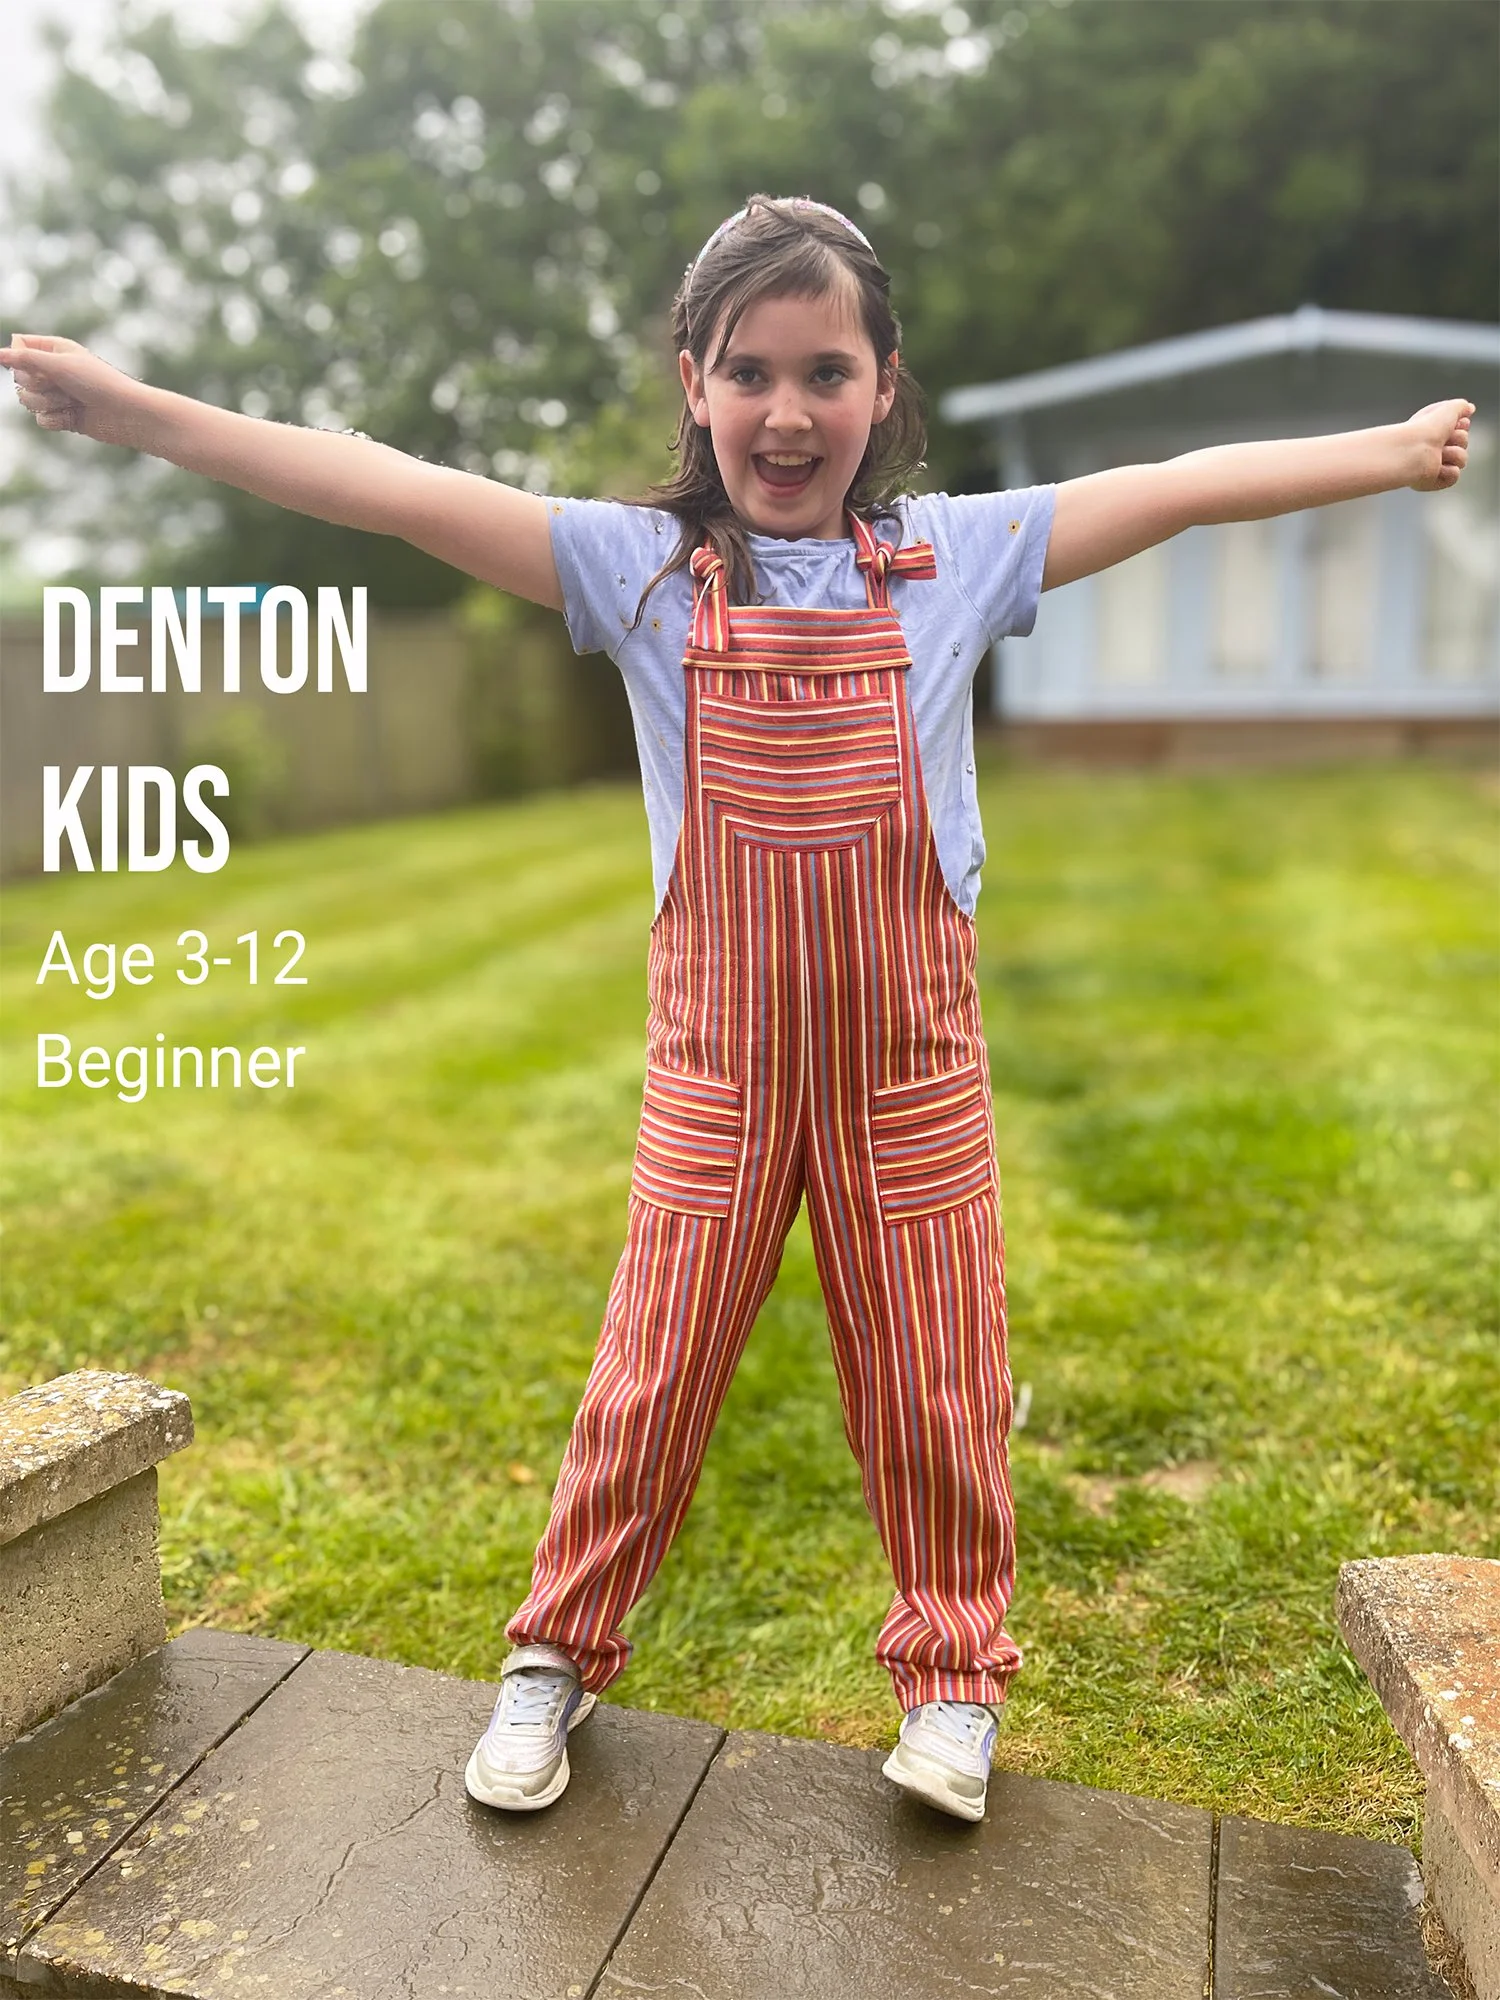
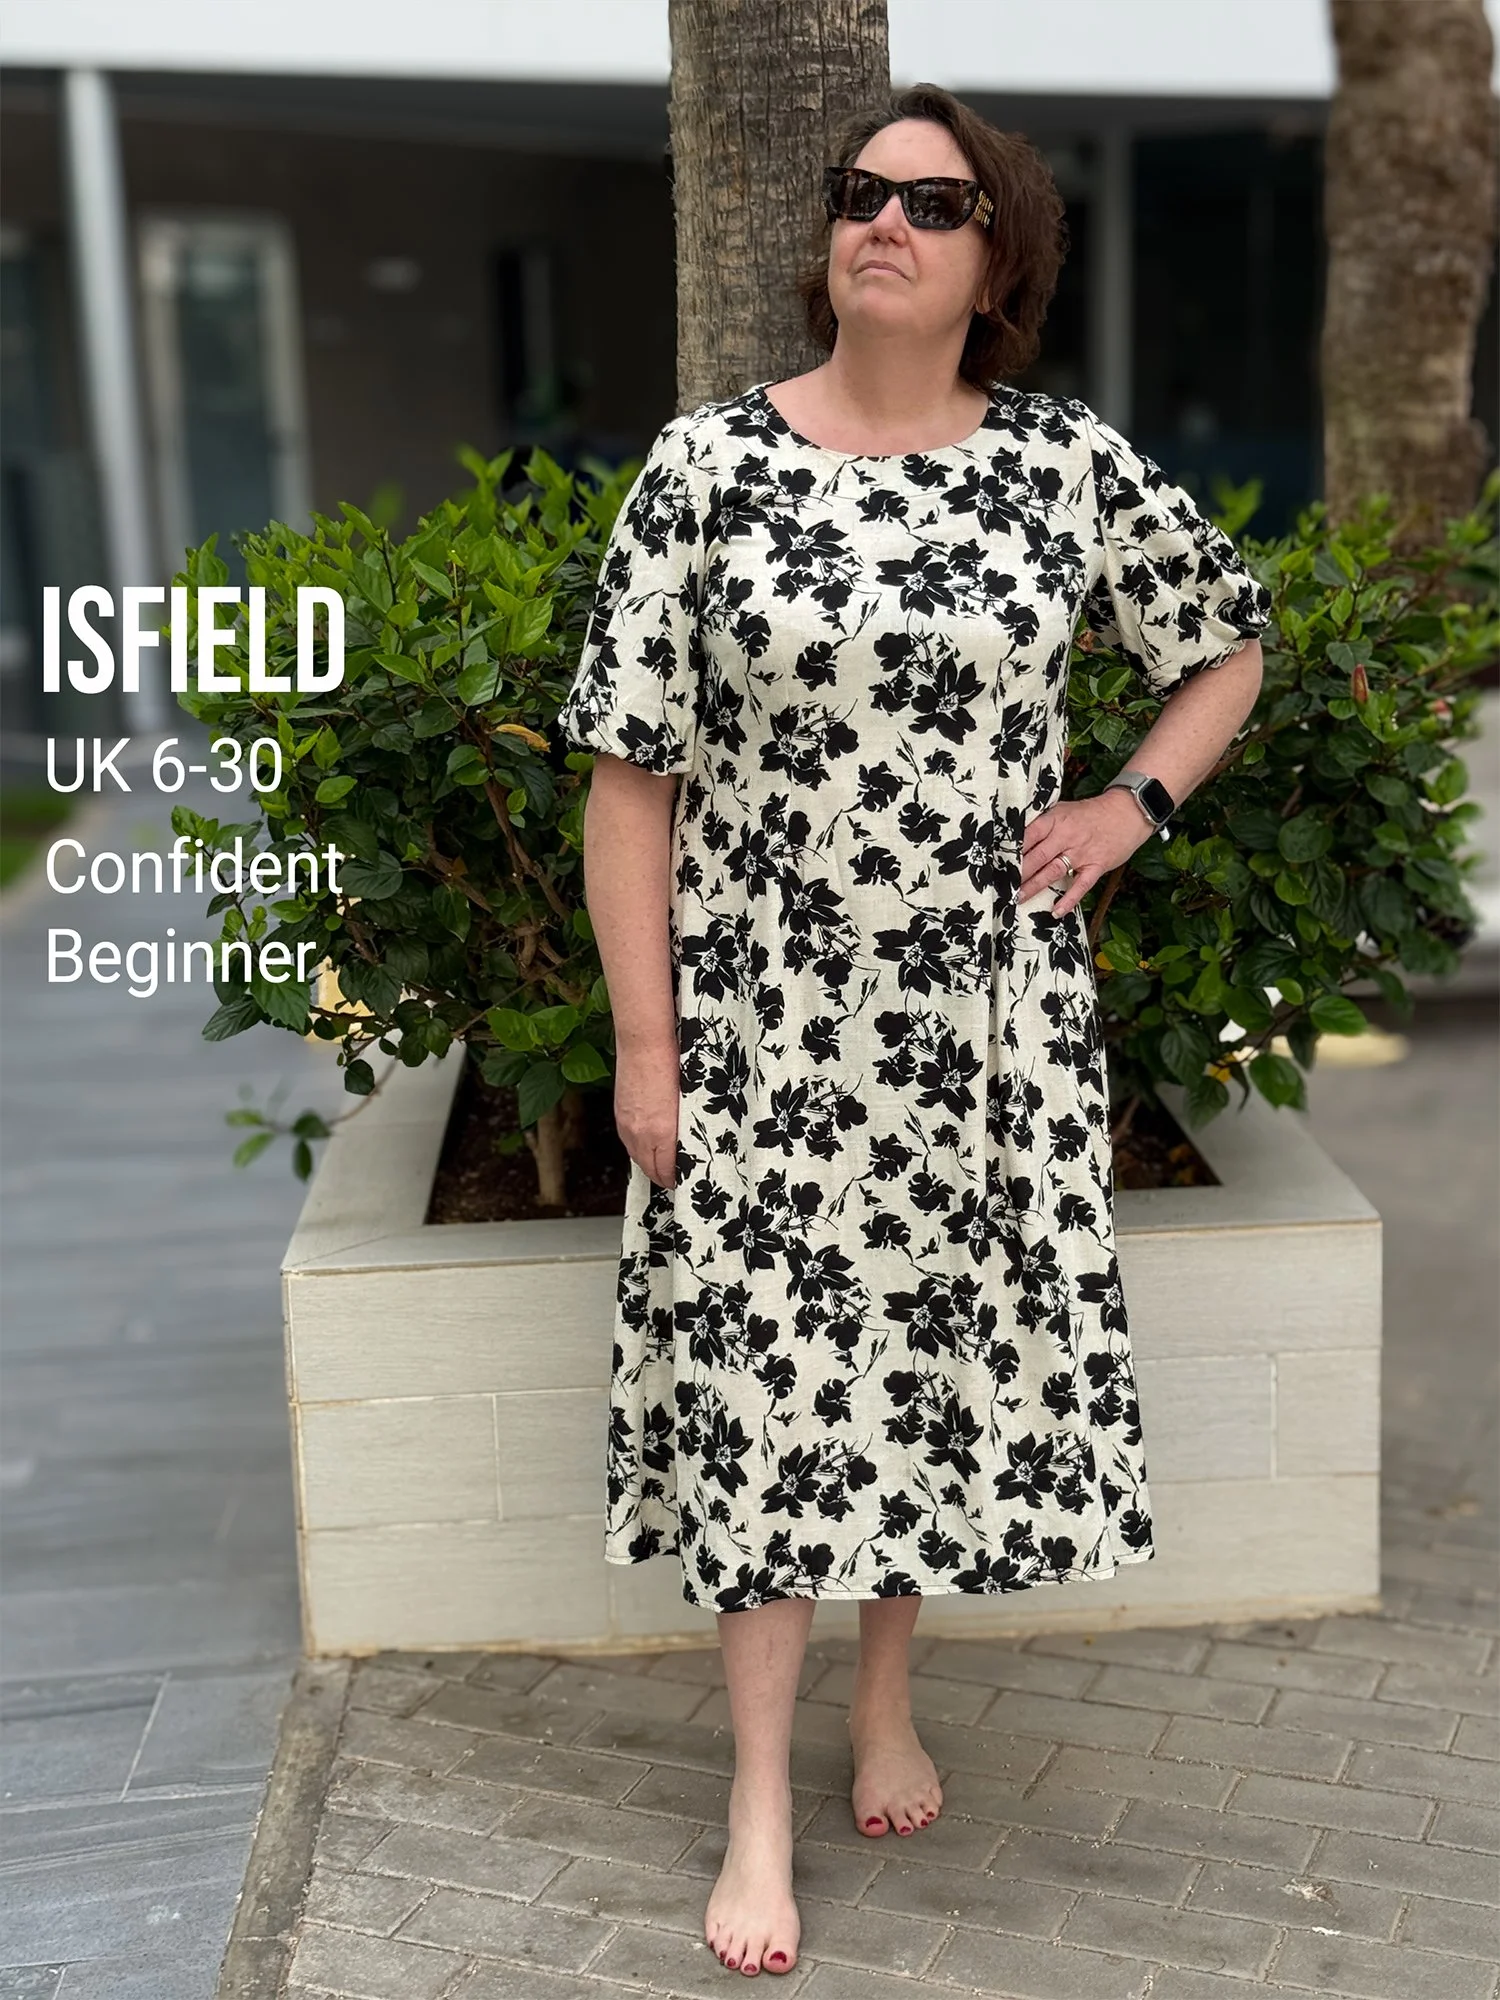
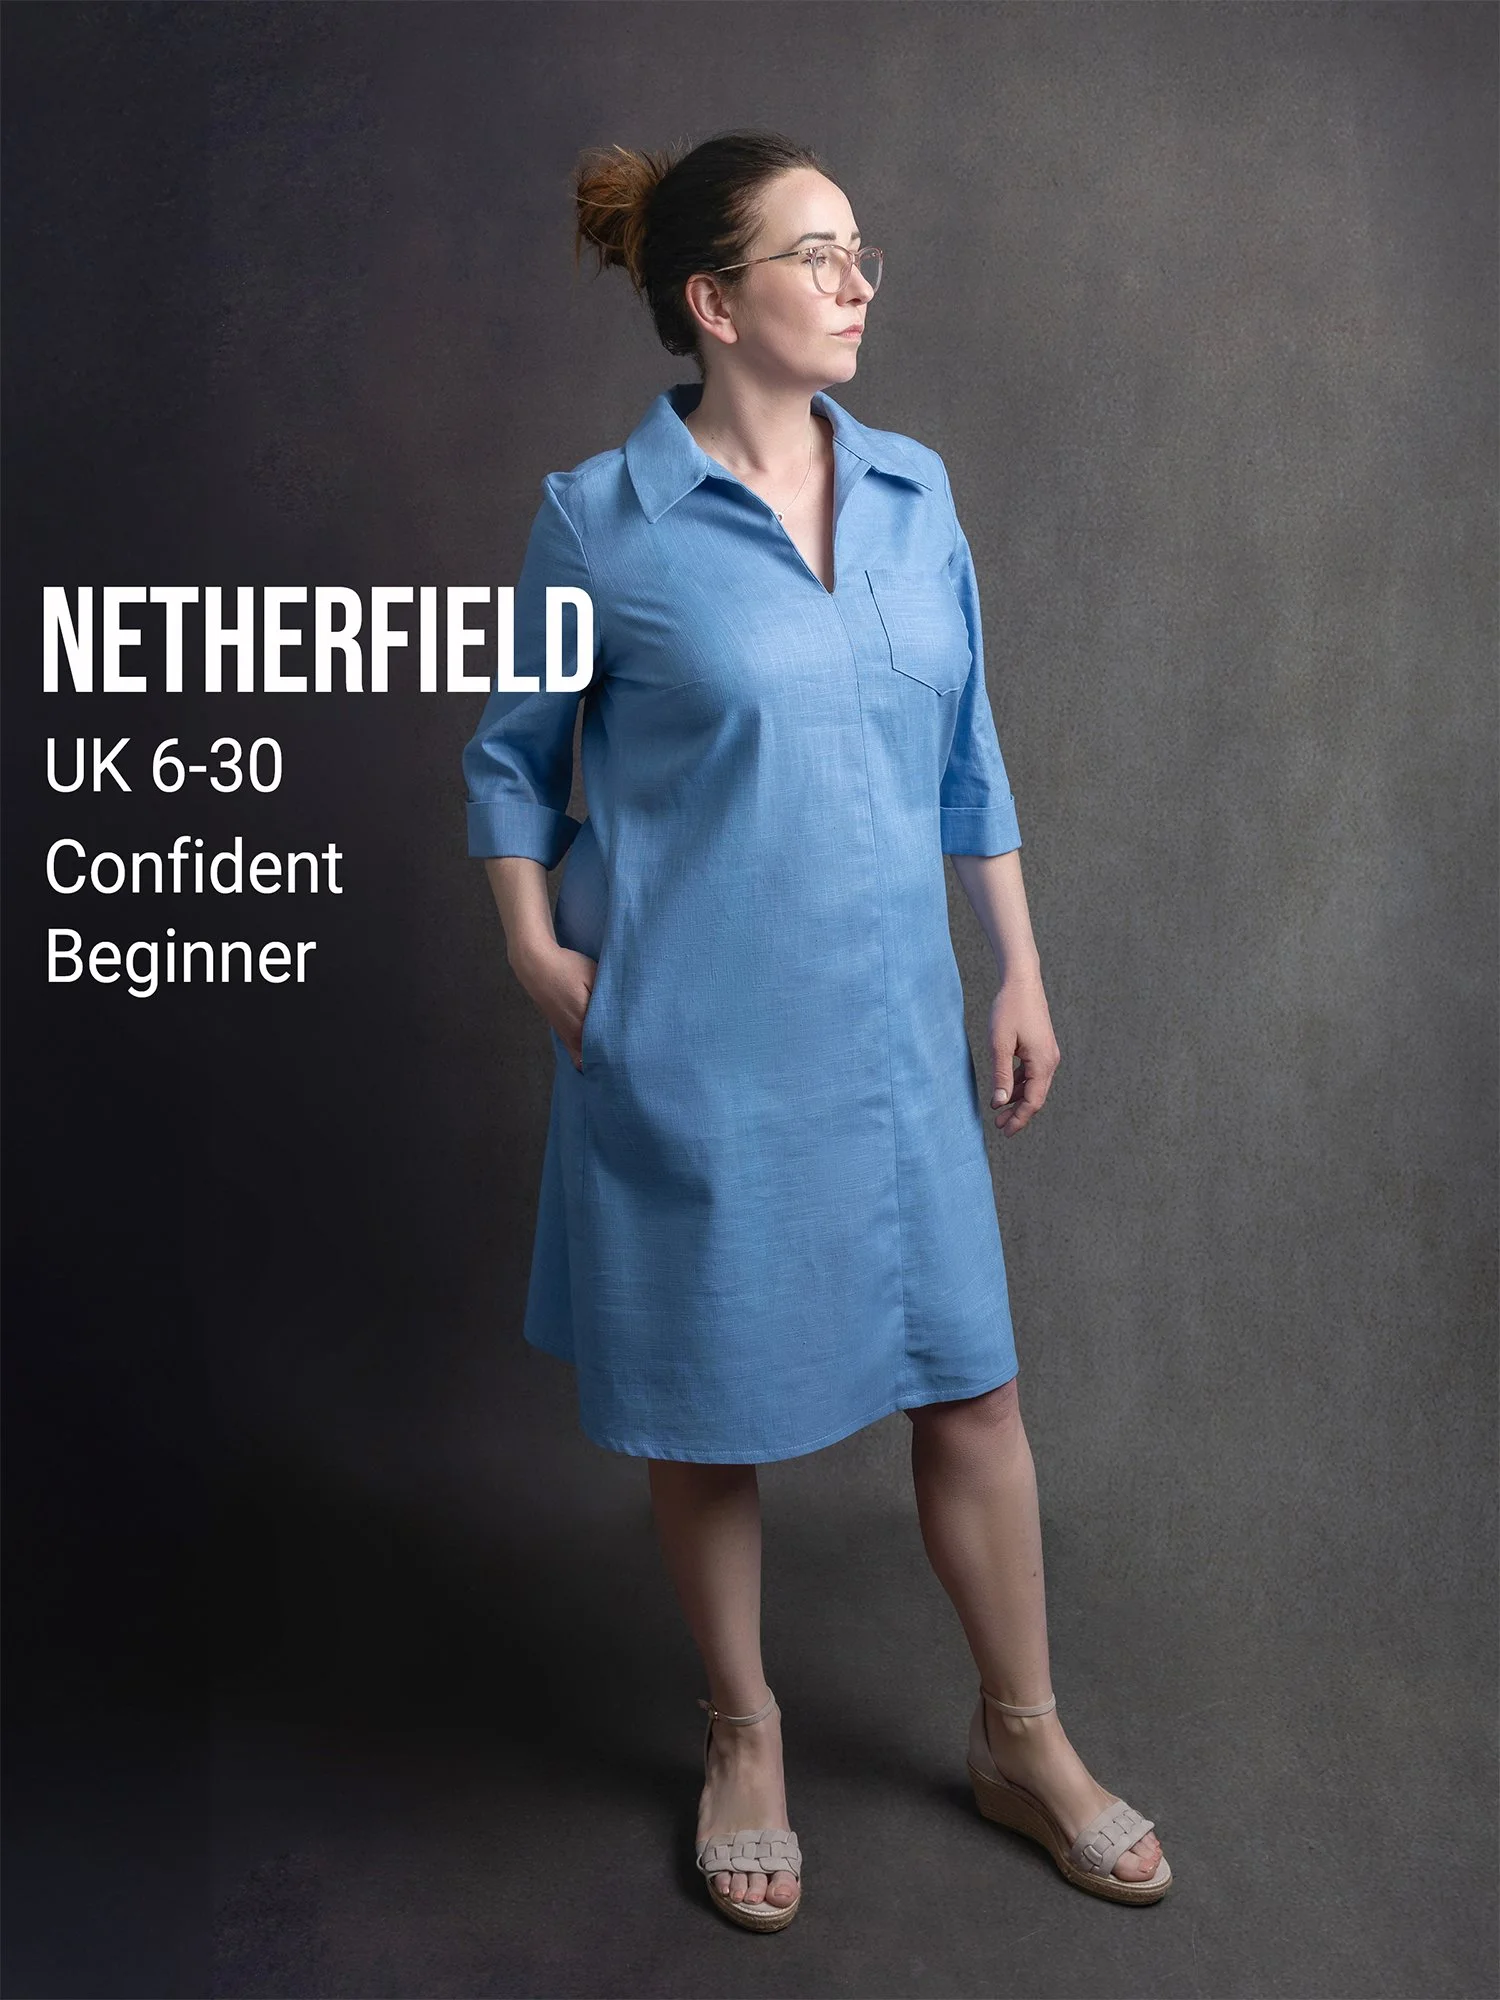
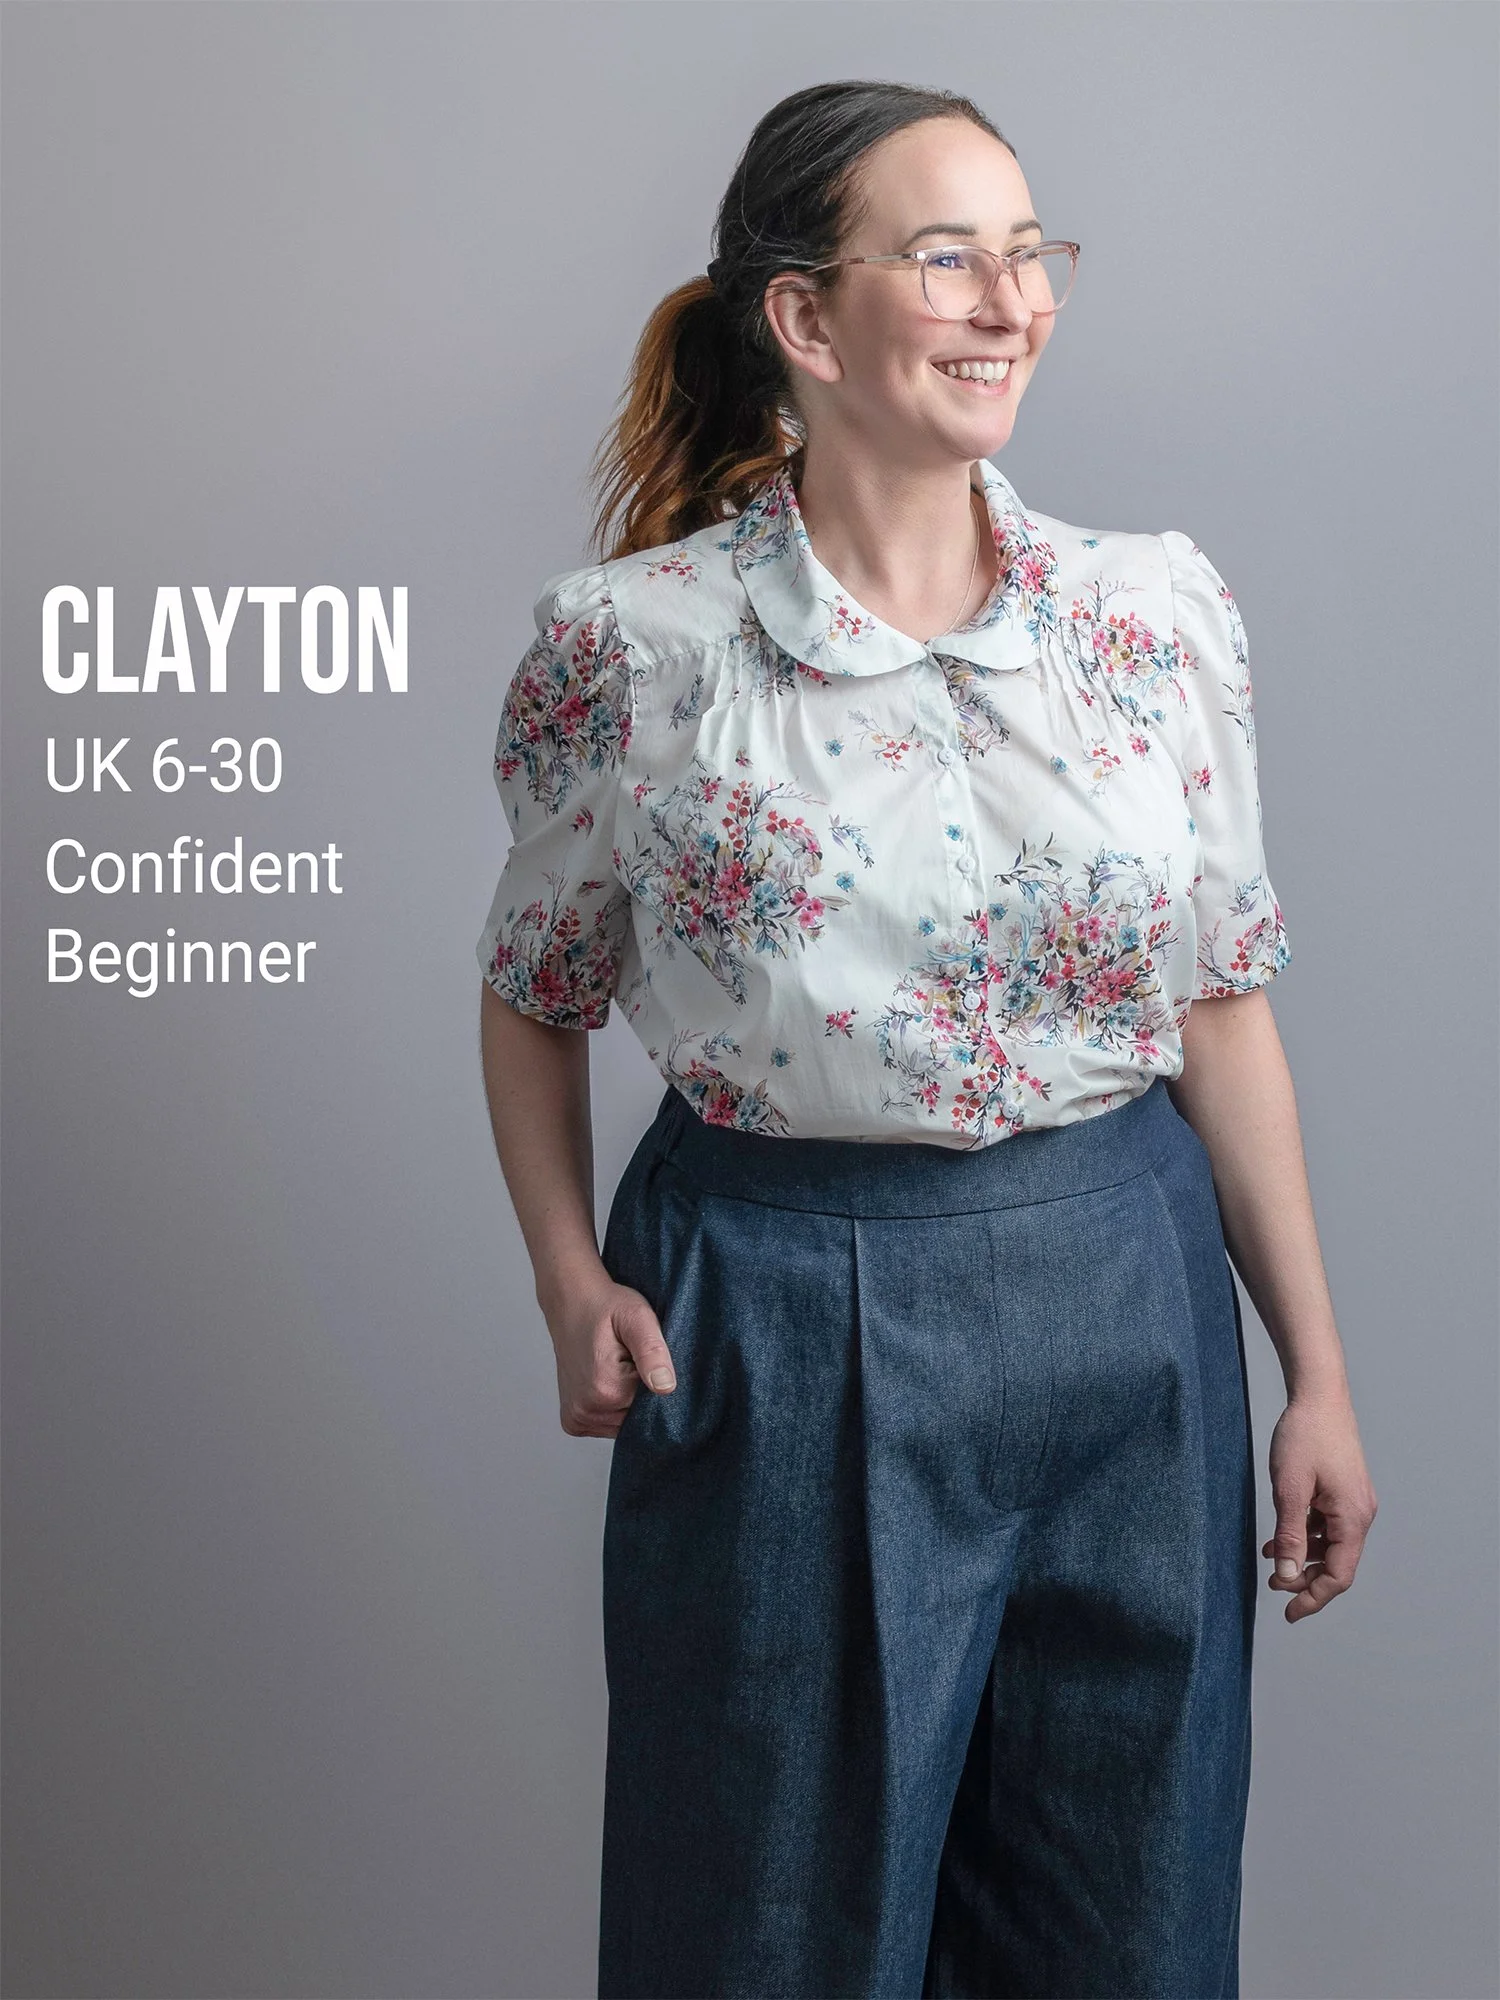
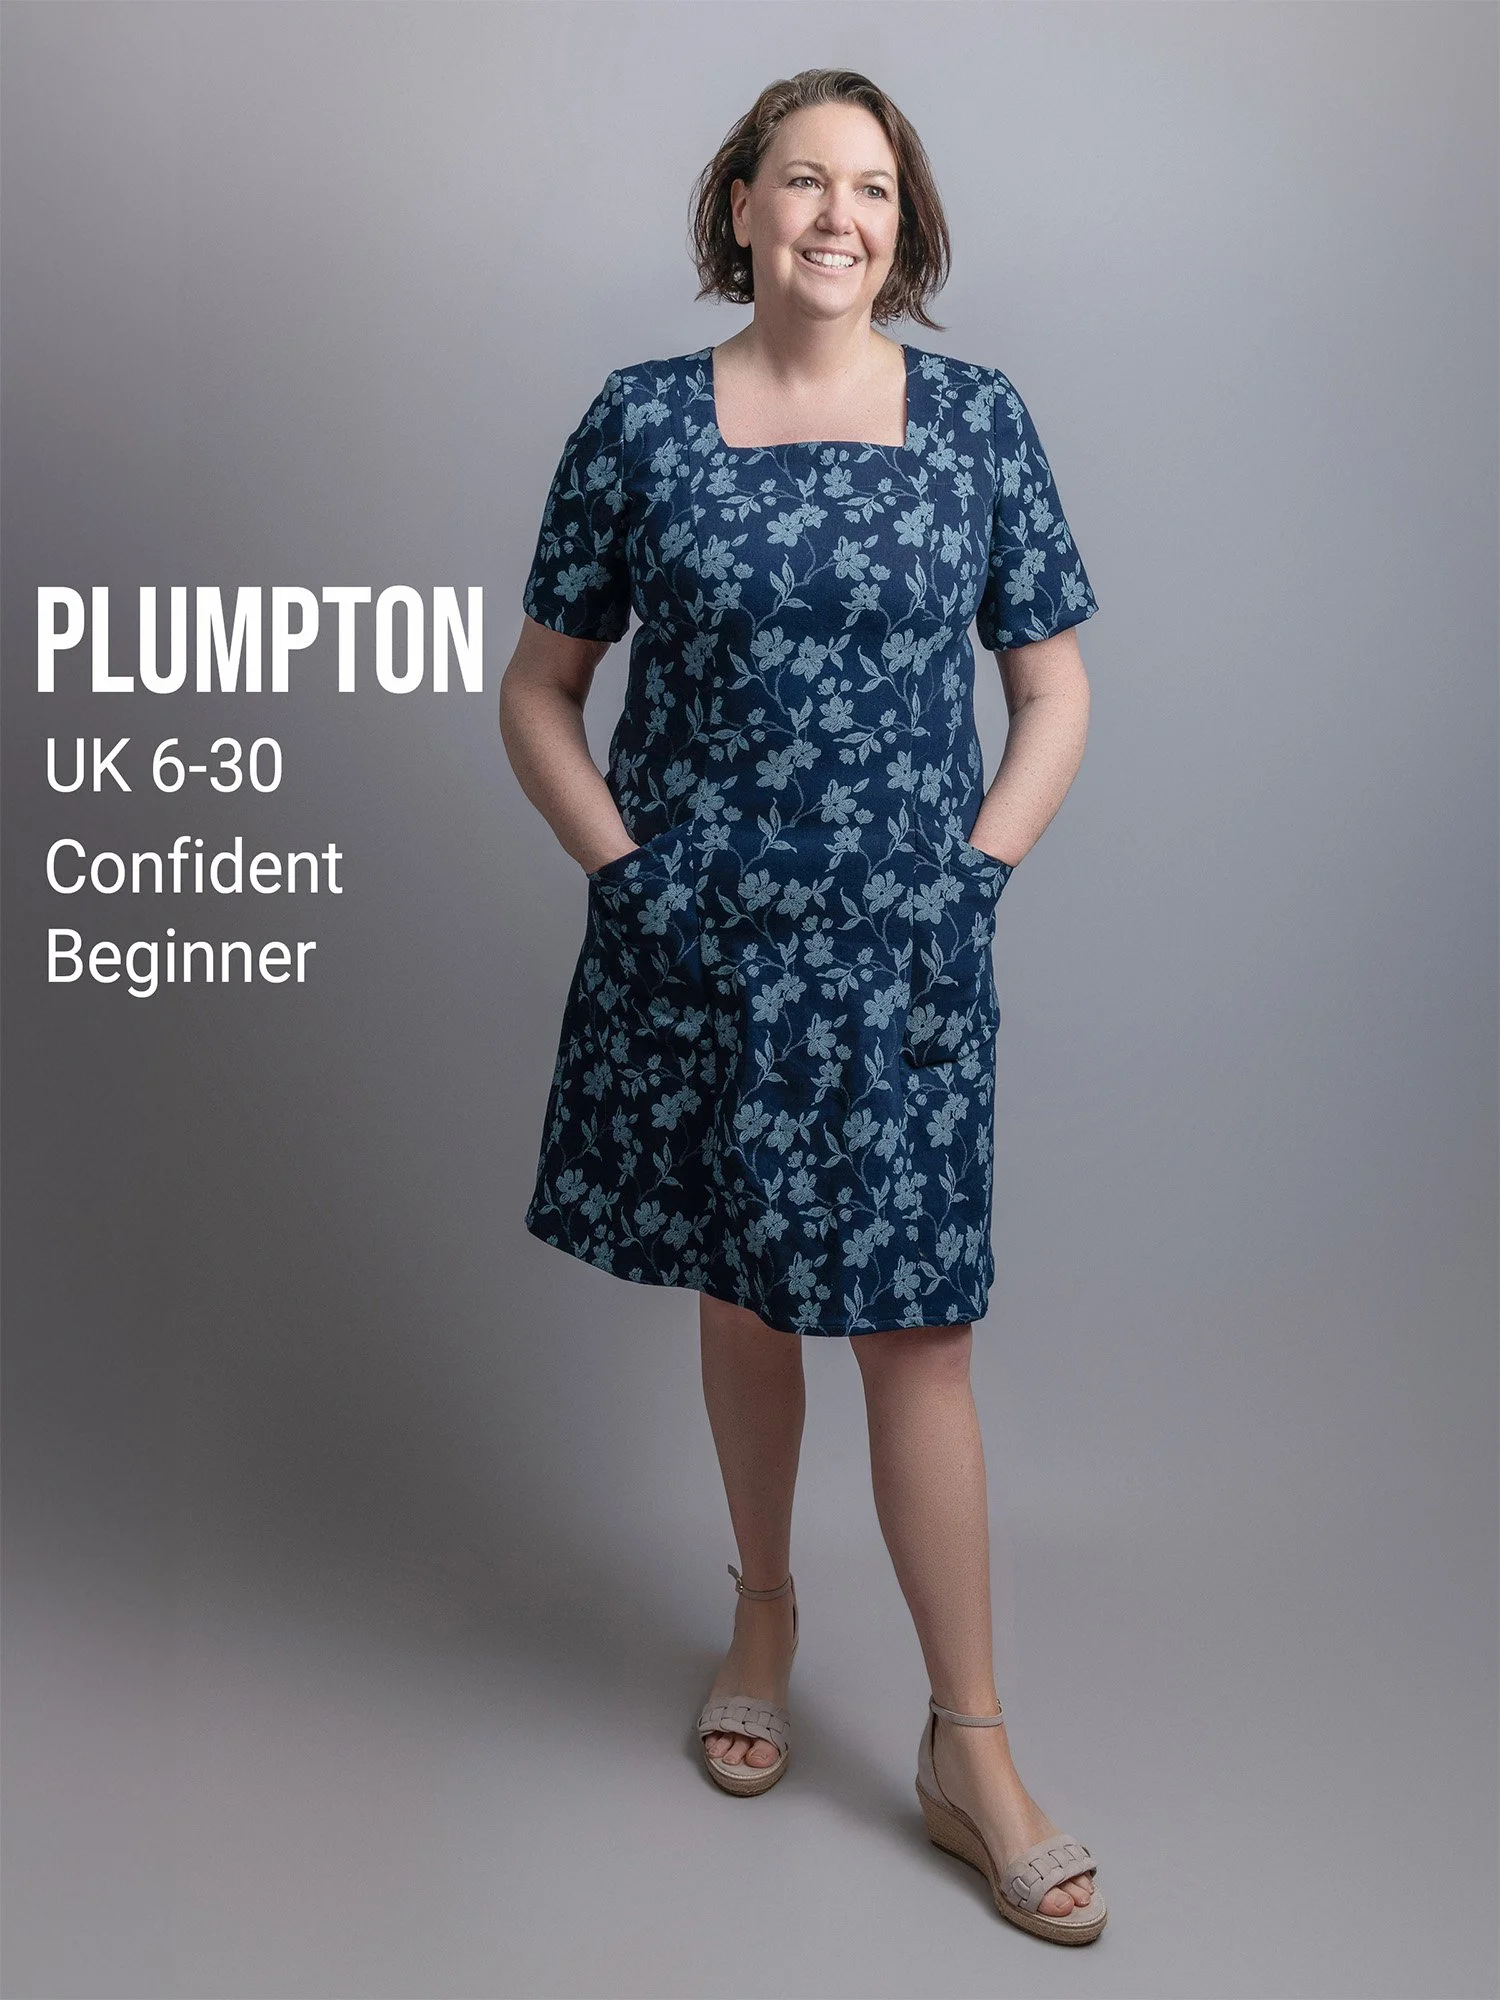
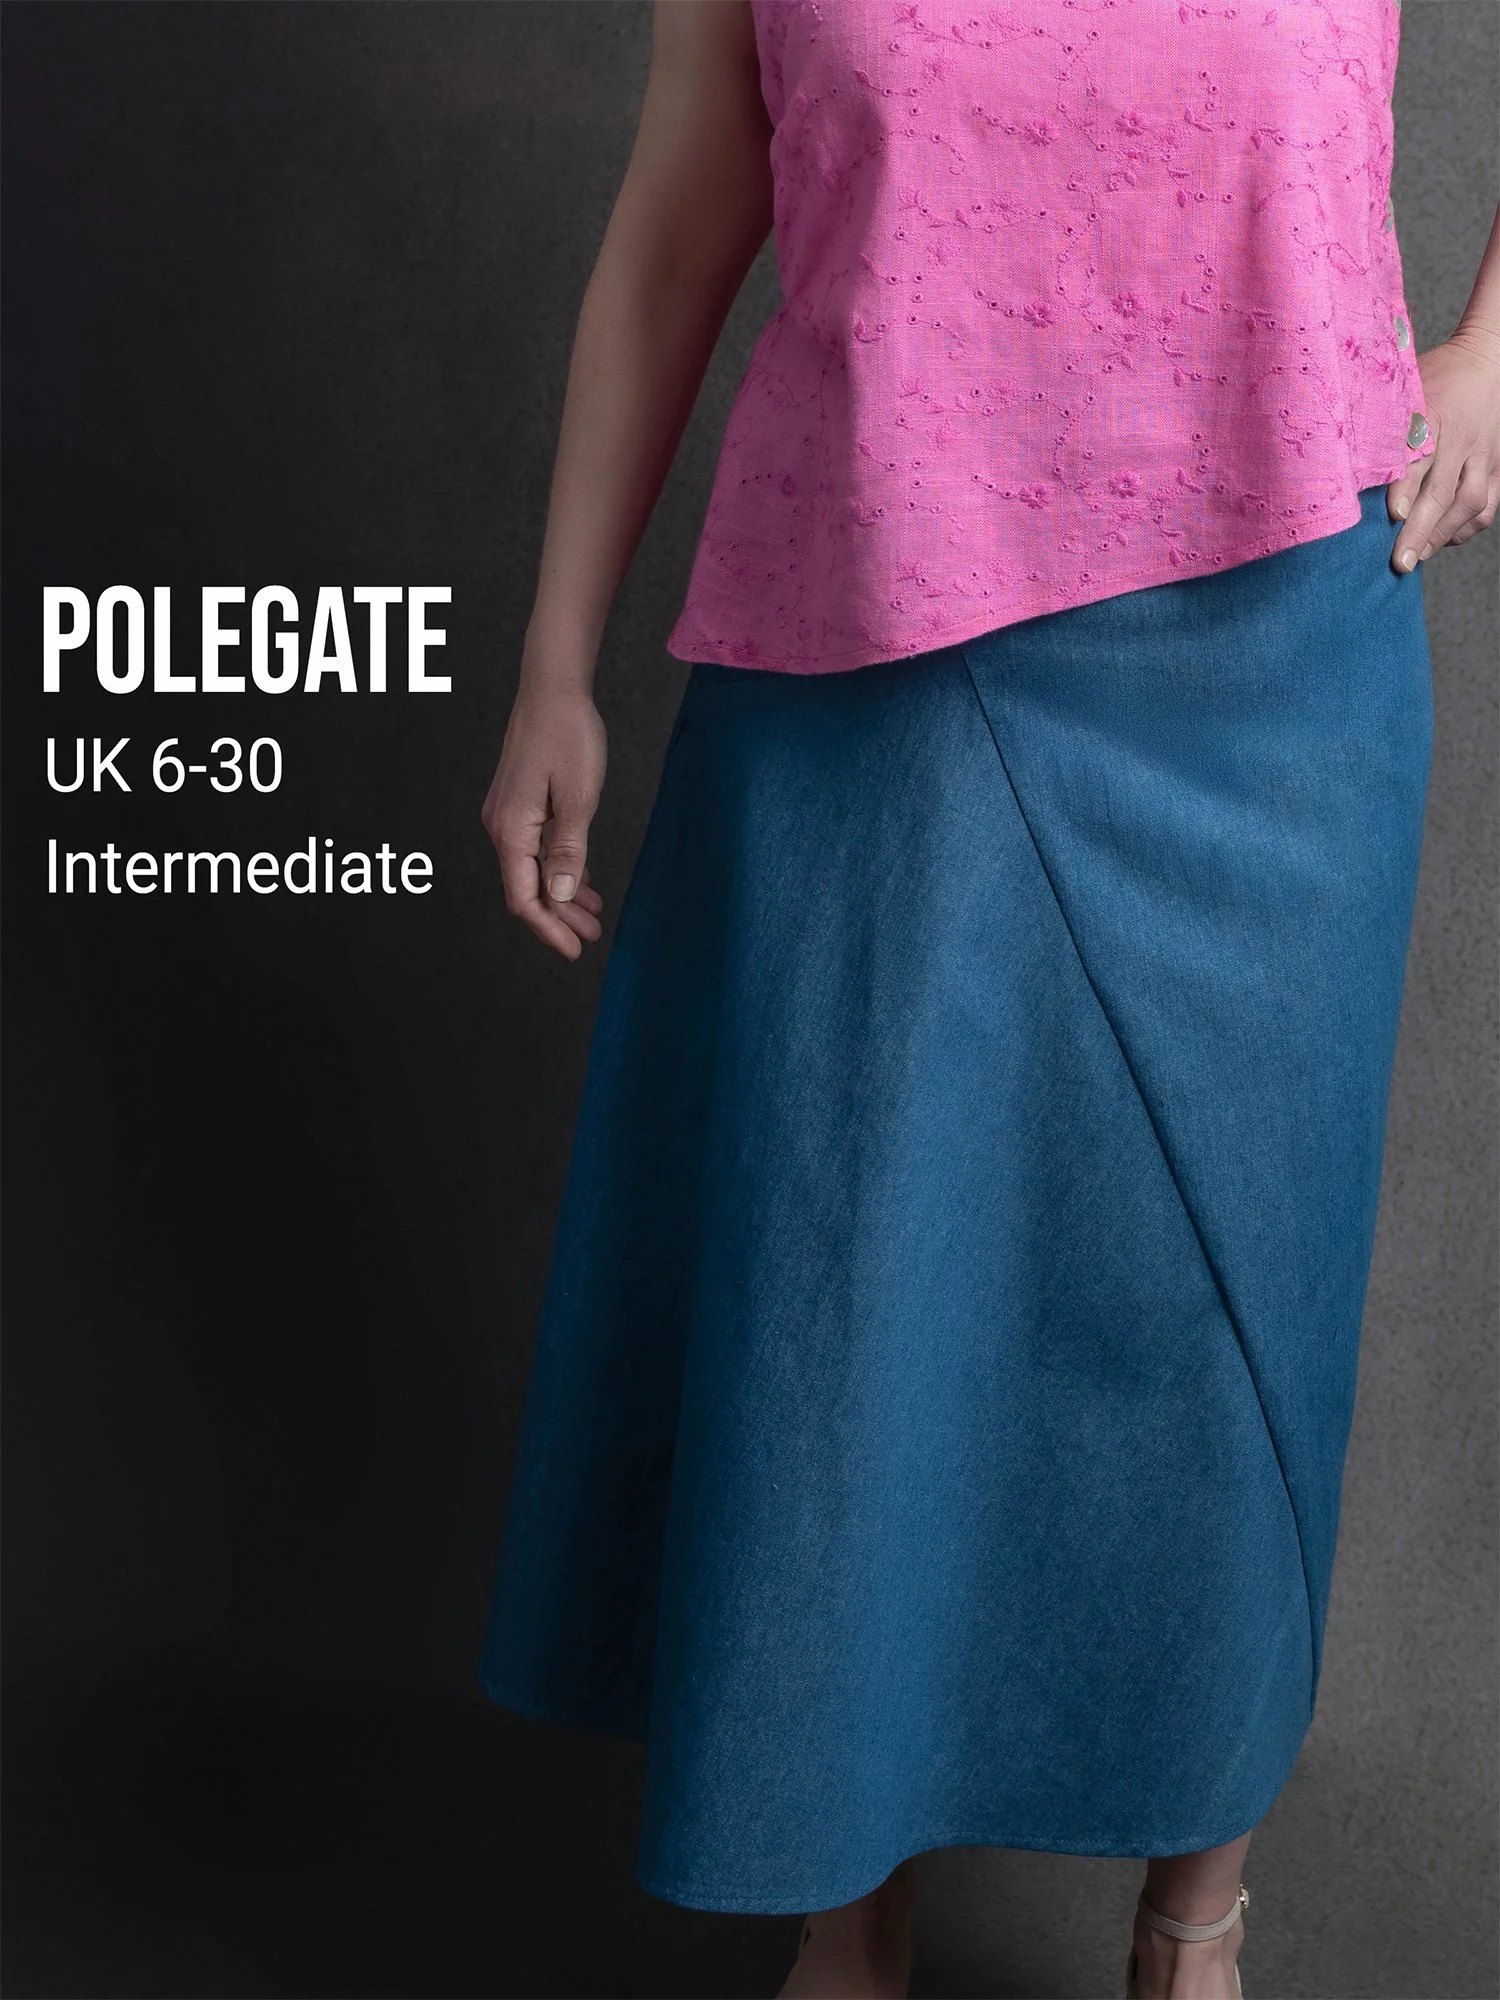
We hope you found this tutorial useful. While you’re here, why not check out our range of dressmaking patterns? All come with a full tutorial video. Some recent examples can be seen below.

Sussex Seamstress is an independent pattern studio, based in Sussex, UK.
Check out our range of dressmaking patterns in sizes 6-30. A Selection of our recent patterns is shown below. Thank you!