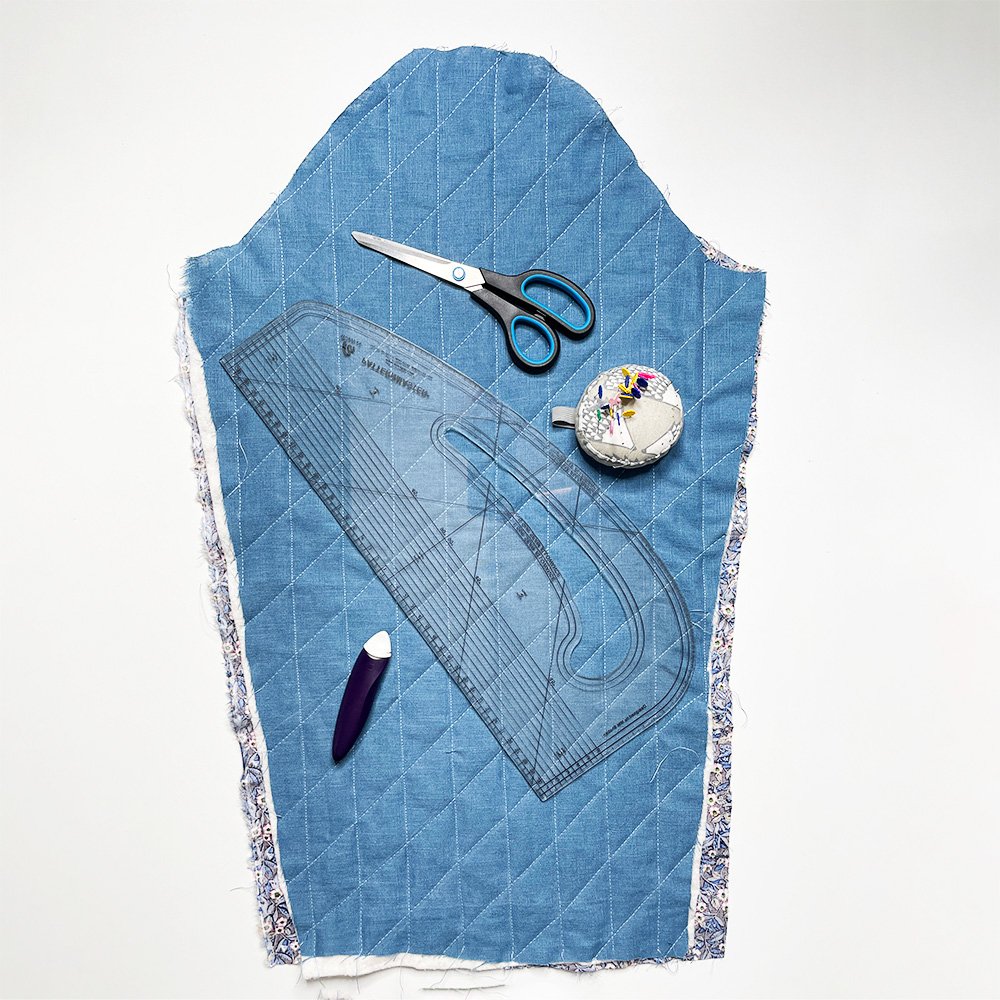
How To Make A Quilted Mayfield Jacket
The Mayfield Jacket has proved very popular right from the get go. So much so that I thought I would post about how I made the quilted version. For this demo I used a quilted light denim fabric from Fabric Godmother, it came ready lined with acetate. It’s super simple and speedy if you use ready quilted fabric which is already lined. A fabulous alternative to a cardigan.
(Note: since writing this post we’ve also added a unisex quilted jacket pattern. You can find that on the Selmeston Quilted Jacket page)
If you’re a quilter, or feeling more adventurous, you can quilt your own fabric. My original thoughts were to use this as a way to use up all your smaller scraps to make a unique and free Jacket! Just stitch all your scraps together first, sandwich wadding between two layers of your home made fabric, quilt and then cut (there’s a full blog post on quilting your own fabric here).
Once you have cut your jacket out just follow the simple steps below. You can also refer to the instruction manual and video that come with the pattern for those steps that are the same as the standard Mayfield Jacket.

Mark your bust dart onto the wrong side of your fabric. I used chalk.

As you can see the chalk worked well for this dark lining fabric.

Next pin or tack your dart along the chalk line.

Start stitching from the side seam towards the point. Taper off as you follow the chalk line to the bust point. I sometimes reduce the stitch length on my machine as I stitch the last few centimetres to make it a bit more secure. Never back stitch the point of a dart as it will pucker and look unsightly.
I placed my darts over a tailors ham and lightly steamed them with a cloth between the fabric and the iron to avoid marking the fabric on the right side.

Secure the wide end of the dart to the side seam.
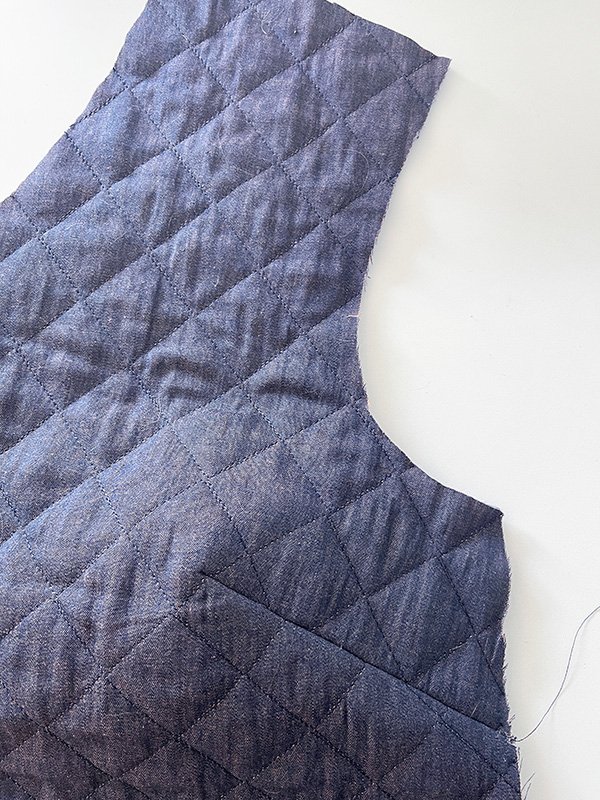
At this stage you need to decide if you wish to bind or overlock the seam allowances. Binding always elevates the look, but if you’re in a rush overlocking may be the option for you.
Here i have overlocked the shoulder…

And the side seams…
… of the fronts and the back.

Place your front shoulders to the back shoulders, right sides together. The back shoulder has a little ease in it.

Pop a big stitch 1cm down from the finished edge on the back shoulder and pull up slightly to distribute the ease nicely.
Press the side seams open.

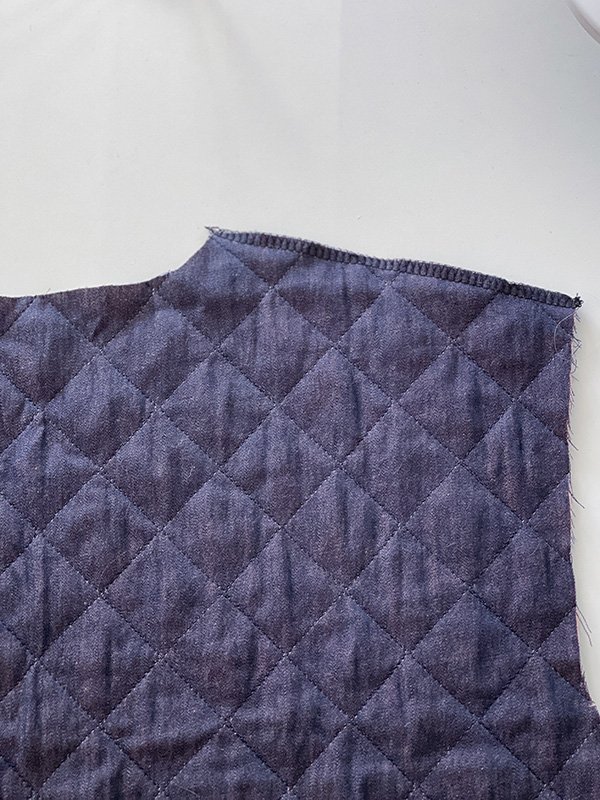
Pin and stitch shoulders right sides together 1cm from the edge.

Press the seam open. Repeat for the other shoulder.

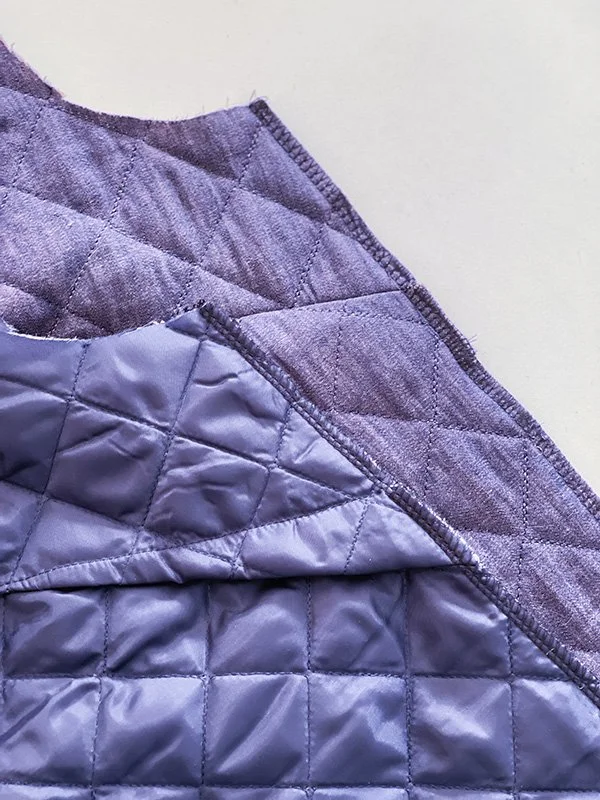
Pin and stitch side seams right sides together and stitch using 1cm seam allowance.

You should now have the body of your jacket constructed.

Next for the sleeves…
Clearly mark the notches onto the sleeve heads. I used chalk but you can use a tailor tack or a safety pin if you prefer.

Next, overlock or bind all the sleeve edges except for the sleeve head.

Pin and stitch the sleeves as shown using 1cm seam allowance.

Press the sleeve seams open.

Pop a gathering thread into the sleeve head to help ease it in. Using a large machine stitch, machine 1cm from the edge of sleeve head between the notches.

Place the sleeve head into the armhole, right sides together, matching notches and underarm seam. Pin together. Gently pull up your gather thread until the sleeve head fits snuggly into the armhole.

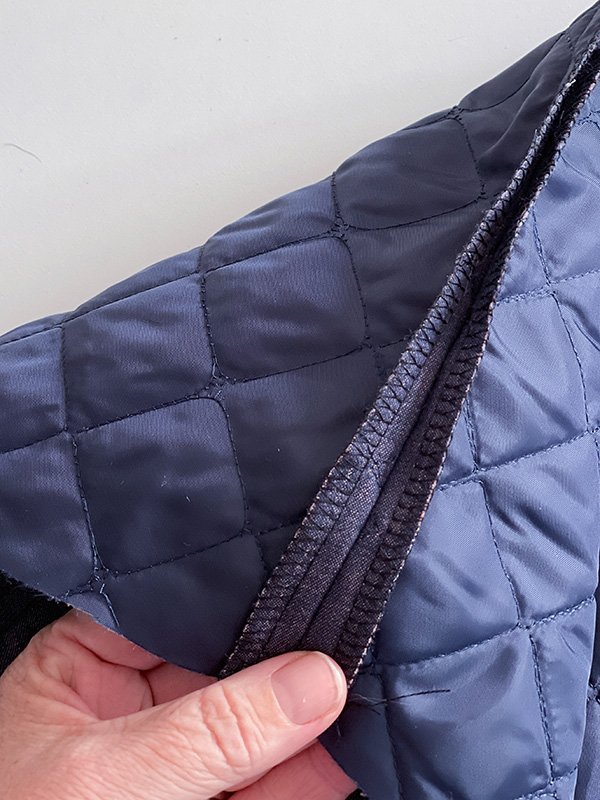
Starting at the underarm seam, stitch around the armhole 1cm from the edge. Overlap your stitching under the armhole to add strength.

Over lock or bind your armhole seam allowence.

You should have a neatly inserted sleeve! Repeat for the other sleeve.

Stitch all around the outer edge of your jacket just a few mm in from the edge to hold the layers together.

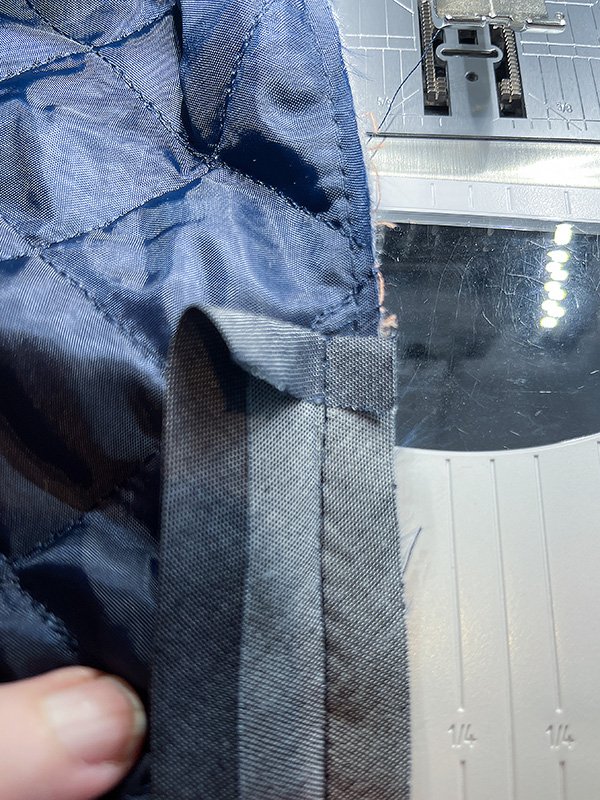
Pin your binding to the wrong side of your jacket.

Fold the end in around 1cm before you start to stitch it on.
It should look like this, only a bit less blurry!
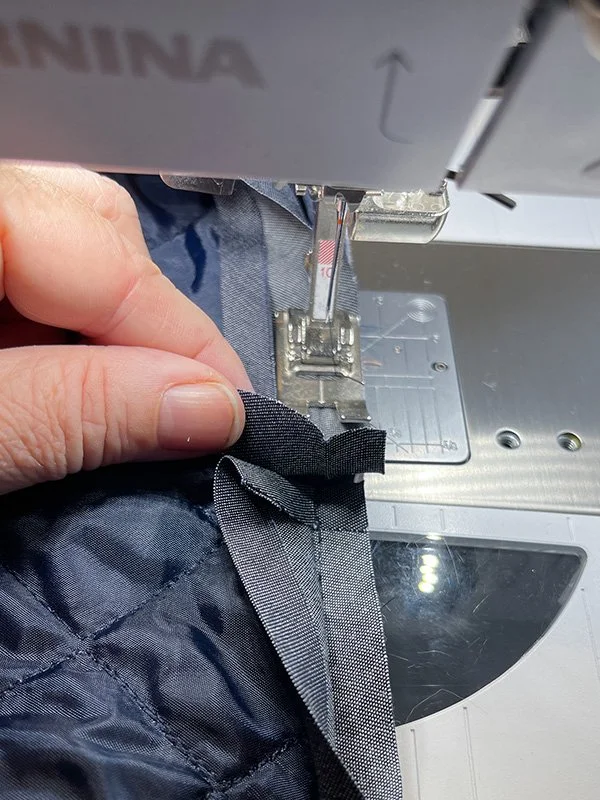
Stitch all around until you meet up with the folded end you did at the beggining.

Over lap the ends by 2cm and cut your binding off. Carry on stitching following the original stitch line until you have secured the overlapping piece,

Next, fold and pin or tack the binding over to the right side of the jacket fabric. Stitch close to the binding edge to secure. I’ve got some slightly clearer pictures of the binding steps below if you need them. Just scroll down.

Fold up cuff and pin.

Stitch cuff from the inside.

Press. Repeat for the other cuff and you’re finished! Enjoy!
As I wasn’t totally happy with the pictures I took of the binding steps I’ve repeated them below so they are a bit clearer…

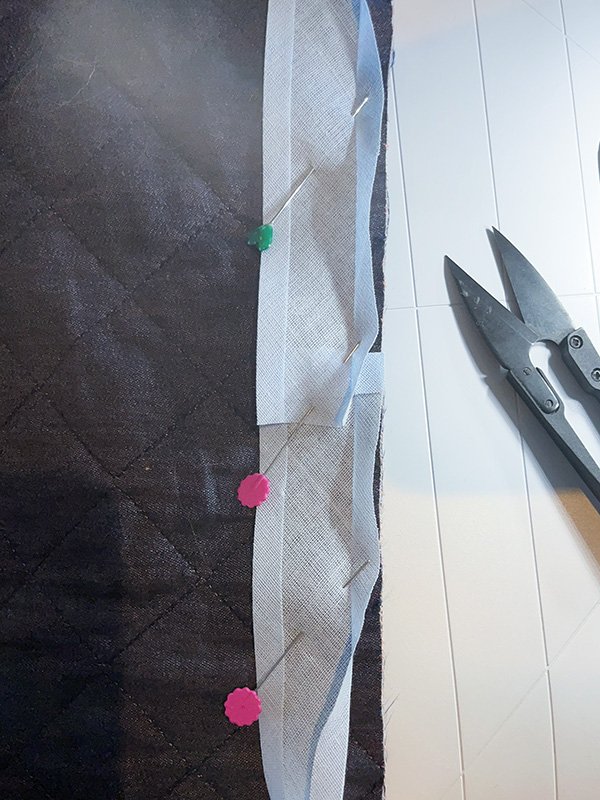
Open up your bias binding and fold the end over 2cm. Pin to the wrong side of your jacket fabric around the neckline and hem. Stitch until you meet the start of your binding again…

Cut binding so that it over laps by 2cm
Pin or tack so the binding lays directly over the top of the first peice of binding that’s already stitched.

Continue stitching right over the original binding to secure the cut end.

Press your binding as above.

Fold both layers of binding seam allowance down together as above.

Fold over to right side of fabric and stitch on the edge to form a neat finish.

This should result in a lovely neat stitch on your outer binding edge.
So that’s it! A super speedy make with ready quilted & lined fabric, or a great way to use your own quilting and make something truly original. Do tag me (@sussex_seamstress) if you make one, I always love to see your creations :)

Sussex Seamstress is an independent pattern maker, based in Sussex, UK.
While you’re here, why not take a look at my range of sewing patterns for women?