Sizing Charts, Finished Measurements And Toiles - Making The Right Size
It can be tricky, especially when you first start making your own clothes, to know which size you should be making up for a specific garment and how best to make that decision. This can remain a tricky choice even for more experienced makers as different companies and different styles allow for different amounts of ease etc. (if you don’t know what “ease” is, we’ll cover that in a moment).
You’ll be familiar with basic sizing charts from clothing stores and you’re probably aware that those sizes vary hugely between different retailers. Many shops use “vanity” sizing so we feel good when we can zip up a smaller size than we would be wearing at other retailers. So the idea that your size can be defined as a single, fixed number is not only unhelpful, it’s not true!
So, where do we start for home sewing? If you’re new to dressmaking, it might be confusing to discover that sizing charts contain different measurements to finished measurement charts, and that both charts are needed to make the best sizing decision for you. Sadly, no company is likely to provide a perfect fit for your exact body measurements and shape. So a few alterations are inevitable, even if its simply to the length.
You may also not realise that you should make a toile (a prototype garment) and we’ll share some toile shortcuts you can take when you become a bit more experienced, that speed things up a bit.
So to demystify choosing the right size, let’s take a look at some of the basic information and methods you can use to help you make the right sized garment for you, and decode what all these charts actually mean.
Sizing Charts
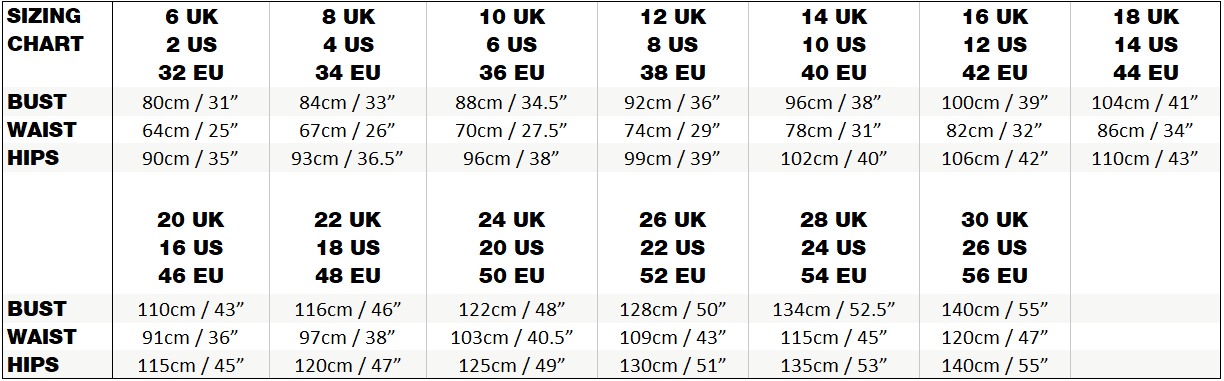
The sizing chart for Sussex Seamstress patterns
Here’s the sizing chart we use for our patterns at Sussex Seamstress. A sizing chart tells you which body measurements the garment is intended to fit for each size. There’s a couple of things to note about these.
Firstly, you’ll no doubt be aware that these charts differ a lot between different companies. A size 18 on one company’s chart may be very different to a size 18 on another company’s chart. It’s important to check the specific chart being used for the sewing pattern you have, or are thinking of purchasing. Don’t get too hung up on the overall sizing number (it really is just an arbitrary number) or think “I’m an 18” and so cut out the size 18. Check which body measurements best match your own on the sizing chart and use those as a starting point.
Secondly, these numbers are approximate. They are just a guide to help you chose the correct sizing. So just pick the numbers that are closest to your own.
You may find that you are a different size on the chart in one category (bust/waist/hip) than in another. If the difference is significant then you’ll probably benefit from grading between two different sizes or if it’s just a big difference in a bust size, carrying out a full bust adjustment. (grading between sizes is beyond the scope of this particular article).
However, if the differences are not that big, the next chart we’ll look at will help us decide whether a size that looks a little snug on the sizing chart might actually be fine.
Finished Measurements Charts

Example of a finished garment measurements chart
As the name suggests, the finished measurements chart tells you the measurements of the completed garment . So this chart is all about the garment, whereas the sizing chart is all about the body. As with the sizing chart, these numbers are approximations, and you may find your finished garment differs slightly depending on how accurate the cutting out was, how accurate the construction was, how much the fabric stretched, and so on. It’s a hand crafted garment, so things will always turn out a little different.
Now you might be thinking, why aren’t these numbers the same? If the garment is for a bust size of say, 120cm, then surely the bust size of the garment is 120cm? Why do I need two measurements?
The simple answer is that if the garment measurements matched the sizing chart (body measurements), then the garment would essentially be skin tight. So the finished garment measurements tell you how much ease is in different areas of the garment, that is, how much the garment measurements differ from the body measurements.
Wearing Ease vs Style Ease
There are two types of ease that will be included in a pattern. Wearing Ease and Style Ease. Wearing ease refers to ease that is included to allow for movement and comfort whilst wearing.
Style ease is ease included by the designer to reflect the intended shaping and fit of the garment. At a basic level, a garment designed to be loose fitting will have more style ease (a greater difference between the sizing chart measurement and the finished measurement) than a garment that is intended to be more fitted. For example, a garment with a large gathered skirt may have a lot of ease in the skirt, since it is not about how the garment fits, it’s about the intended style of the garment.
So you should also take into account the amount of ease in the garment before deciding on the size you want to make. You may look at the sizing chart and think “ooh, that could be a bit tight on the waist, I’ll make a size up”, but looking at the finished garment chart you might see that there is a lot of ease in the waist and it will actually be fine at that size, even if a little less roomy than was intended by the pattern designer.
Make sure you always consult the sizing chart and finished measurement chart for each pattern, even if you have previously made a pattern by the same designer. You may have used a pattern brand before and found that a size 20 is perfect for you, but this may not be the case for other patterns by the same company. For example the previous size 20 pattern you made might have had a lot of ease, so it fitted you great but it wasn’t actually as loose fitting as the designer had intended. If you then tried to make a more fitted pattern in a size 20 you may find it is too tight, because that pattern has a lot less ease.
Erroneously sizing up can also cause problems, for example you may decide to opt for a size up to give more room at the waist, but since the other garment measurements go up with size as well, you may find you have a gaping neckline because it’s now too large or too low. So always check how much ease is in each part of the garment before making a decision (we’ll be checking our decision later, so don’t panic too much about getting it wrong at this stage).
Let’s take a look at an example.

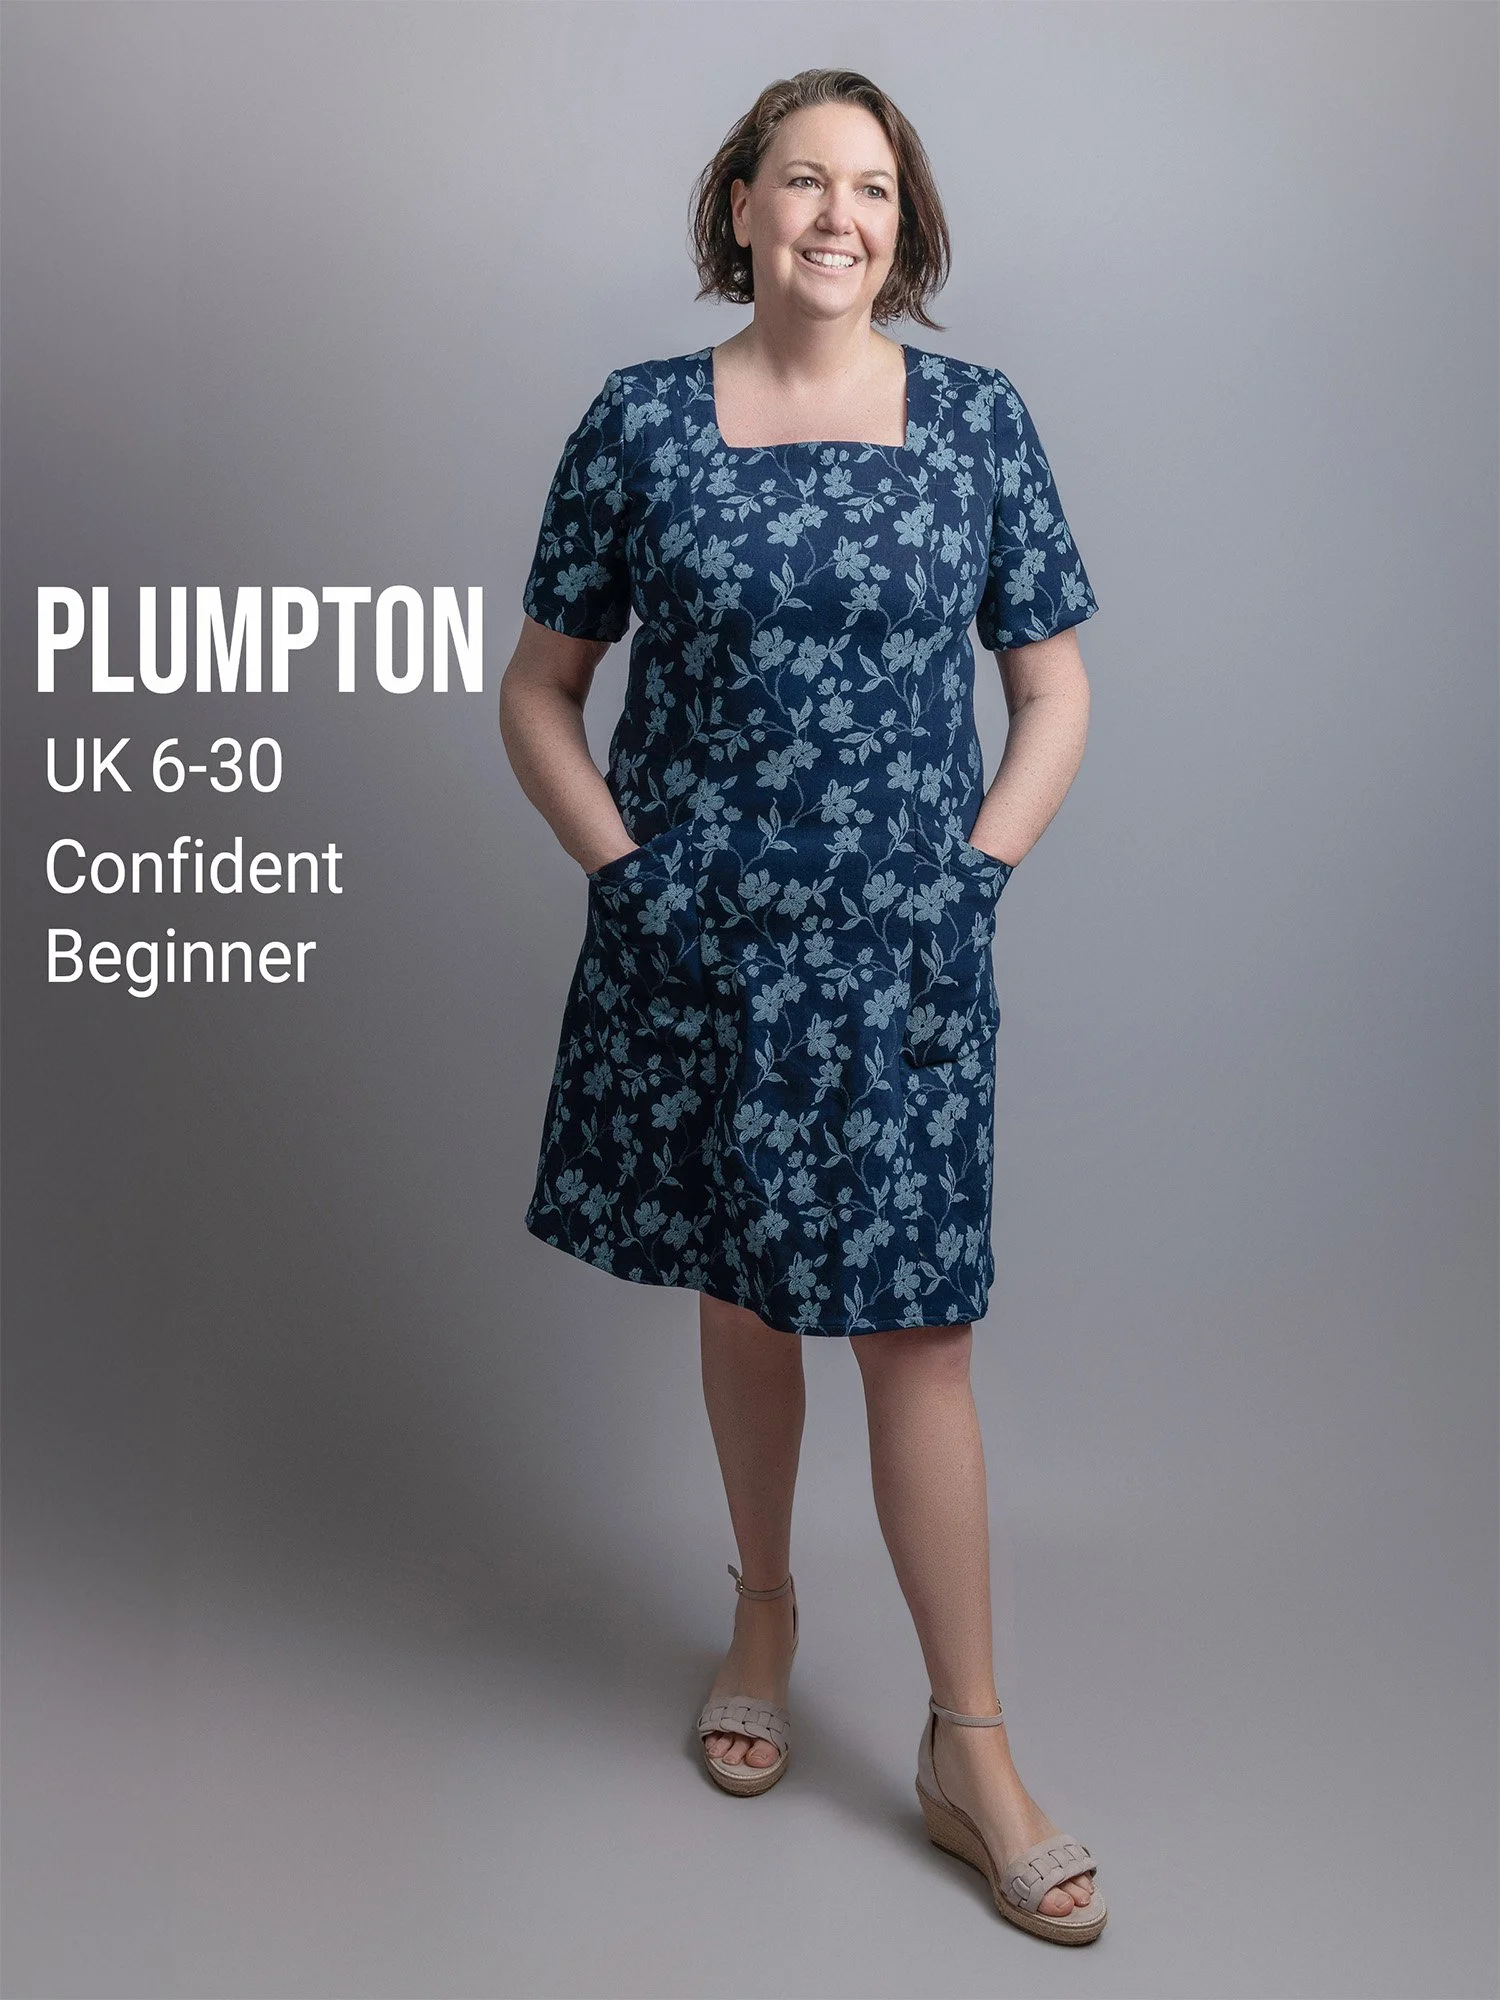
Above you can see a comparison between the sizing chart and the finished measurements of our Plumpton Dress pattern. These are for a size 16 (UK Sizing), and the amount of ease will differ between sizes to reflect different body shapes (larger bodies are a different shape, they aren't just smaller bodies scaled up!), but the principal is the same for any size.
We can see above that the bust is 100cm on the sizing chart, but 105cm on the finished garment chart. This tells us that there is 5cm of ease around the bust for this size.
If we look at the waist measurement, we can see the sizing chart reads 82cm but the finished measurements read 90cm, a generous 8cm of ease around the waist. (In the case of the Plumpton Dress, this is partly to allow for easier dressing as it’s a slip-on design).
So using these measurements we get a much better idea of how the garment is intended to fit, information that just isn’t present in the sizing chart.
Other Measurements
In addition to the standard body measurements, there are some other measurements on the finished garment chart that are not on the sizing chart, these include useful measurements like garment length, length or width of any sleeves, and so on, so you’ll want to consult those also as they may indicate that you’d like to make additional alterations such as lengthening a skirt, and you’ll need to identify these changes before cutting out.
Time To Make a Toile!
So you’ve looked at all the charts and decided which size to cut out, let’s get cutting our lovely new fabric, shall we?
Not so fast!
Looking at measurement charts will only get you so far. Although a useful guide, it won’t tell you everything. Garments and bodies are complicated, and there’s your own personal preferences to consider in terms of what feels comfortable and what you think looks good on you.
So don’t go cutting up that lovely (possibly expensive) fabric just yet. Always make a toile first. A toile is a test garment made using cheap fabric. The time and effort spent on making a toile will be well worth it as it will clarify whether you have or haven’t chosen the right size, whether there are any additional alterations you need or want to make (maybe it seems a little short now you’ve got it on?), and so on.
Another benefit of making a toile is that it gives you a test run of the instructions (or tutorial video) and a practice go at the overall construction process. Although you can shortcut some of this if you want to (see below), this is a great time to make mistakes! Better to mess up now than when you’re making the real thing.
If it all sounds like a lot of extra work (I have to make it twice!?) it’s a lot better to take that extra time and be more confident that you’ll get a garment that fits and you’ll love wearing, than it is to jump in and make it only to find it doesn’t fit correctly and doesn’t look how you’d hoped, and now you’ve wasted all that lovely fabric, your time and your money. It’s a disappointment you really don’t want. Plus, its faster to do than you might think…
Toile Shortcuts
So you’ve decided to make a toile - great decision! We appreciate that it does feel like a lot of extra work though, and you’re no doubt impatient to make this wonderful new me-made garment. If you want to make the process a bit quicker here’s a few tips for speeding things up.
Don’t finish seams. Unless you want to practice (maybe you’ve not done French Seams before, for example), there’s no need to finish the seams on a toile - it’s just a test garment, we don’t need fabulous finishing.
Don’t bother with facings. As above, facings are more part of finishing, so unless you want to practice the whole construction process (worthwhile if you’re a beginner), then just don’t bother with them. Do stay stitch areas like necklines though, to avoid stretch, as you want a true fit.
Only make one sleeve. If your garment has sleeves, you don’t need to make both of them to find out if they fit and are the length you’d like. Inserting sleeves can be tricky and time consuming, so why not cut that work in half?
Only make the part that you need to test. For example, the Framfield Dress or Amberley Dress only really require a bodice toile as they only need to fit over the bust. For the Framfield you’d just need to add a single sleeve.
Further Reading
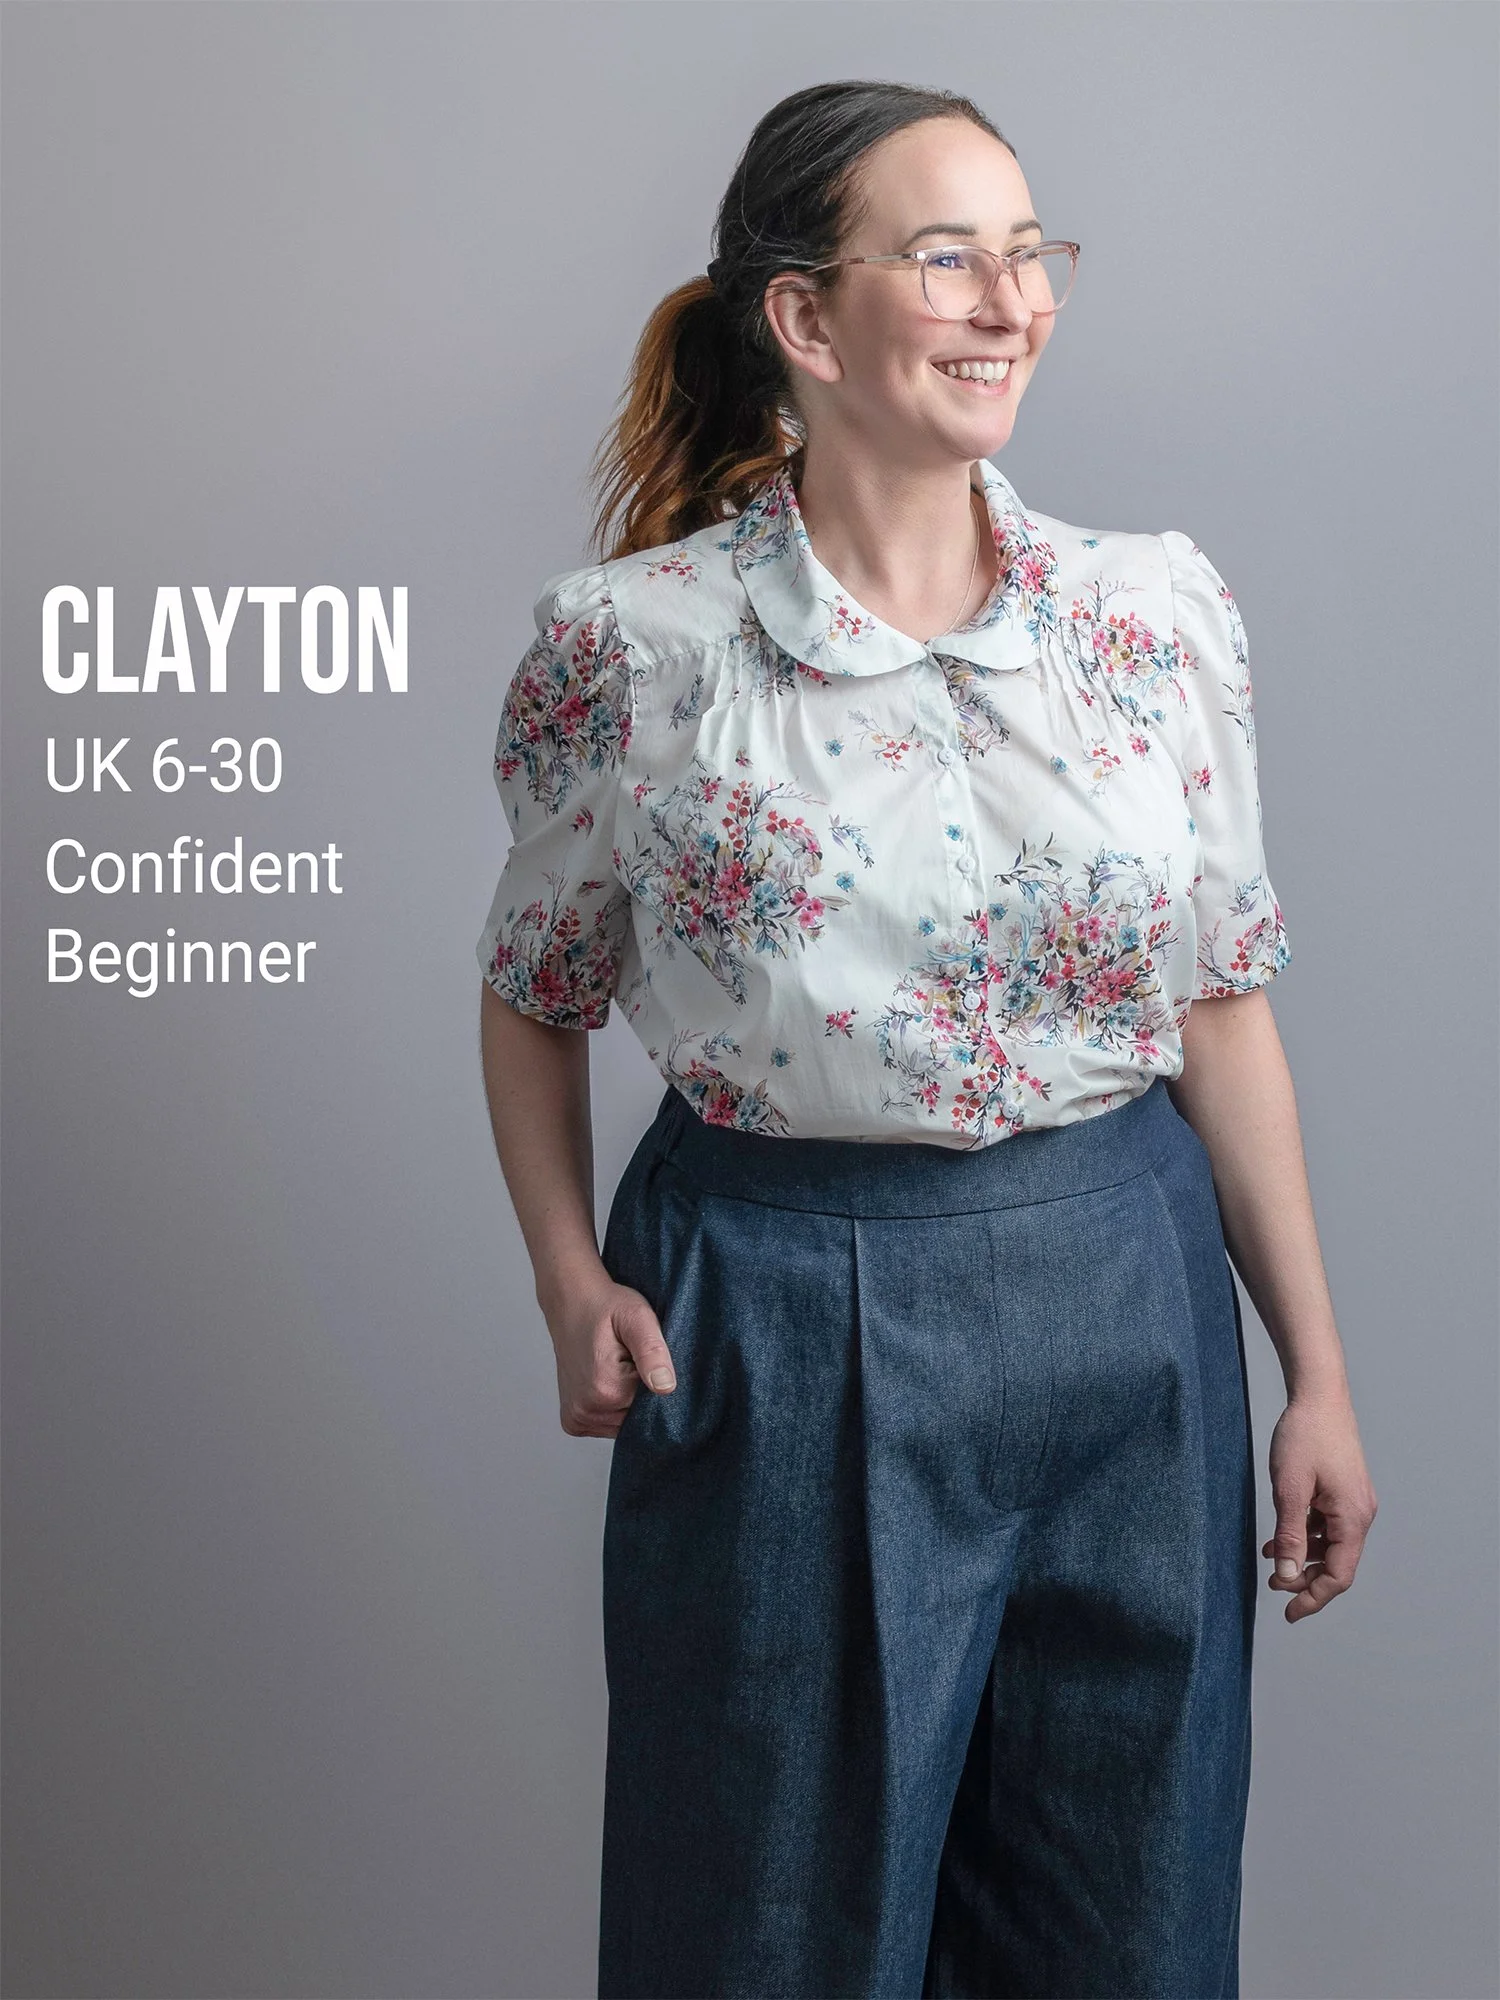
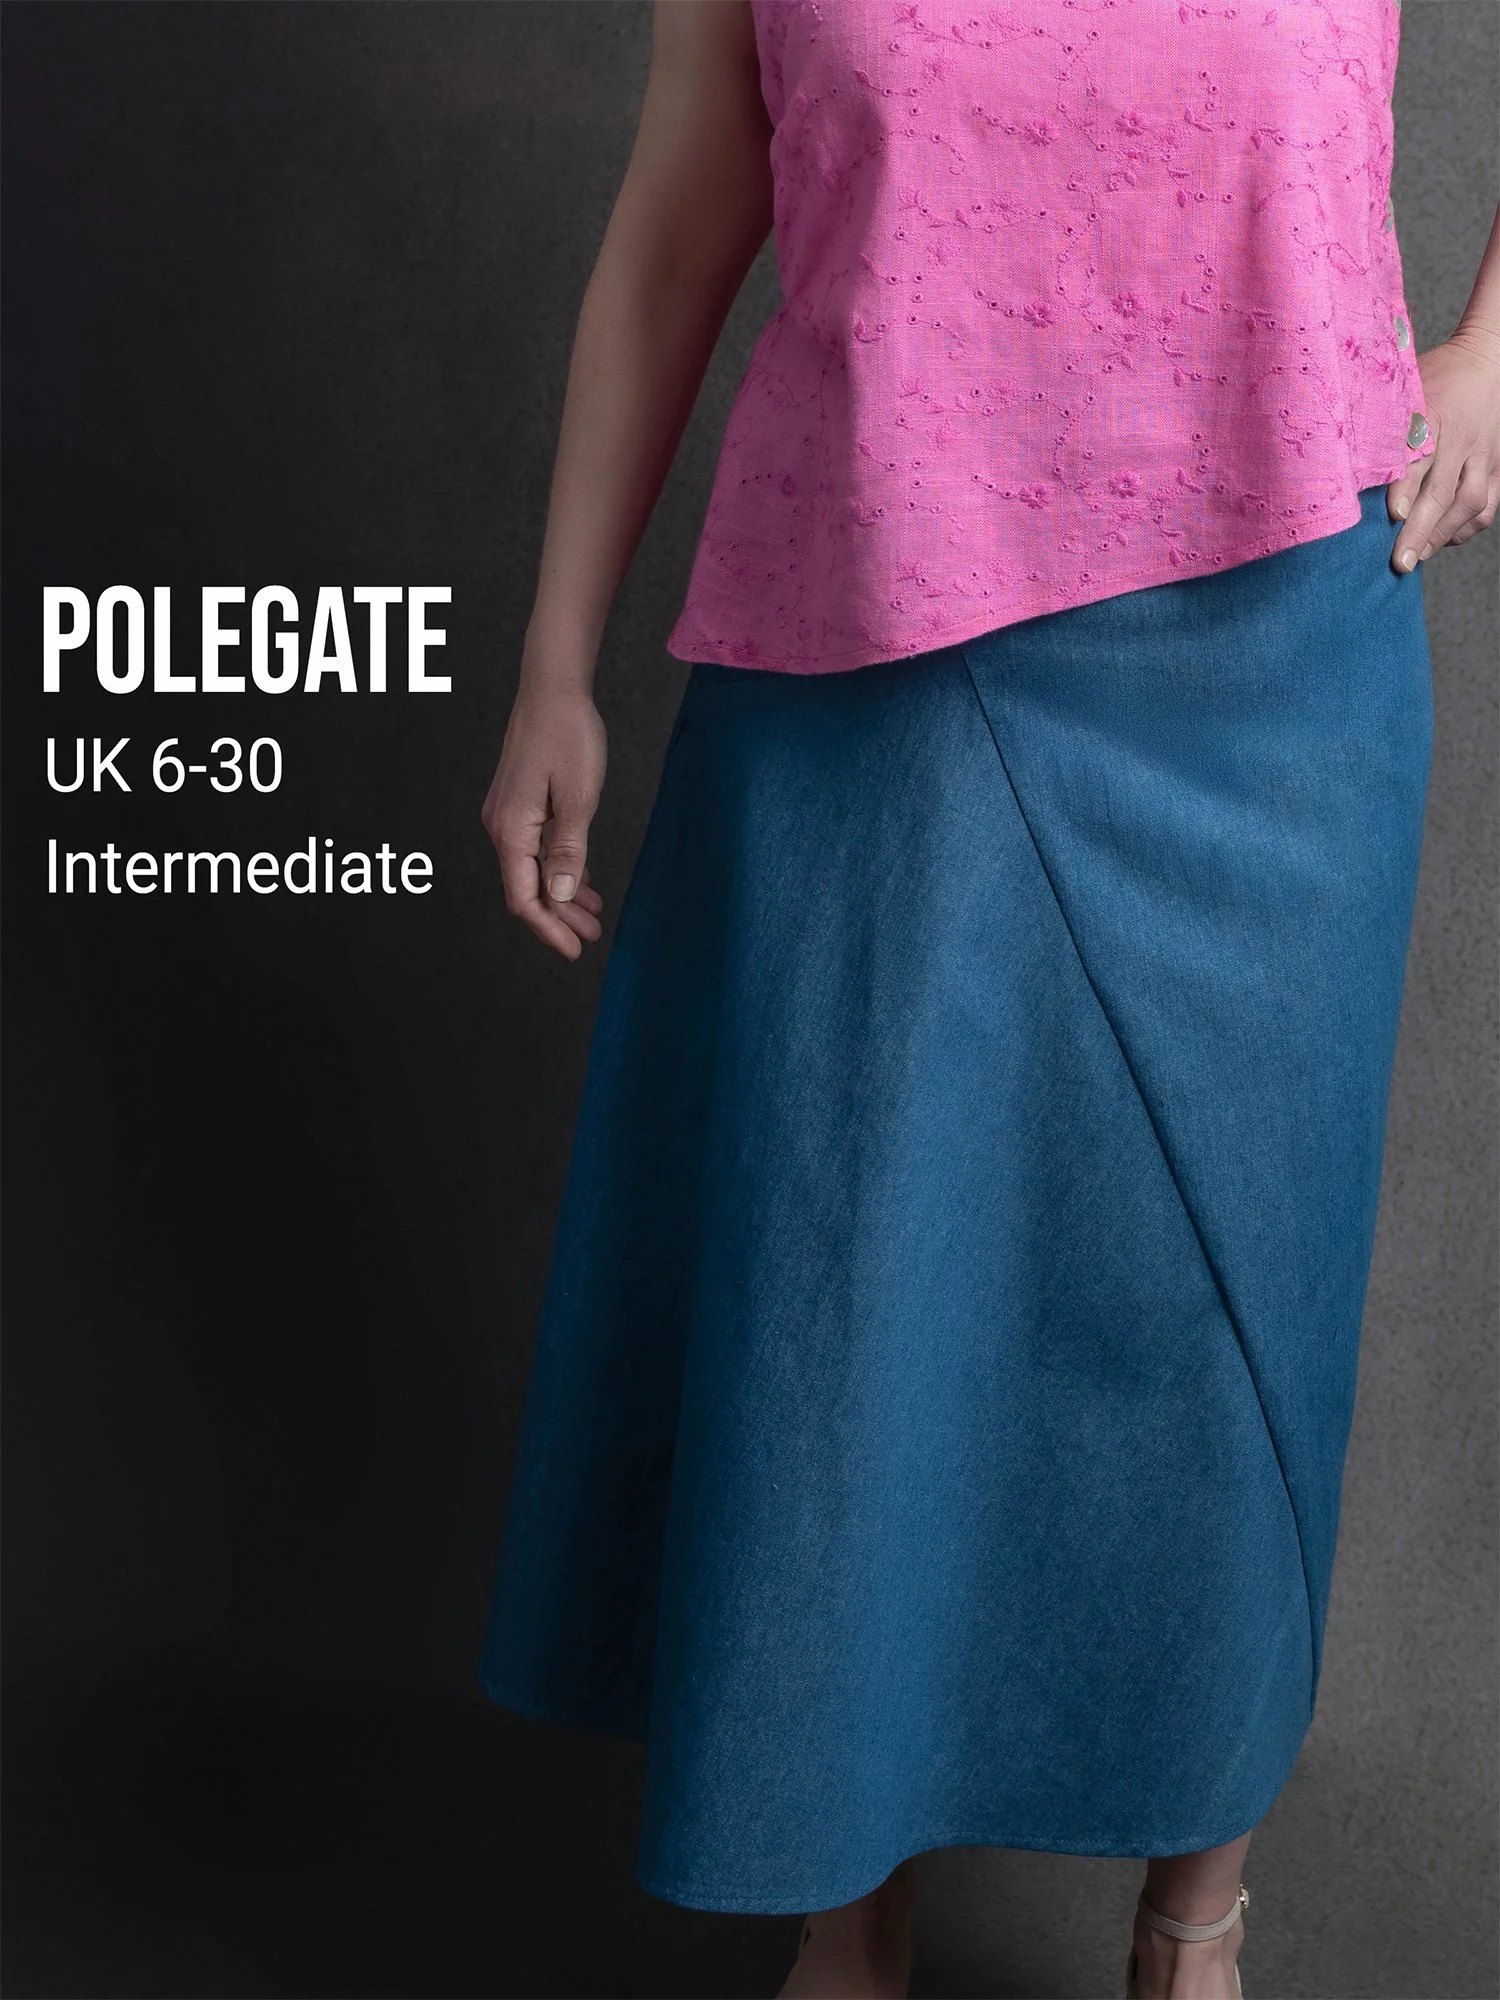
In a future blog post we’ll look at grading between different sizes, as sometimes that’s the best solution. But in the meantime, you can also read our guides to some other basic pattern alteration processes via the links below. And why not scroll down to take a look at our latest patterns, available in sizes 6-30, all with free video tutorials.

Sussex Seamstress is an independent pattern studio, based in Sussex, UK.
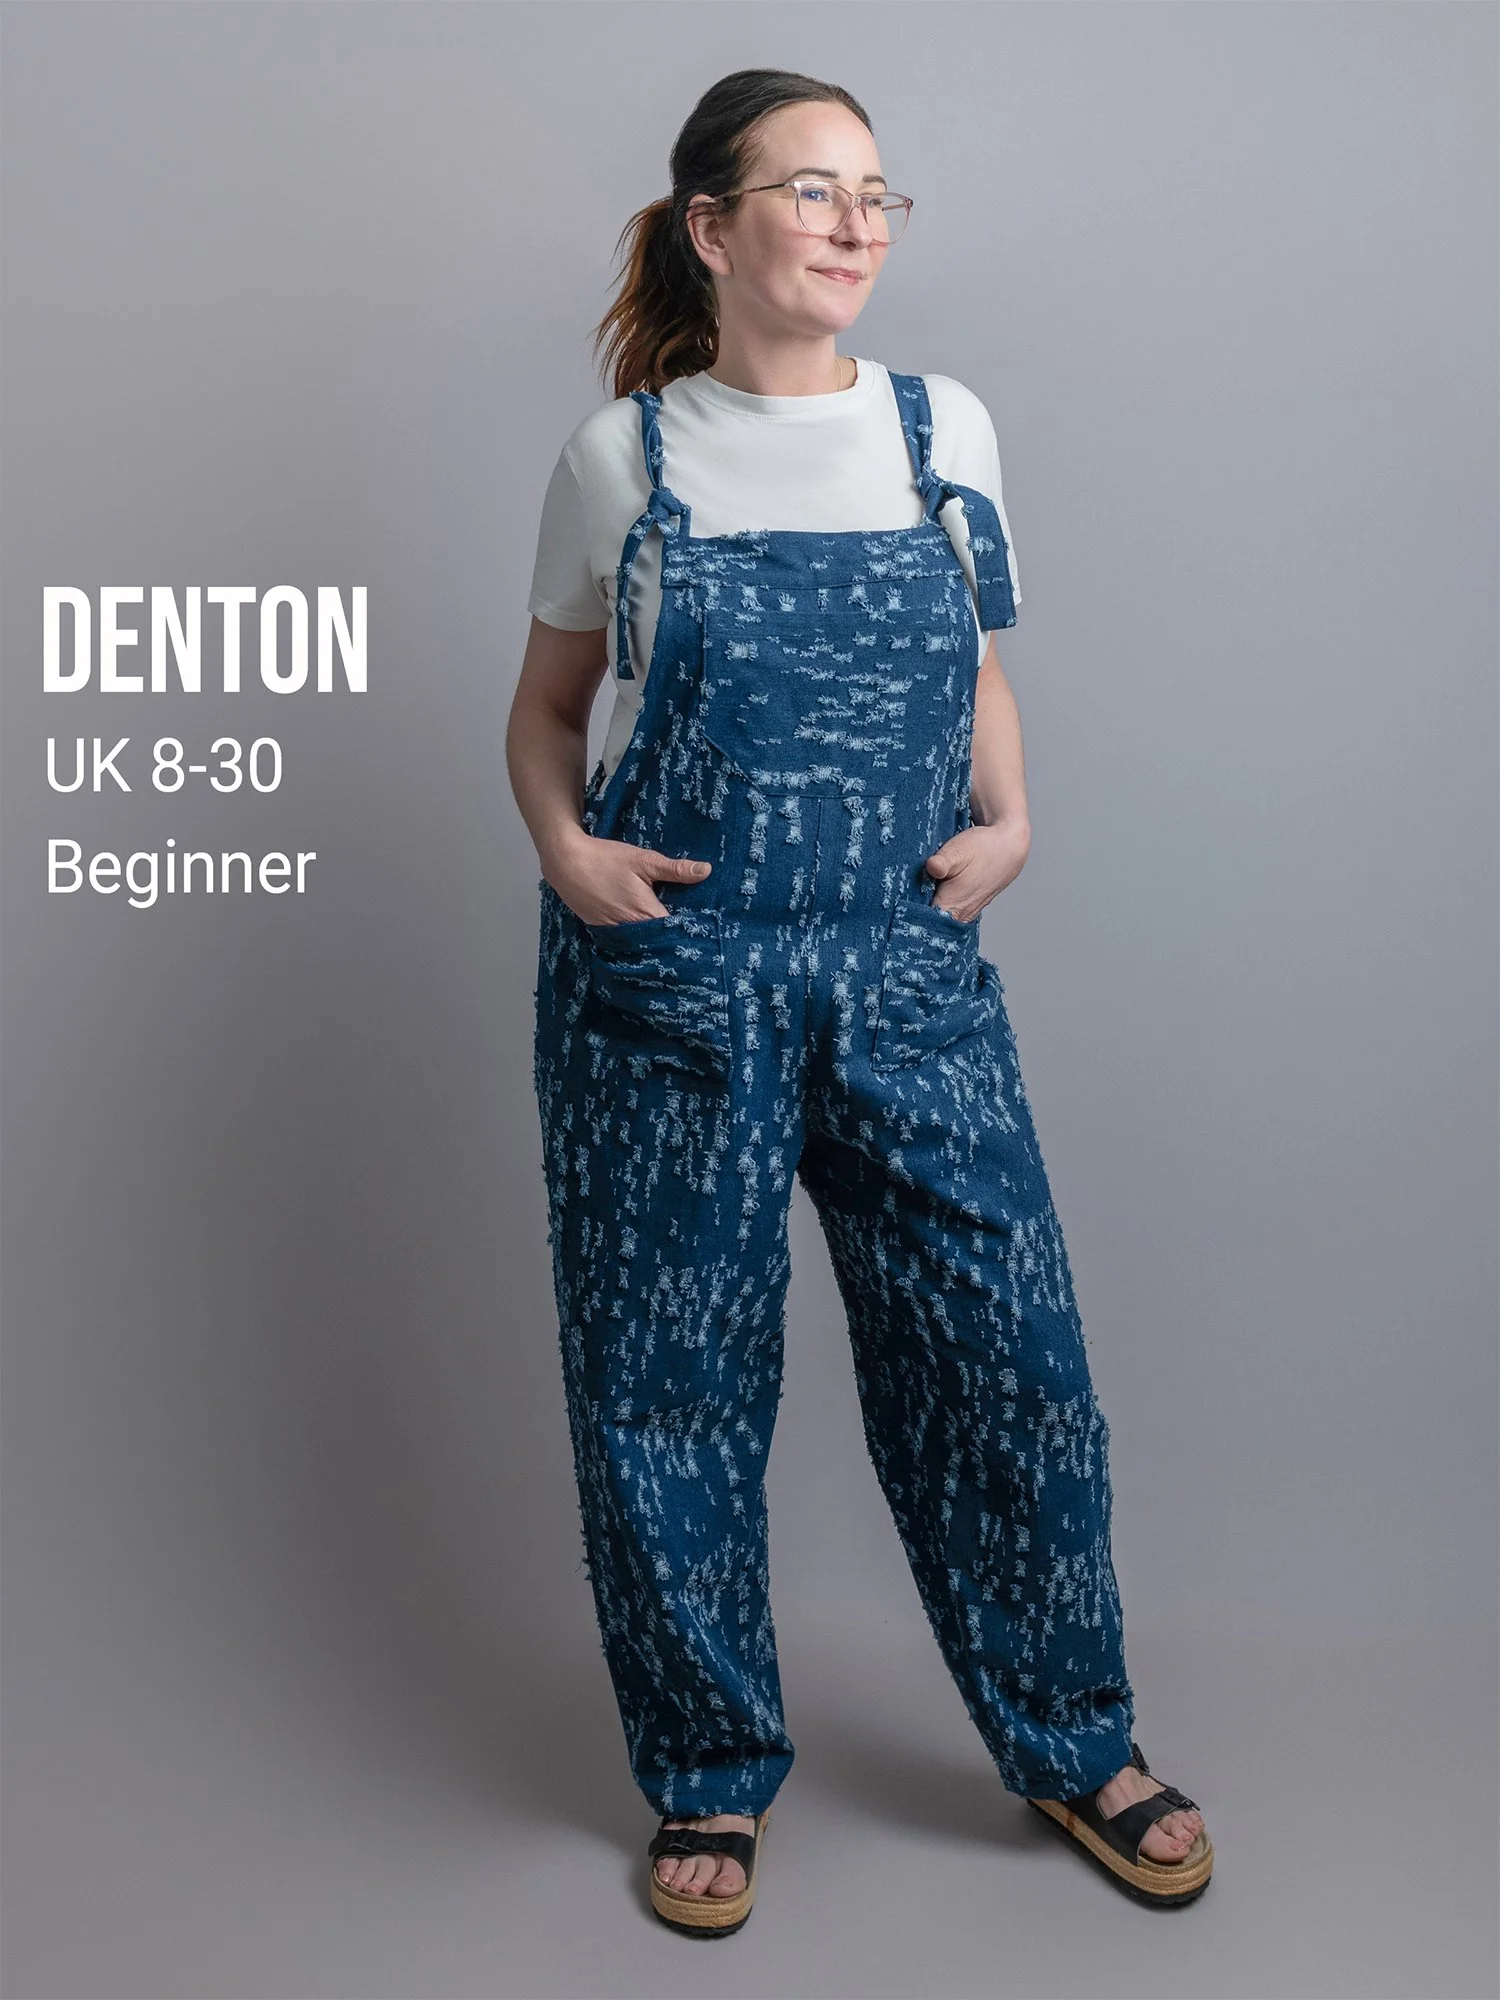
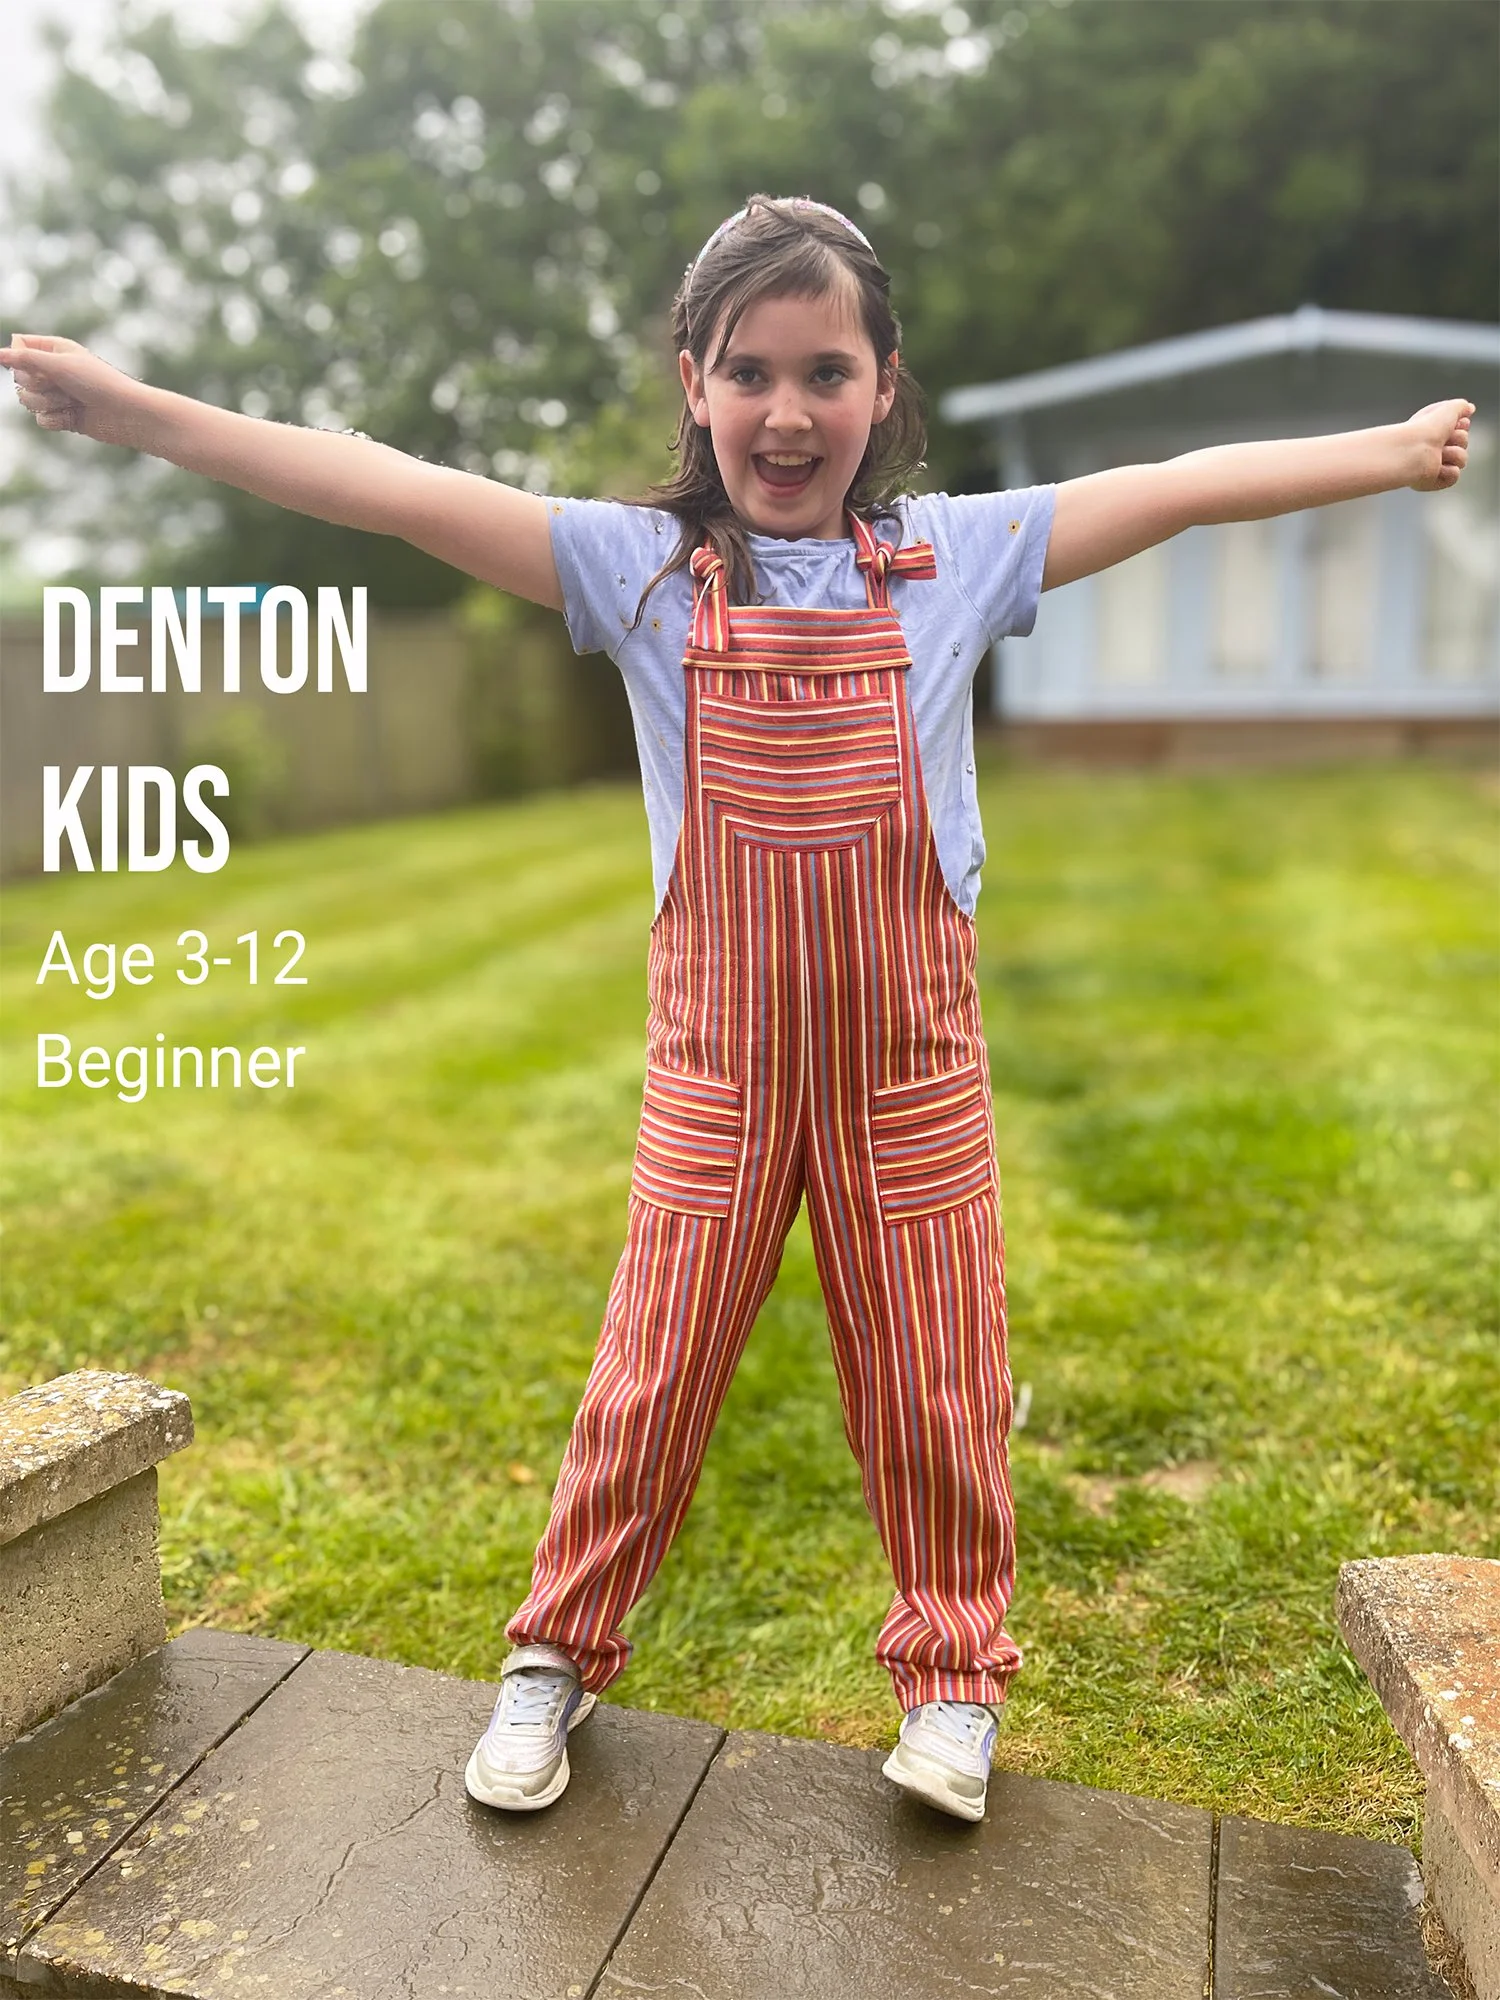
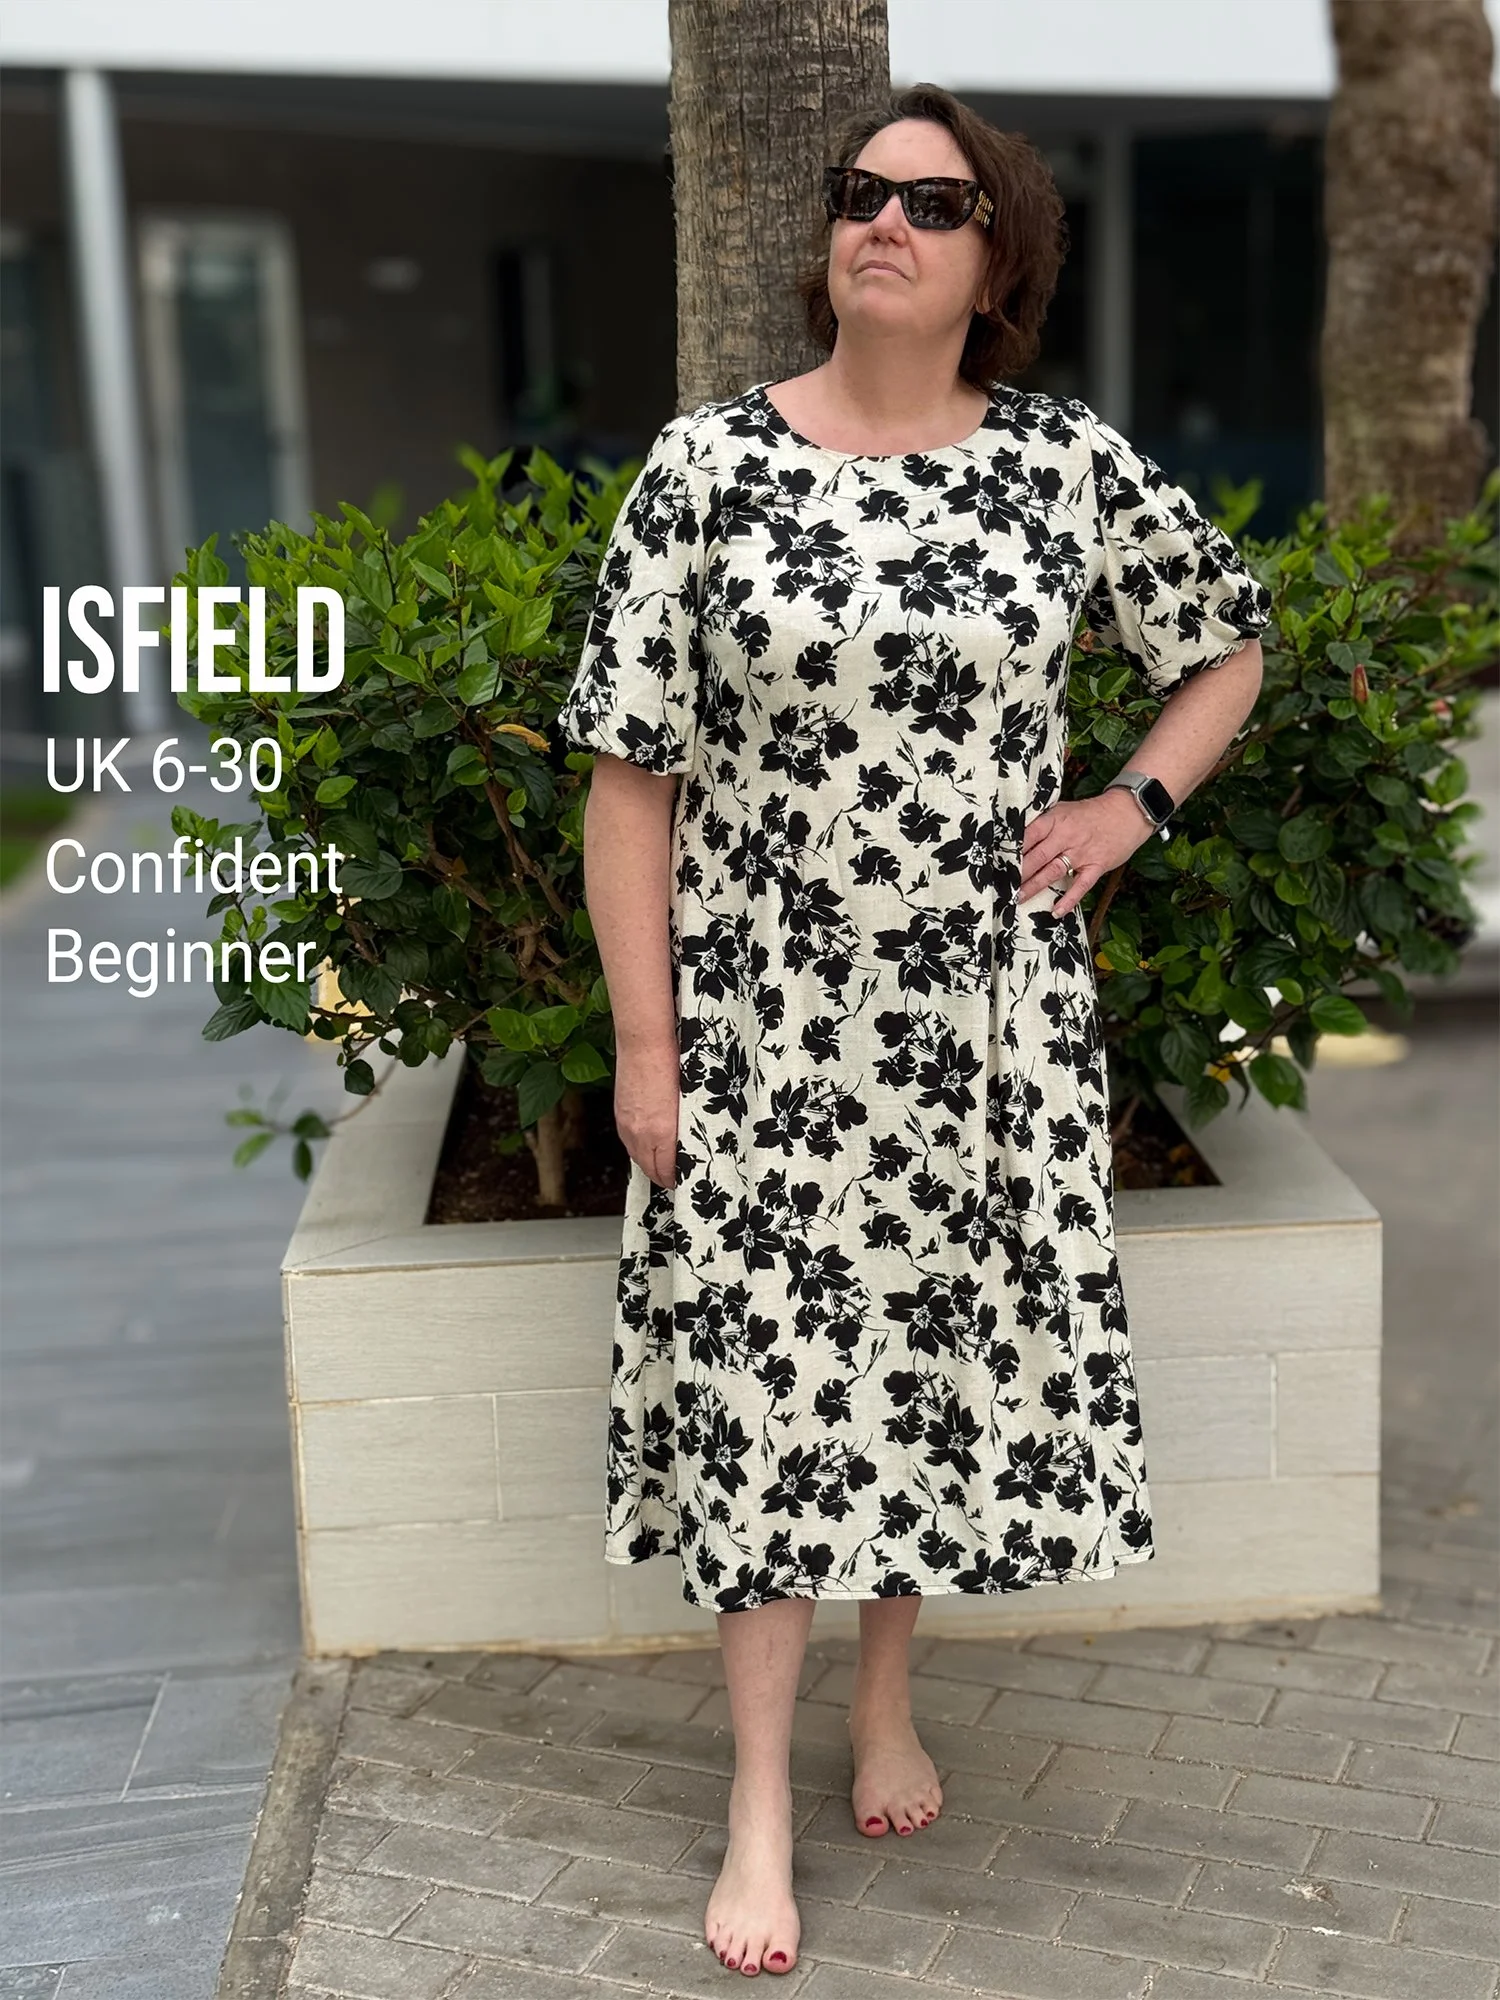
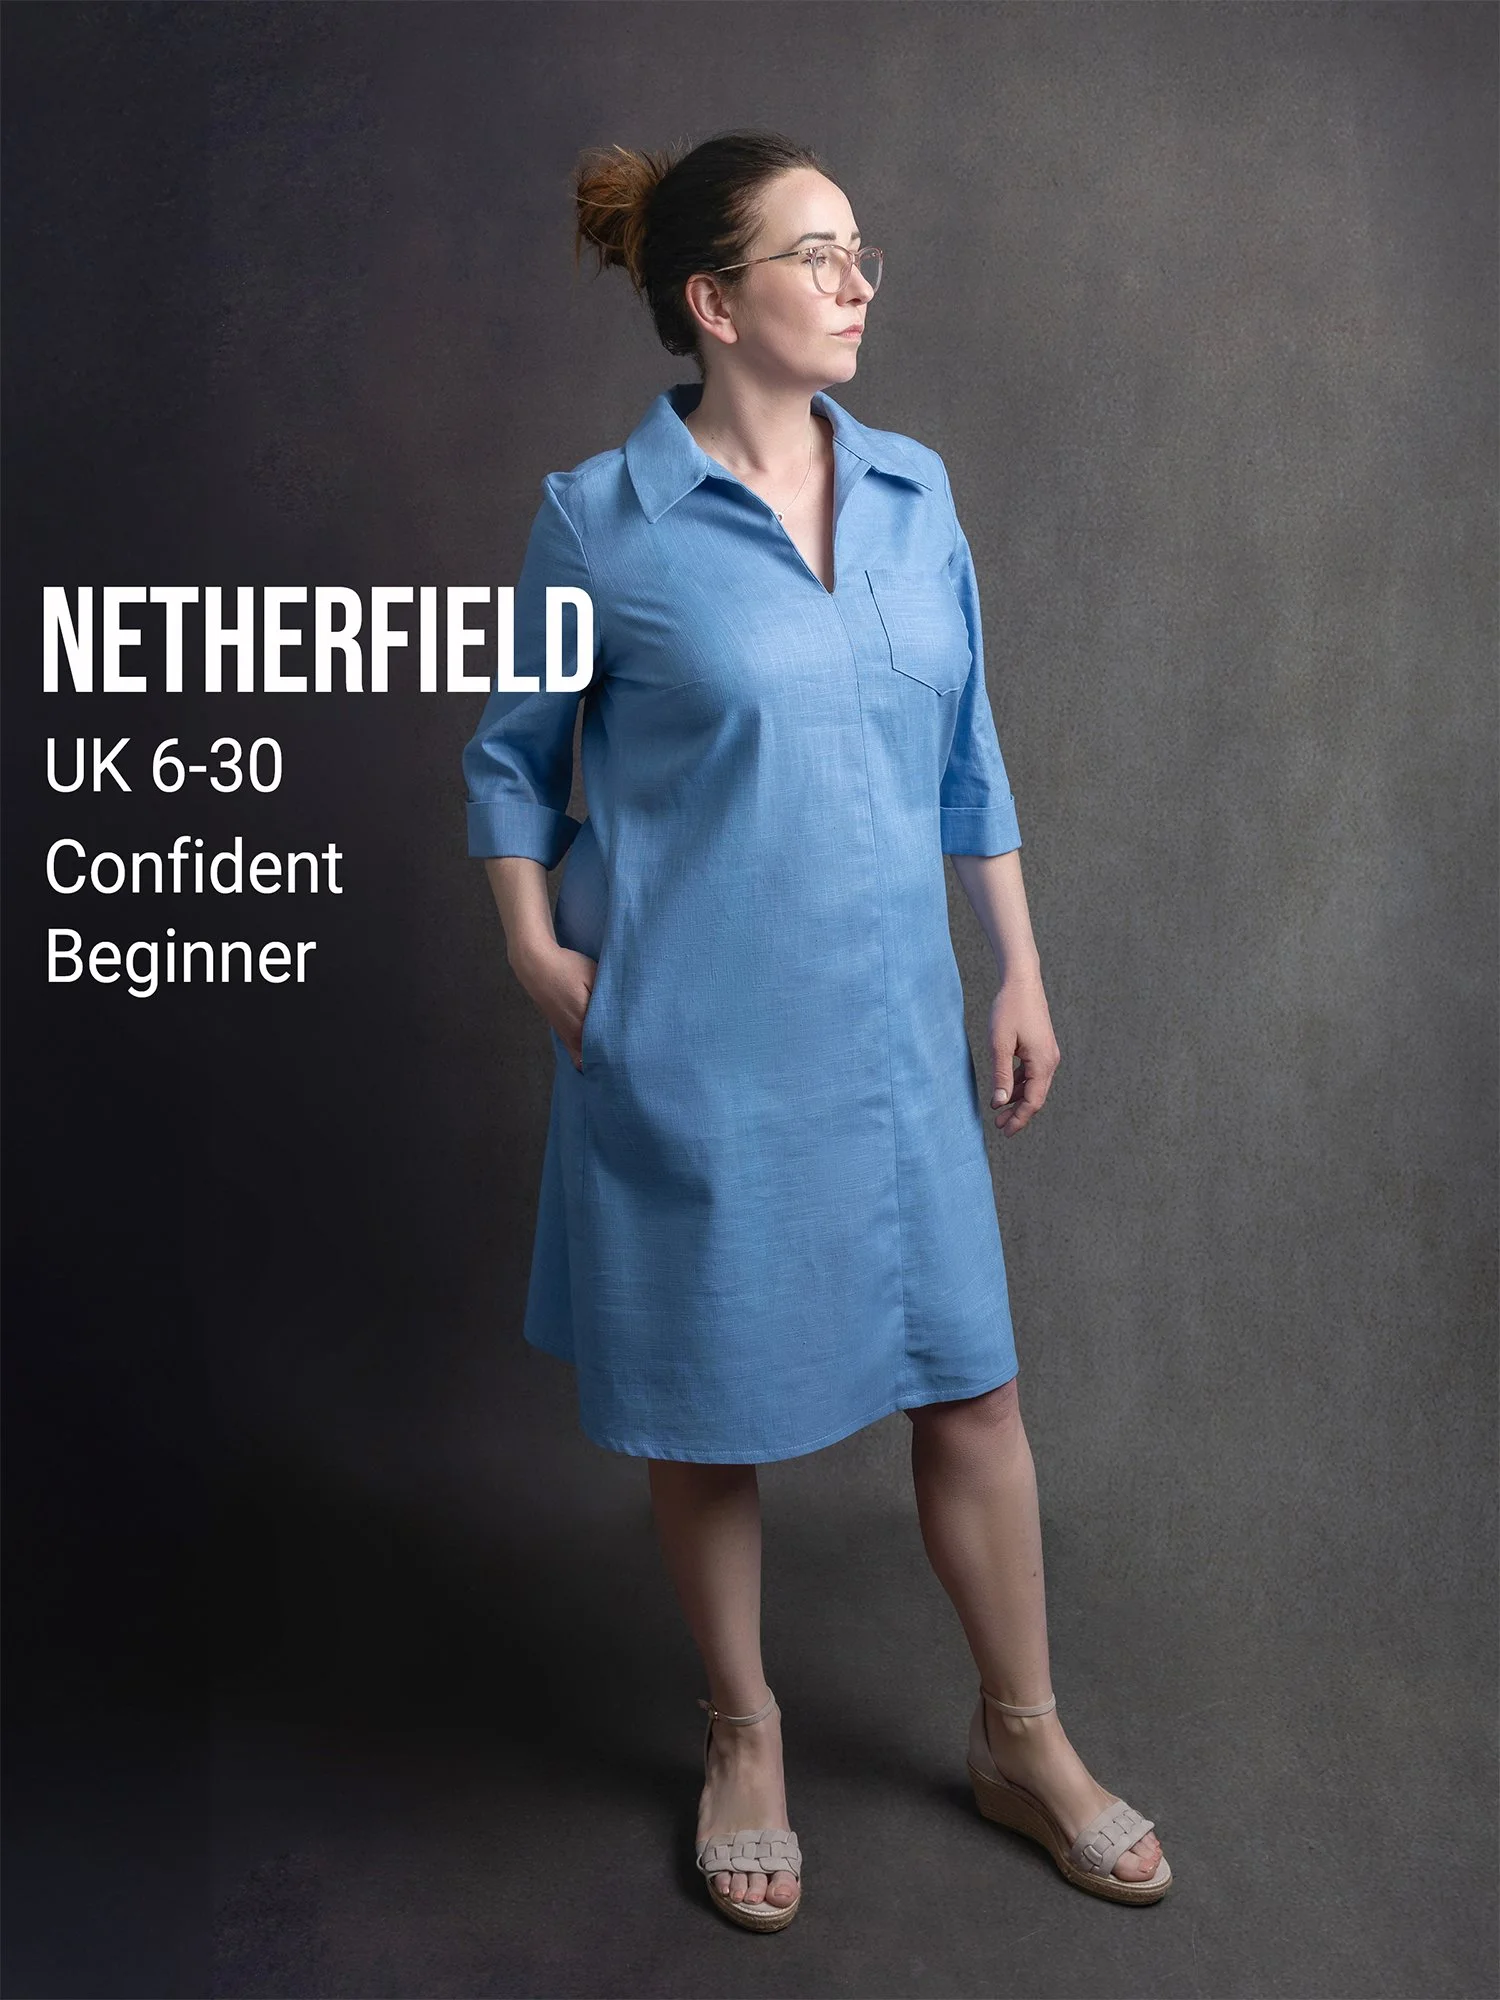
Check out our range of dressmaking patterns in sizes 6-30. A Selection of our recent patterns is shown below. Thank you!