How To Sew An In-Seam Pocket
I often get asked if it’s possible to add in-seam pockets to some of my patterns, especially the Amberley Dress.
The answer is absolutely, yes! In fact an in-seam pocket is an easy addition to many patterns, and they have less impact on the overall look of the garment than a patch pocket.
In this blog post I’ll be showing you how to add your own in-seam pockets to whichever pattern you like, so long as it has an appropriate side seam for the pocket to be sewn into.
To make it easier, I’ve added a free in-seam pocket pattern that you can download from this blog post. If you don’t have a printer at home, you can still download it and get a feel for the general shape you want to create for your pocket piece.
Download the pattern using one of the following links. The pattern is available in two paper formats: an A4 In-Seam Pocket Pattern, and a US Letter In-Seam Pocket Pattern.
Make sure when you print it that you have your printer settings on “actual scale” or “100% scale”.
You’ll need to cut as many pairs of pocket pieces as you want pockets, so for 2 pockets, you’ll want 2 pairs. In this example I’ll be using the same fabric that the garment is made from, but you can use whatever you like, plain cotton is fine.
If you’d like to see the process of adding an in-seam pocket in video form, just click on the YouTube link below. Otherwise, scroll past for the main blog post.
Sewing an In-Seam Pocket
We’re going to assume that the garment has a front & back piece that meet at a side seam. First decide where on the side seam your pocket/s will be placed. This is entirely up to you, but you’ll want to work out a position that will be comfortable for you.
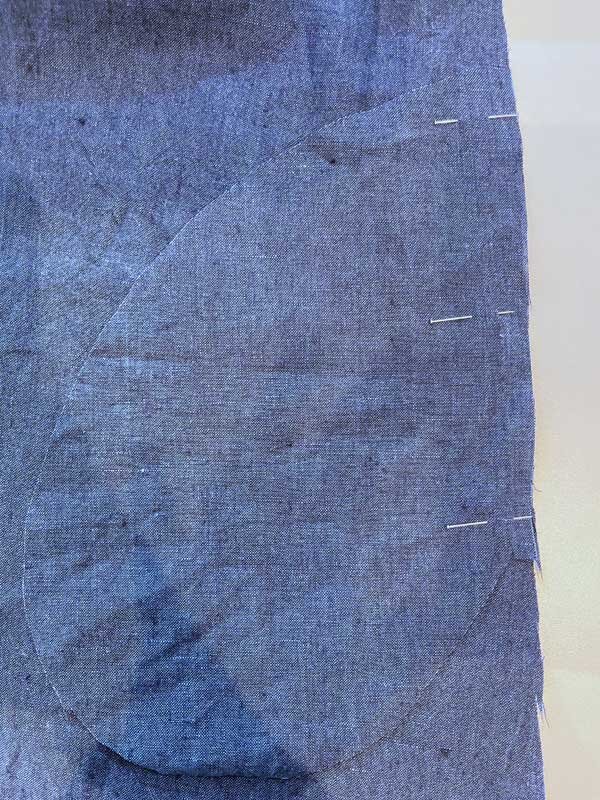
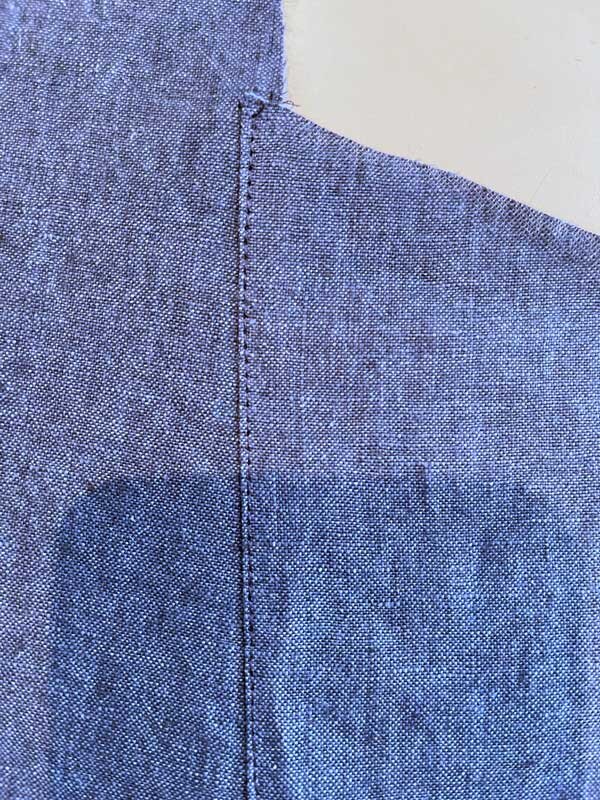
Mark the top of the pocket position with a notch on the side seam of the garment back. Then place the pocket piece and the garment back piece right sides together with the edge of the pocket piece aligned with the notch and the side seam, as shown above.
Pin and stitch along the side seam, around 5-8mm in from the seam edge. You want to stitch within (less than) the seam allowance as this will mean the stitch line falls just inside the pocket so it won’t show.

Here’s what it looks like after stitching. Now we want to finish the seam, so either over-lock or zig-zag the raw edge.
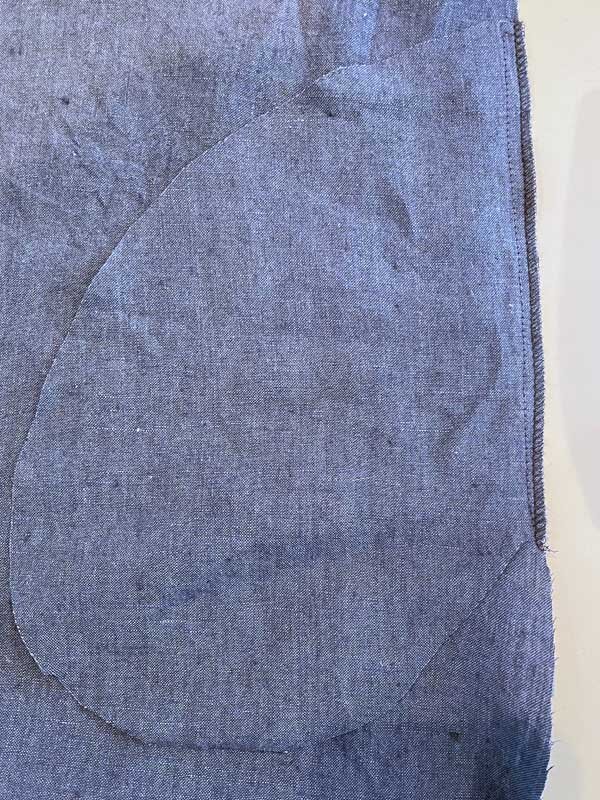
It should look something like this.

Press the pocket over the seam allowance, as shown above. Then edge stitch the seam allowance of the pocket.
You should end up with a nice tidy edge like this.

Flipping the garment over, we can see the seam allowance pressed toward the pocket.
Now repeat the whole process we’ve just been through, but with the front of the garment. Make sure you mark your pocket notch the same distance down the side seam. You’ll end up with one pocket piece sewn to the back of the garment, and it’s pair sewn to the front of the garment.
If you want 2 pockets, you’ll need to do the same thing for the other side seam. If you are only adding 1 pocket make sure you sew it to the correct side seam!

Now place the front & back of the garment, right sides together, and pin along the side seam and the edge of the pocket pieces. We’re going to be stitching down the side seam until we reach the pocket, then we’ll pivot and continue stitching around the edge of the pocket until we find ourselves back at the side seam. We can then pivot again and finish off the rest of the seam.
Whatever you do, don’t just stitch down the whole length of the side seam or you’ll sew your pocket up!

It should look like this when you’re done.

Finish the raw edge of the pocket and side seam with an overlocker or zigzag stitch.

Press the pocket toward the front of the garment.

And that’s it, we’re done! The pocket should be almost invisible from the outside. Honestly, there is a pocket in there!
So now you’ve seen how easy it is, why not have a go yourself?
If you’d prefer a patch pocket, why not make it a pleated one? Take a look at my tutorial on How to Make a Pleated Patch Pocket.
And if you found this post useful, please share it :)
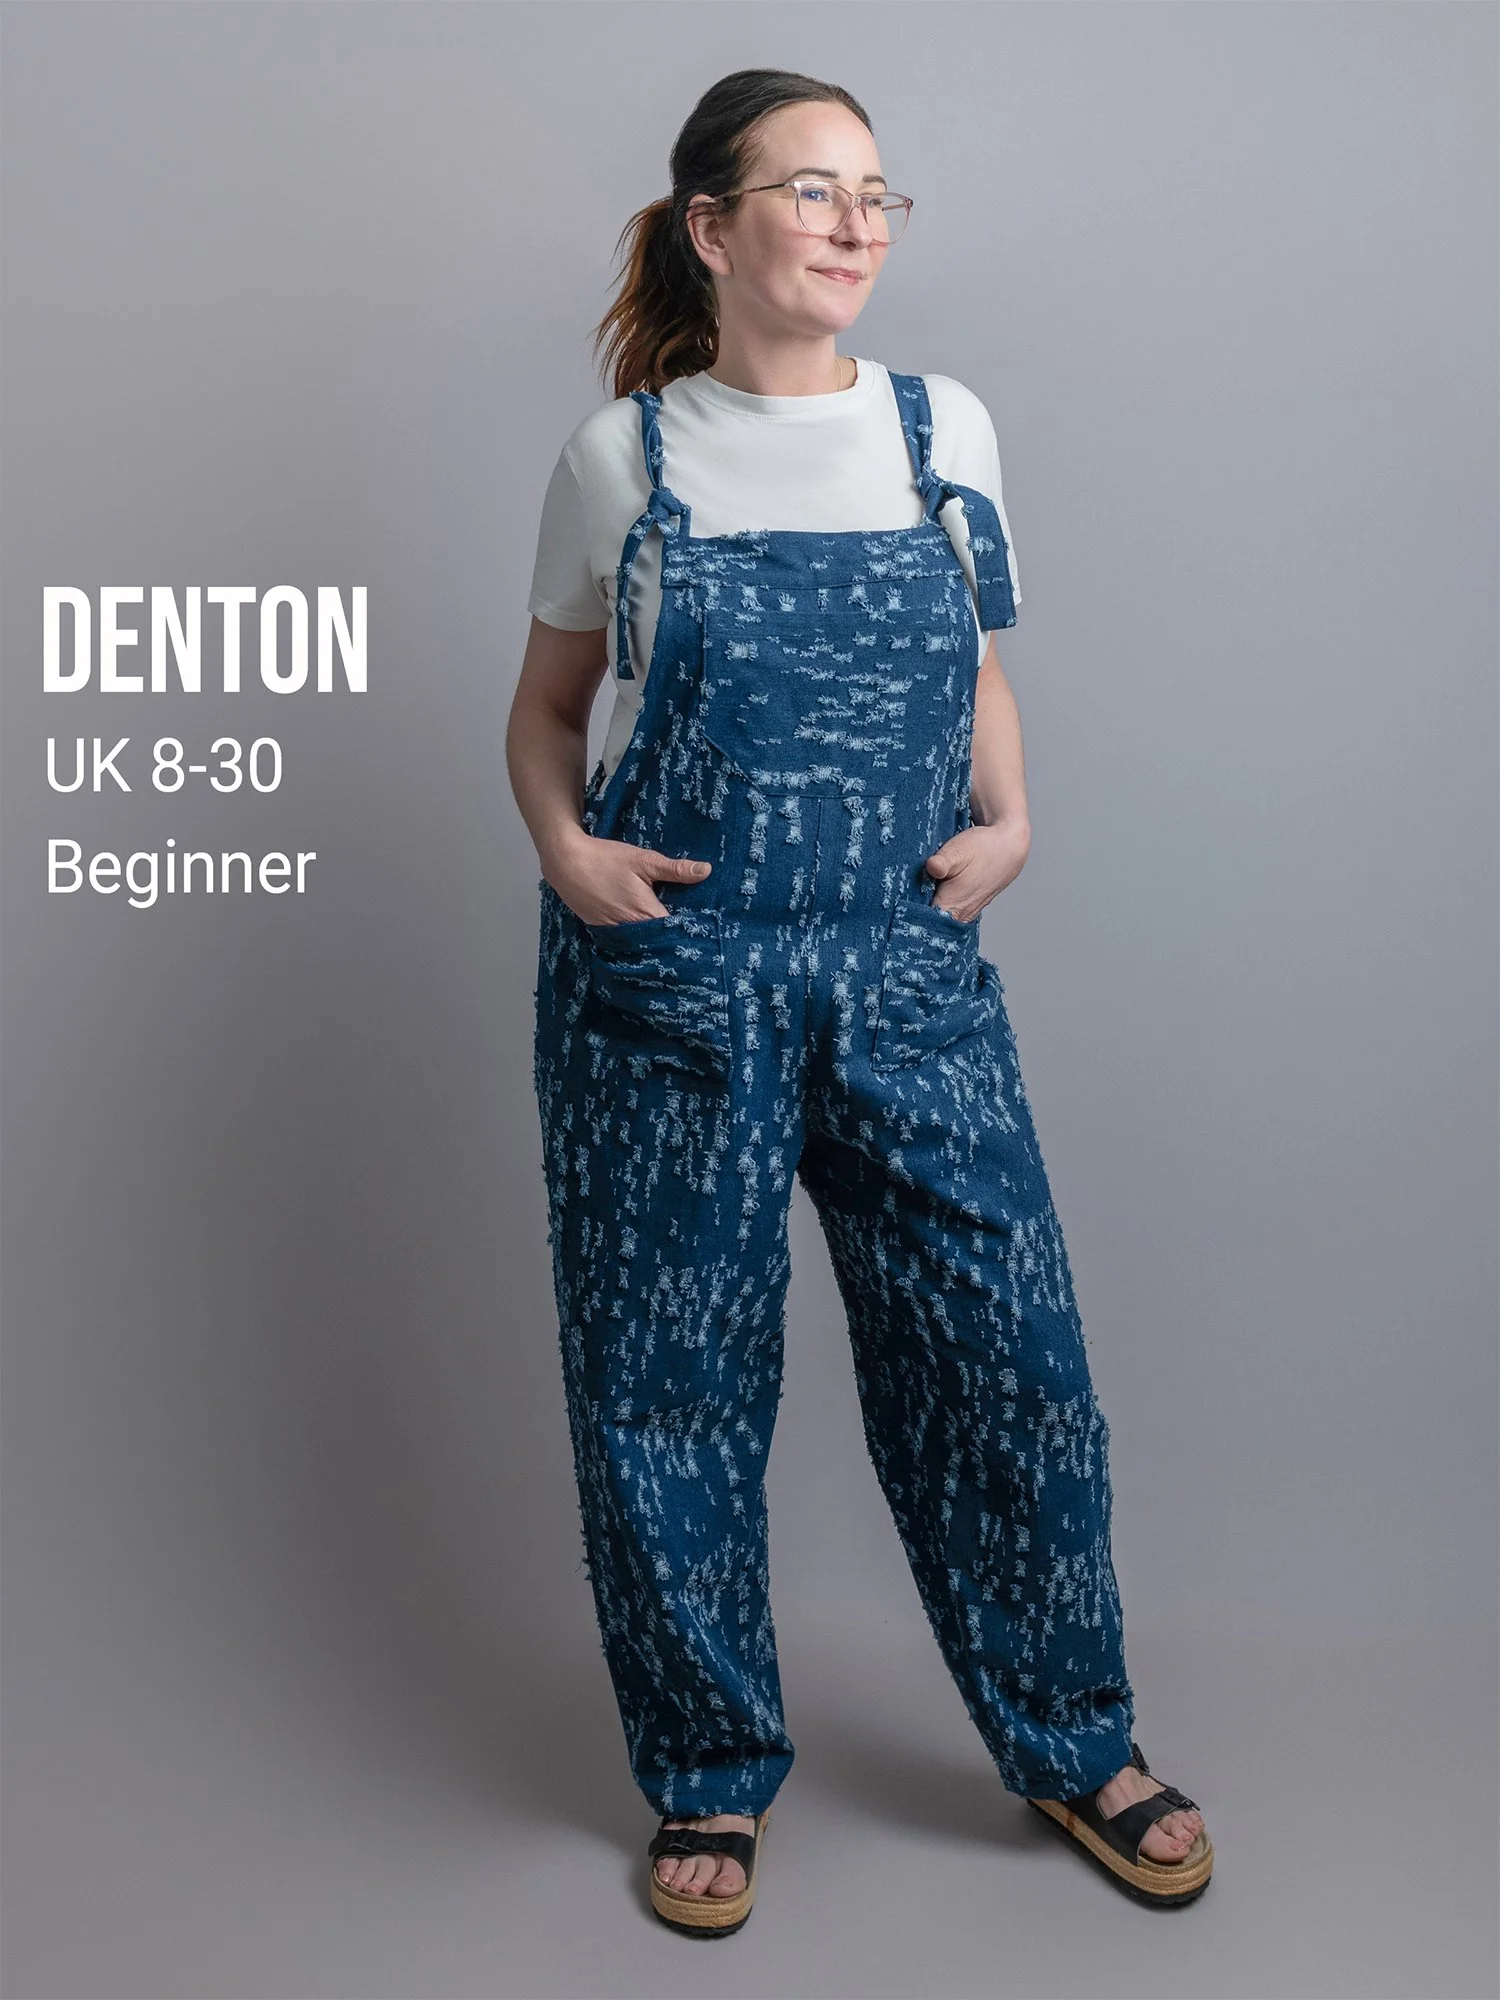
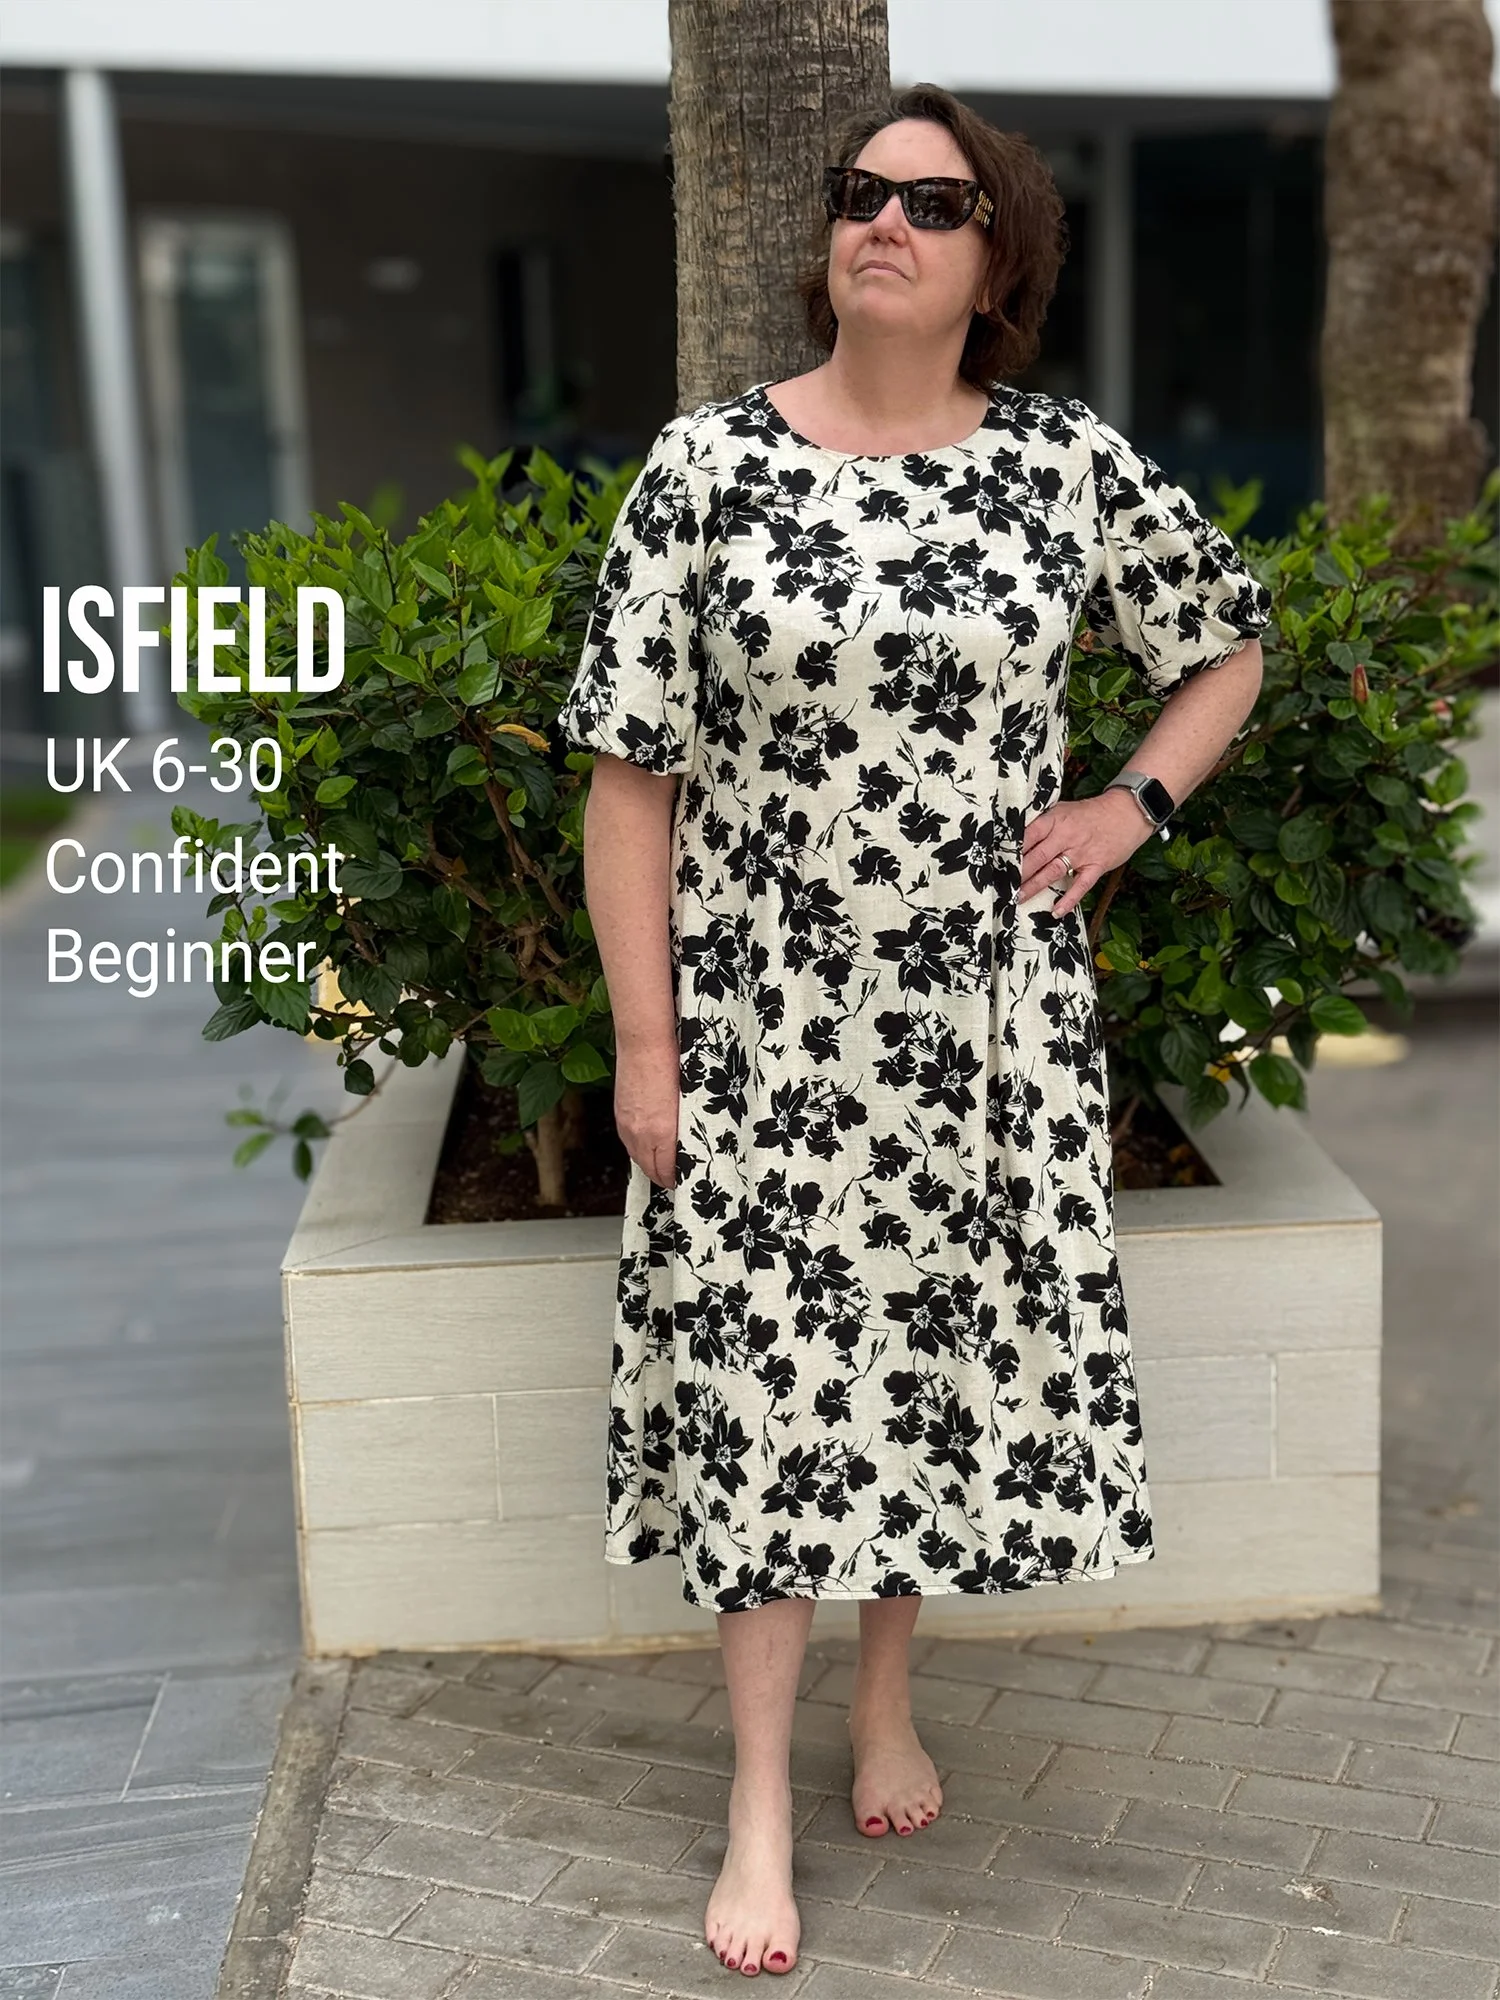
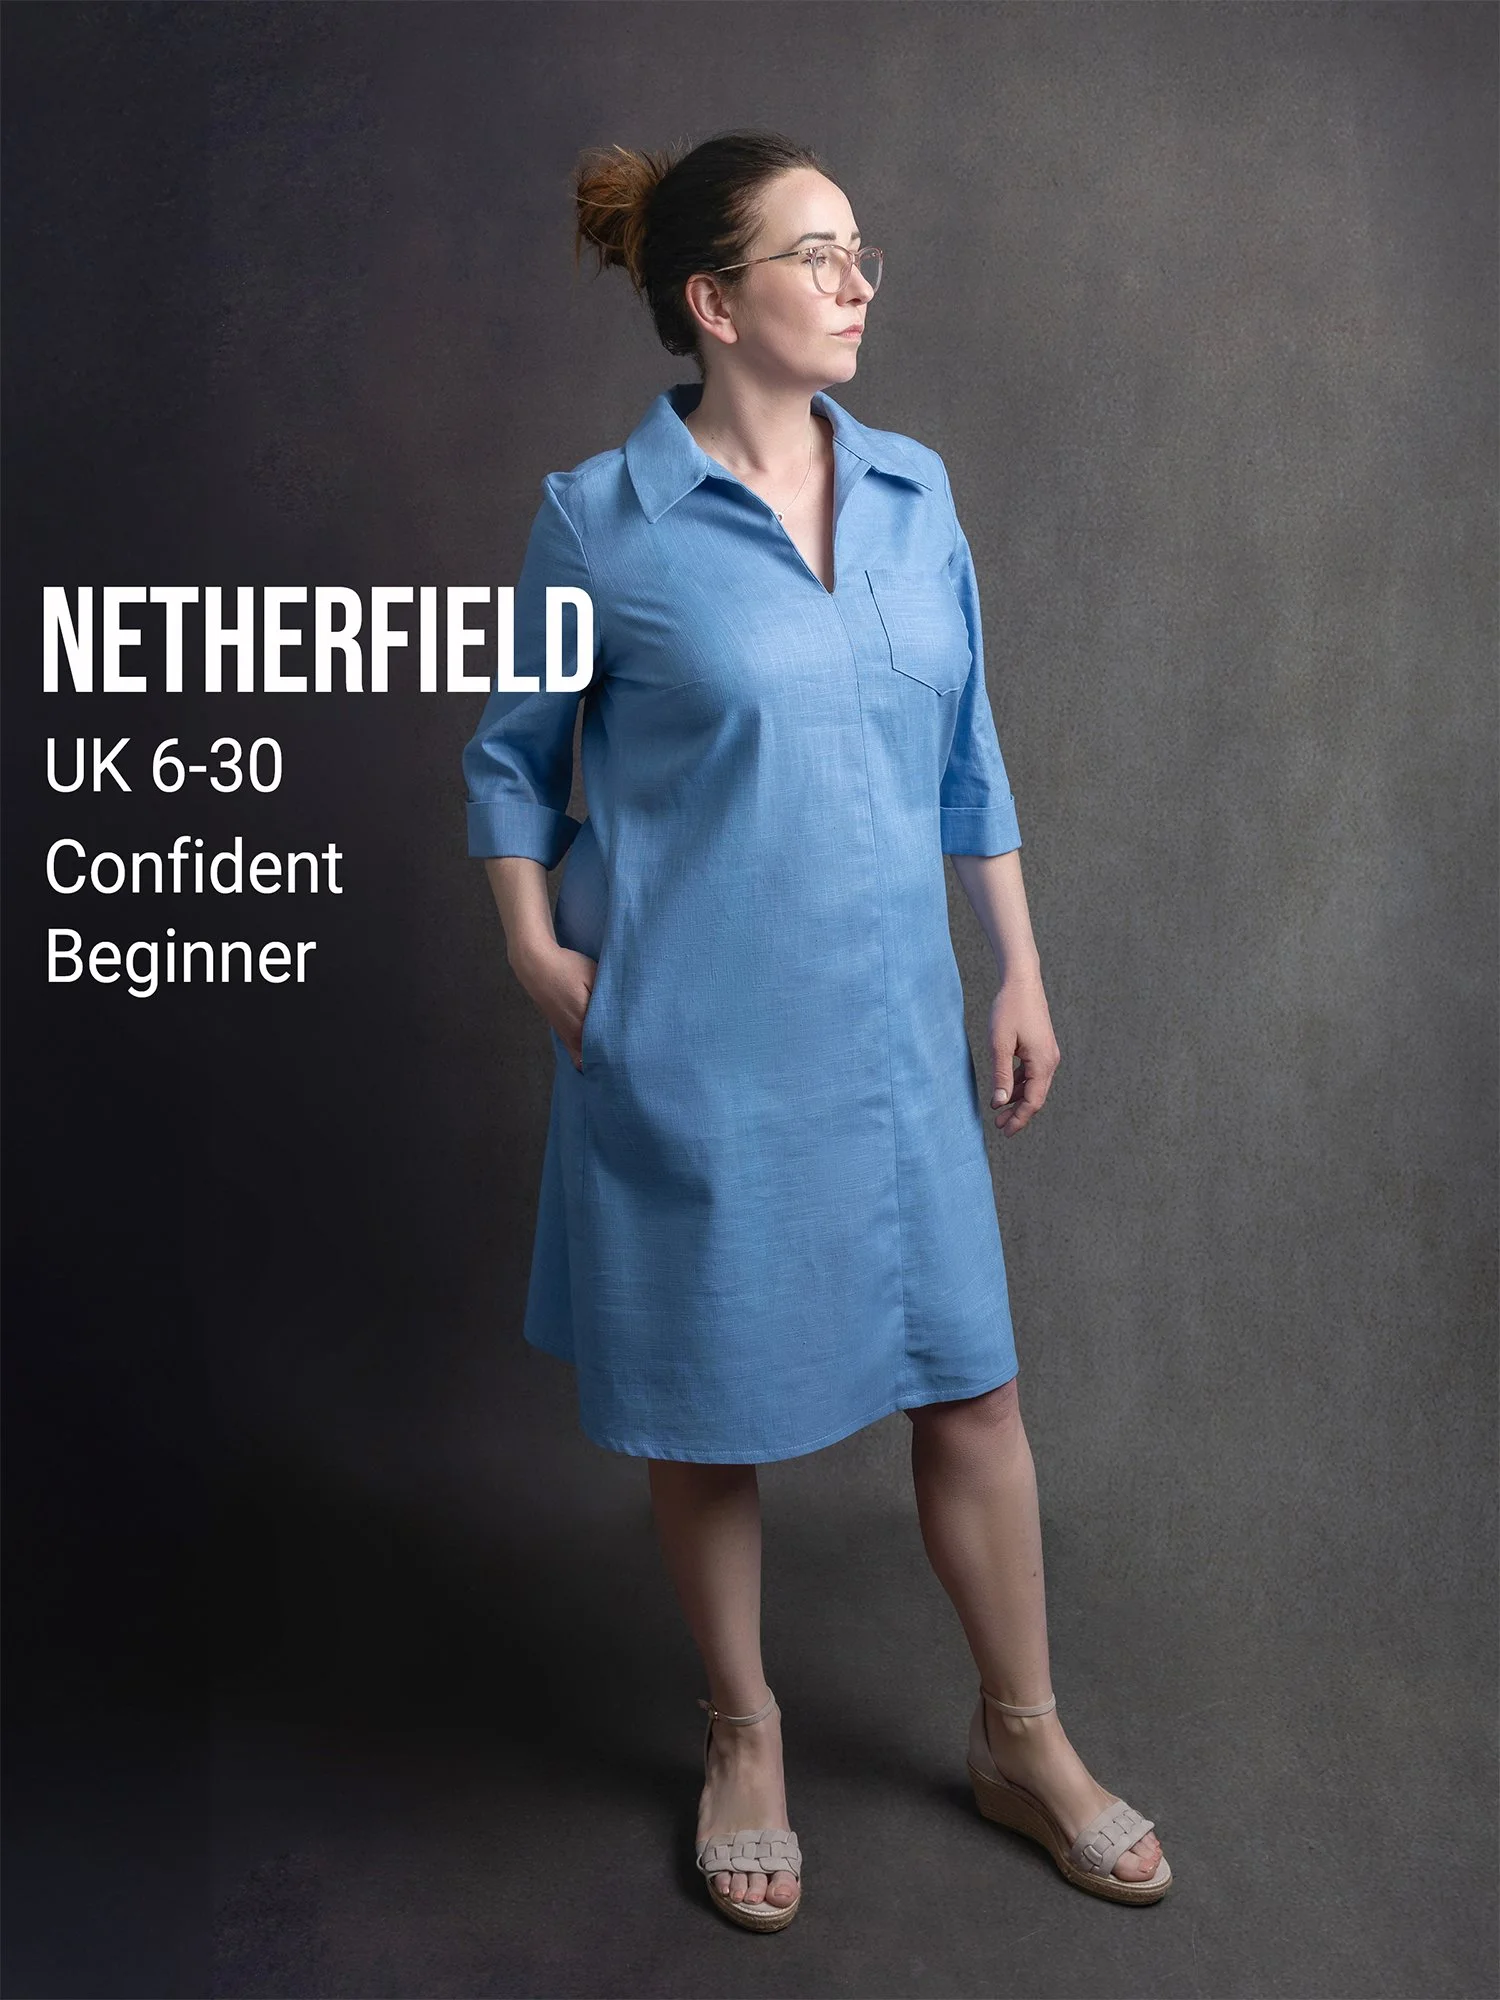
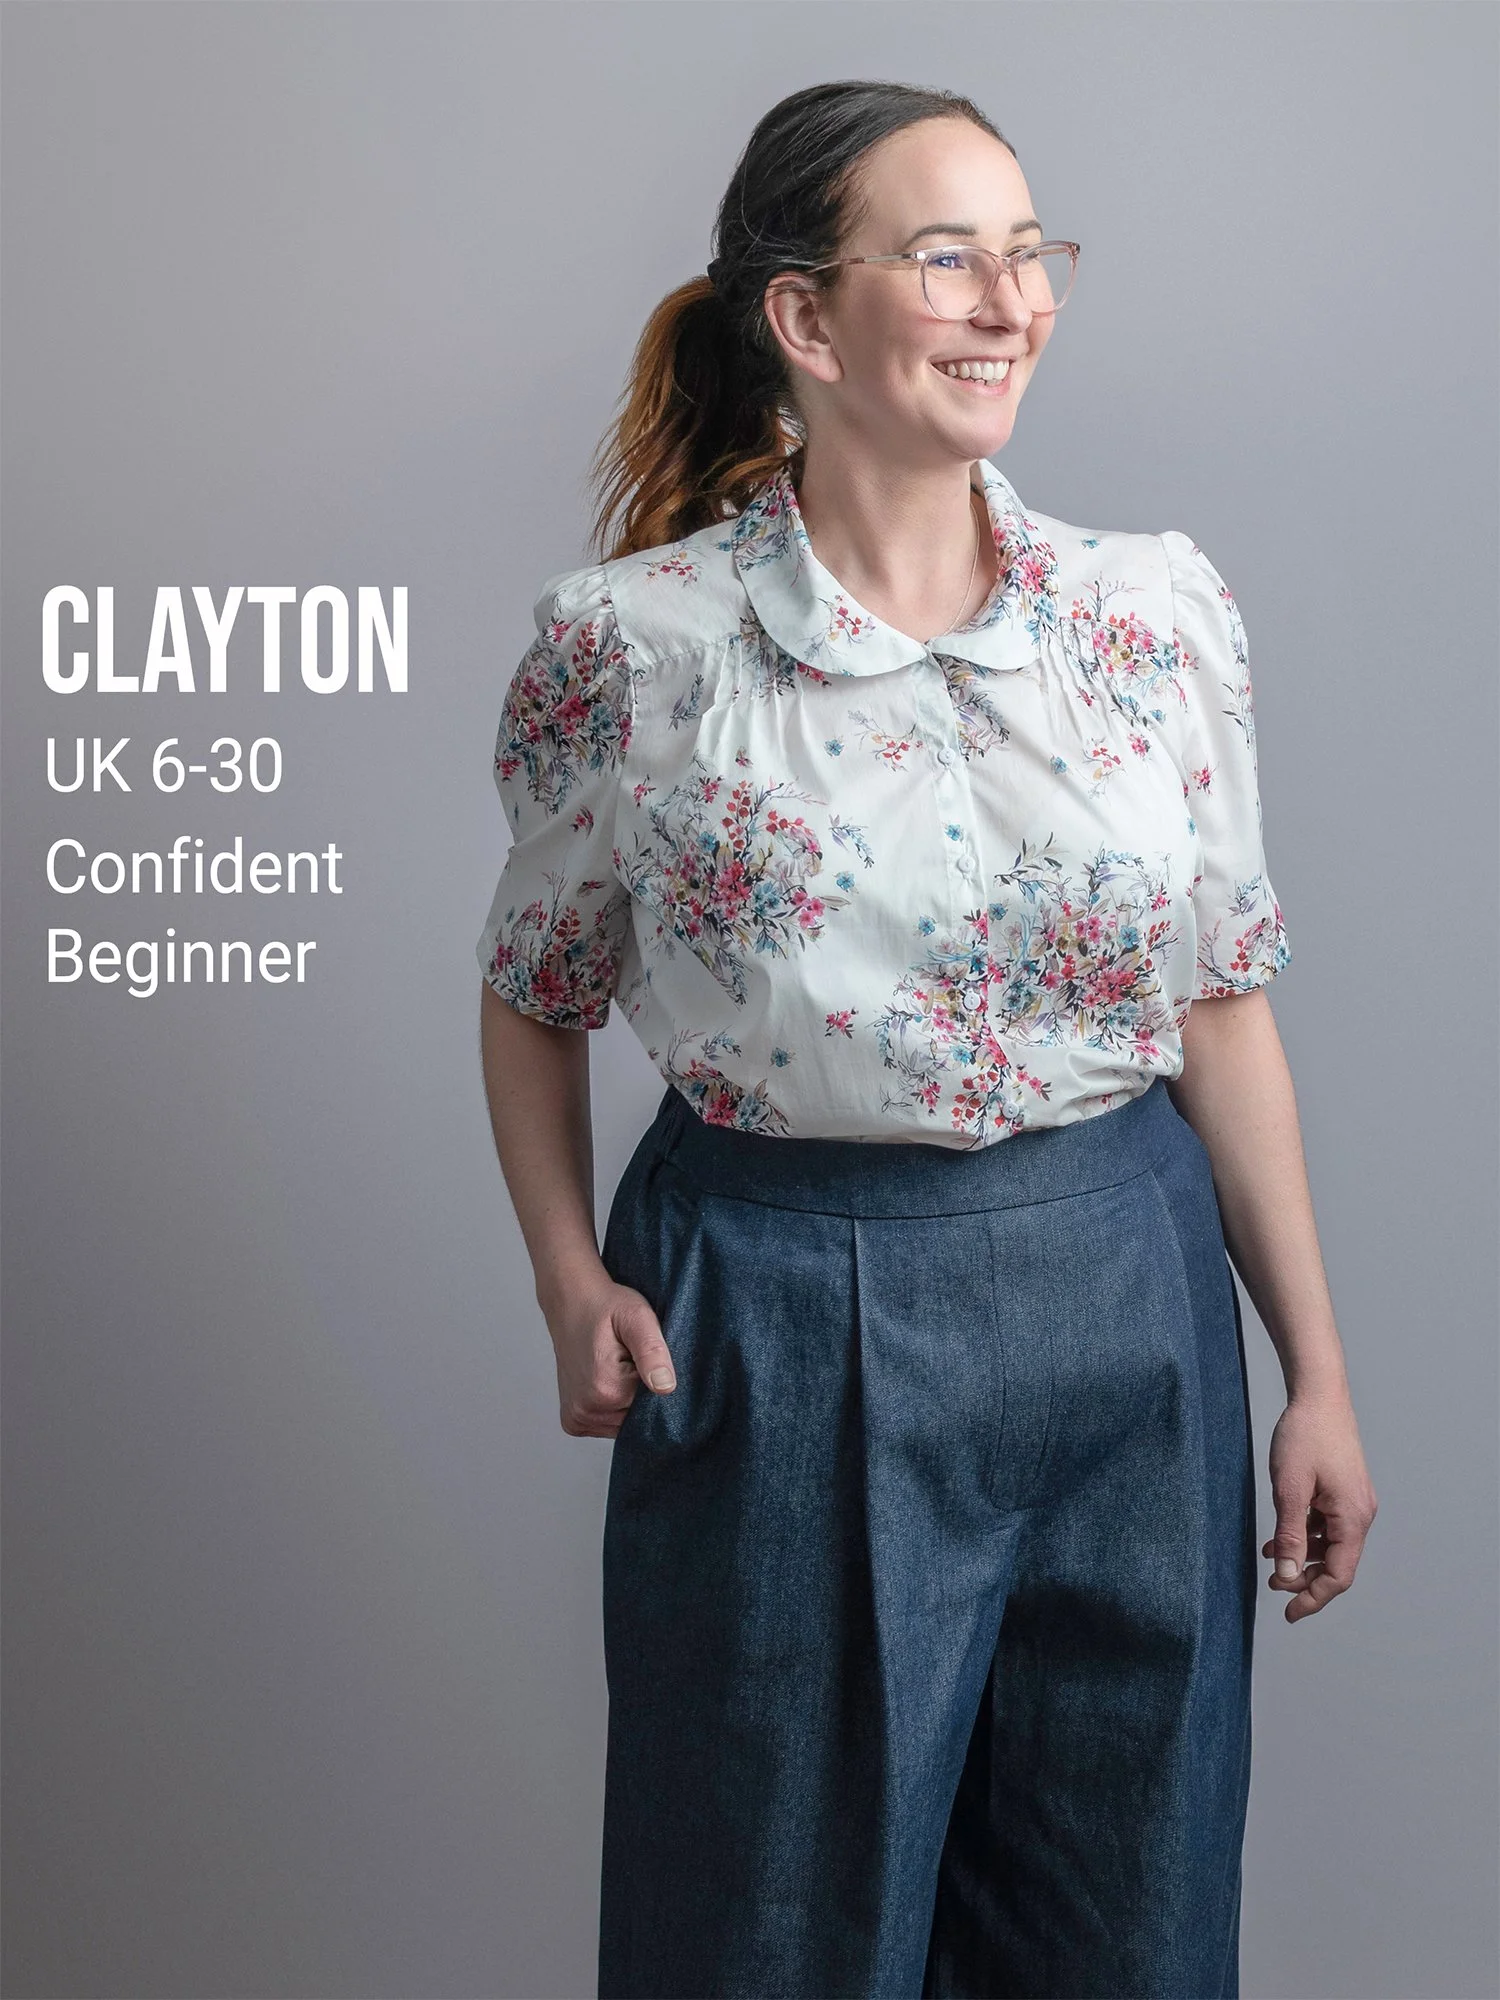
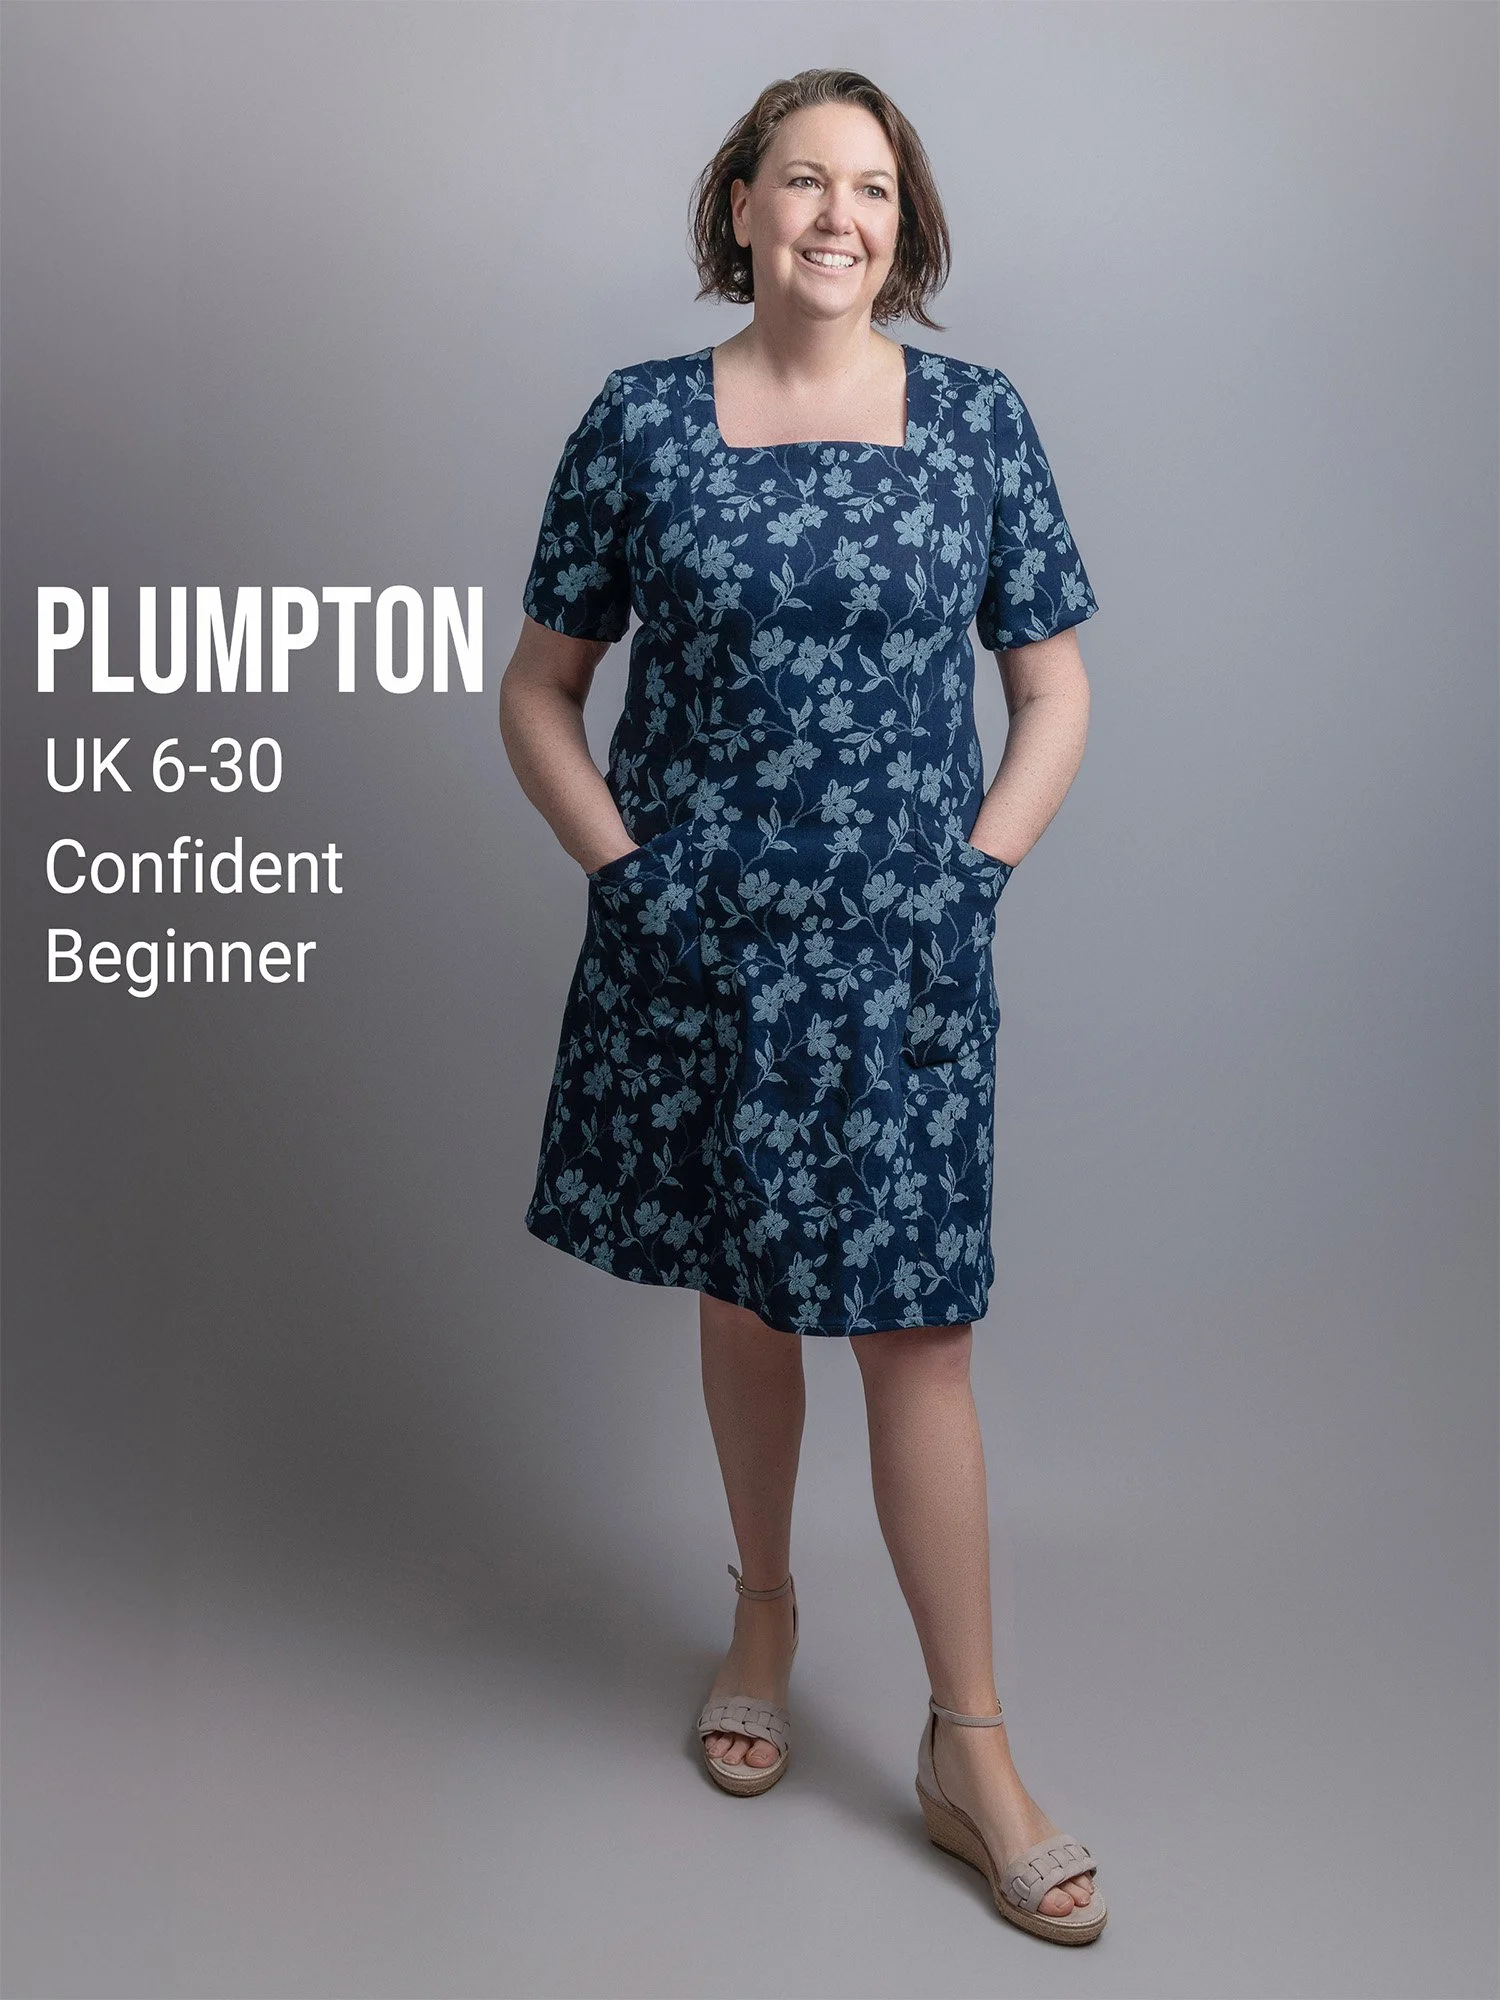
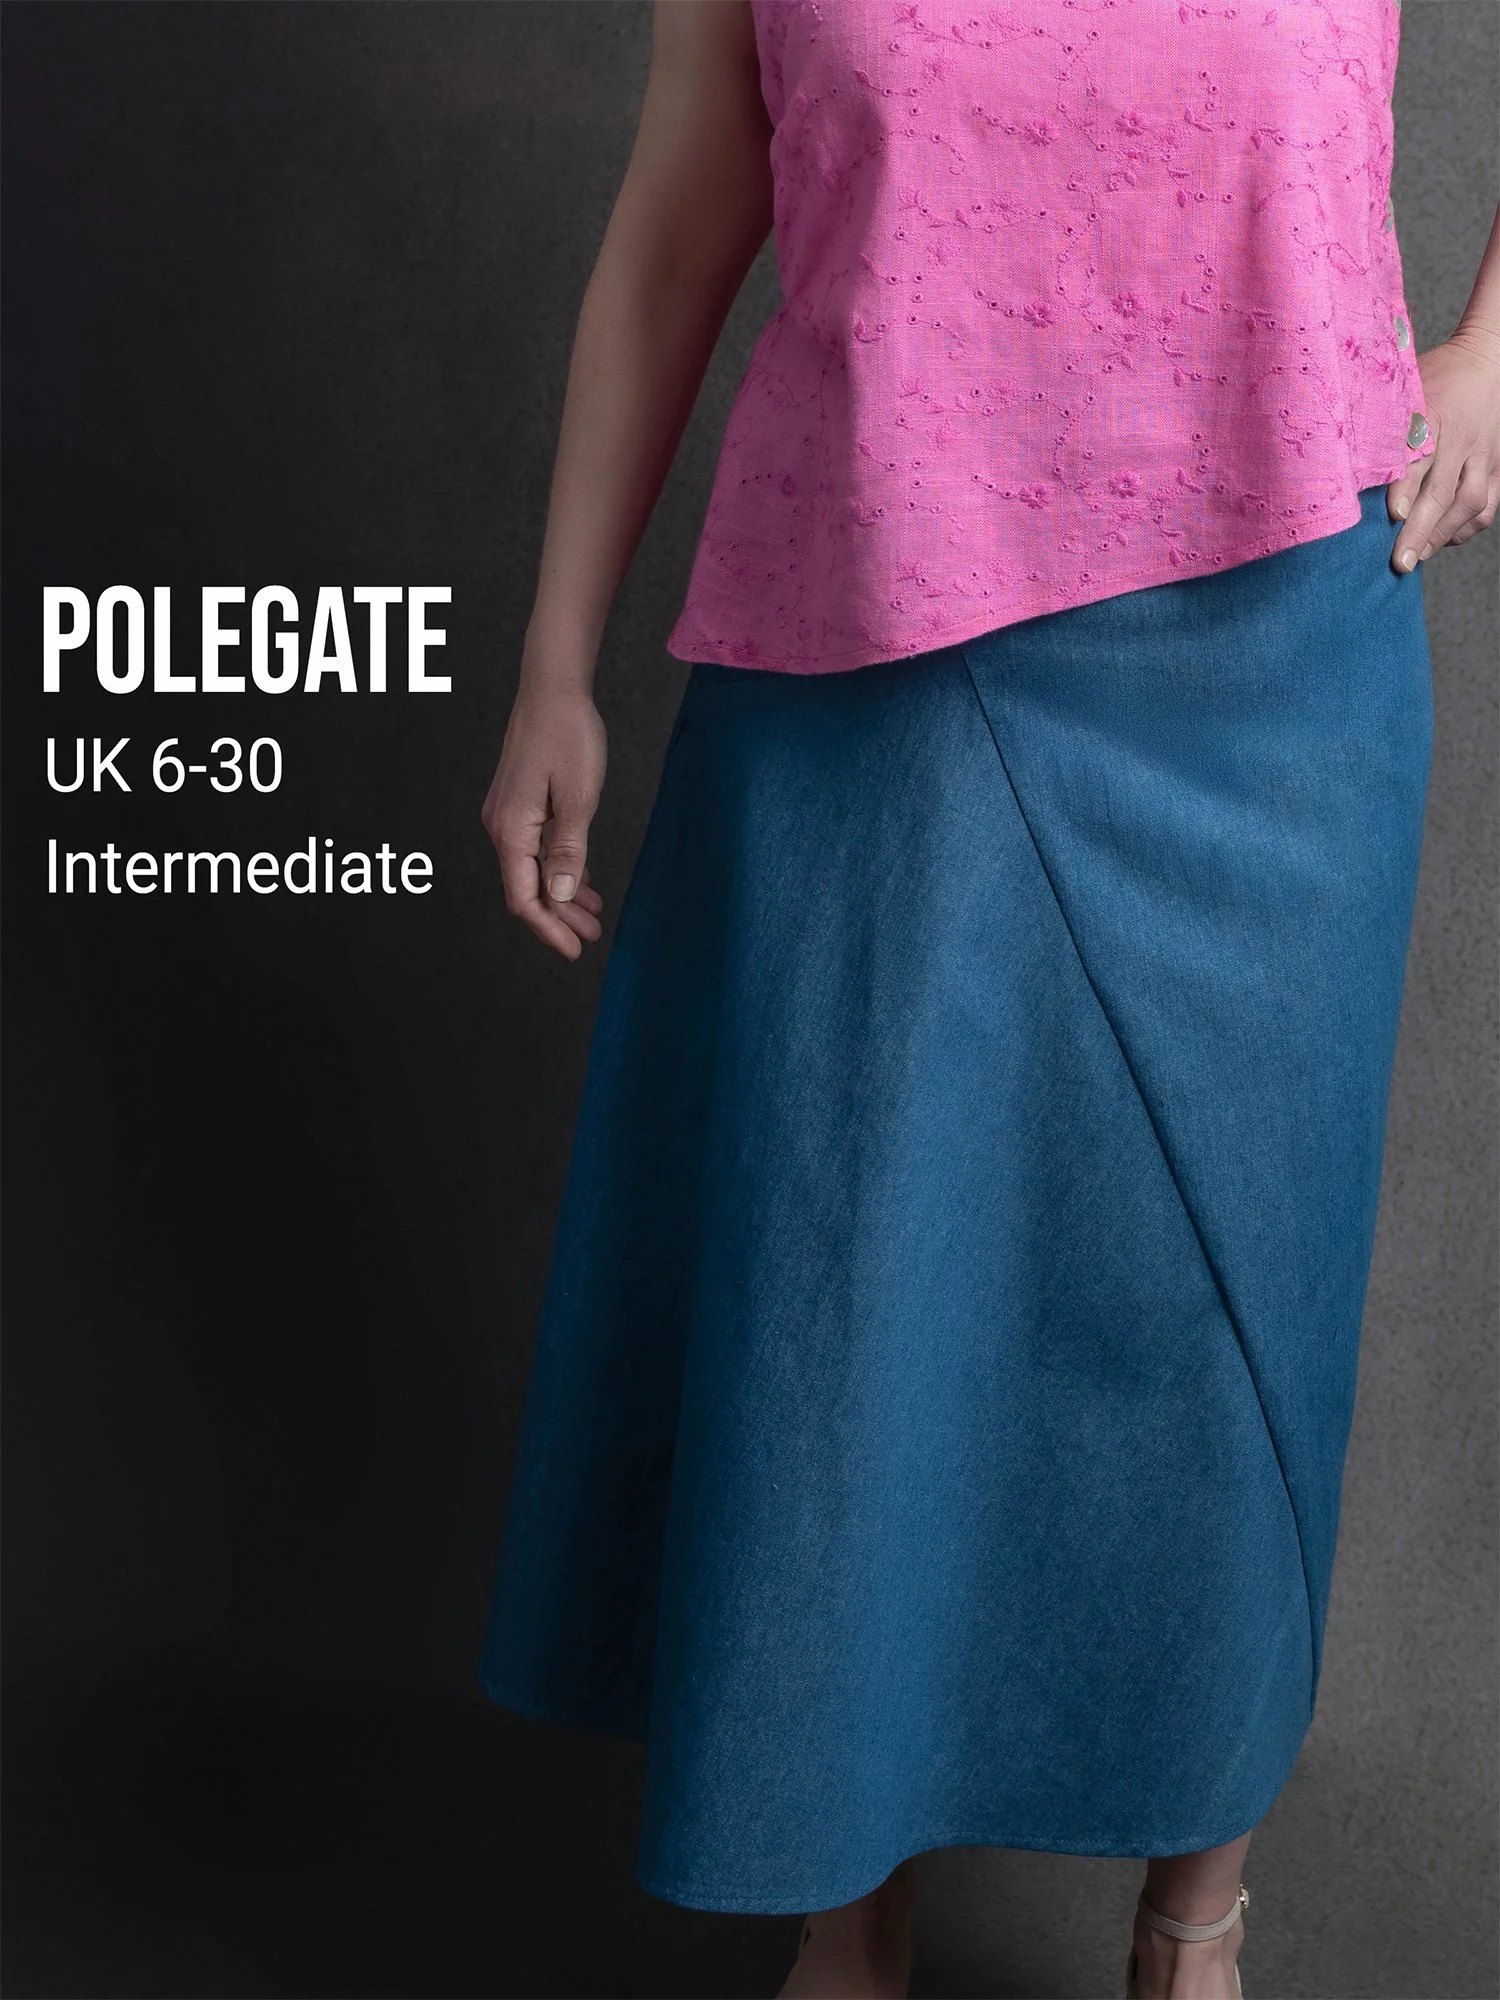
Our Dressmaking Patterns

Sussex Seamstress is an independent pattern maker, based in Sussex, UK. A selection of our patterns (sizes 6-30) are shown below, with paper patterns, pdf downloads, and full sewing kits available.