How To Sew A Rouleau Loop
Above: A Rouleau loop. Rouleau is French for “roll”.
Rouleau loops are a great option if you’re not confident with sewing buttonholes as they really are super easy! The easiest way to make one is with a tool called a Rouleau Turner or Loop Turner. These are handy little gadgets and relatively inexpensive. There are other methods as well, but a turner like this will make the process a lot easier.
I’ve used a Rouleau Loop on my Salvington Top pattern.
If you’d prefer a video tutorial on Rouleau Loops, then click the YouTube image below, otherwise scroll down for the blog post.
A Guide To Sewing Rouleau Loops
Ok, let’s take get going…

Cut a small length of fabric on the bias. Bias is cut at a 45 degree angle to the selvage. It doesn’t need to be spot on for this as you only need a small amount and it just needs to be able to stretch a bit. I cut mine around 2cm wide and 10cm long.

A Rouleau works best with light or medium weight fabrics. If you’re using a double gauze (as I was), it’s a little heavy to make a Rouleau. So thin it down by pulling the two layers apart like this.

Then snip the threads connecting the two layers so you can separate them.

You will be left with one layer of cotton gauze which is much less bulky for making a Rouleau loop.

Start by folding your fabric in half lengthwise.
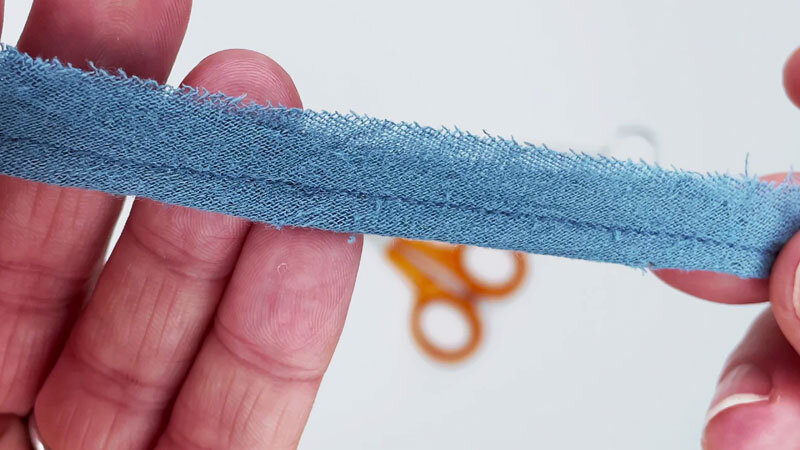
Stitch approximately 3mm from the folded edge. I use quite a small stitch length for this.

Trim your seam allowance right down to around the same width as your Rouleau. As it’s cut on the bias it shouldn’t fray.

Slide your Rouleau Turner into the channel.

Push it all the way through.

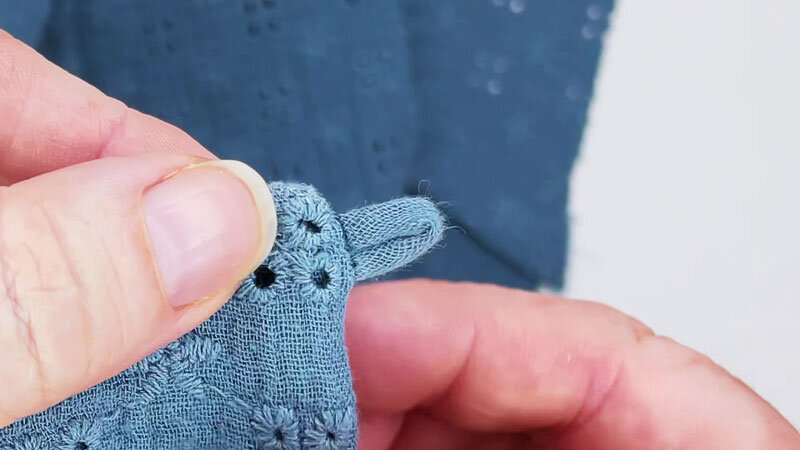
Toward the end of the turner is a little clasp, this needs to be pushed through the fabric around 5mm from the end. Then push the fabric up so that the clasp closes around the fabric, holding it tight.

Gently slide the Rouleau Turner back down the channel, rolling the fabric upwards over it as you go.

Ta da! One Rouleau!

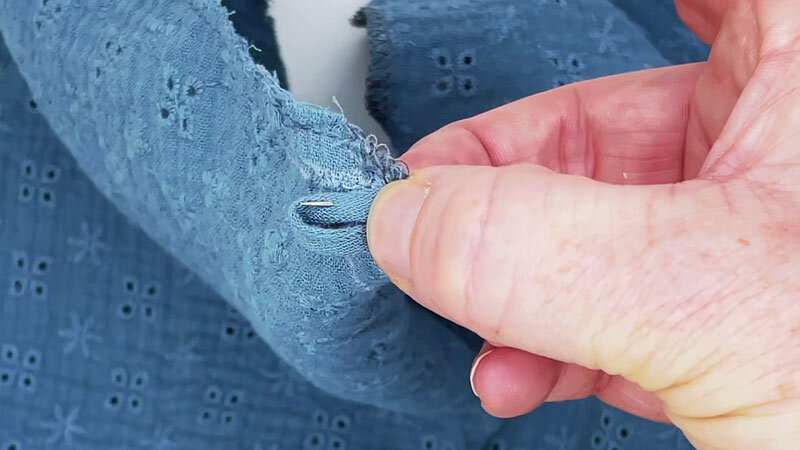
Next I mark up my opening so I can clearly see where the seam allowance starts. This will be where I stitch my Rouleau loop.

Carefully pin the Rouleau to the garment ensuring the long part of it lays across your garment.

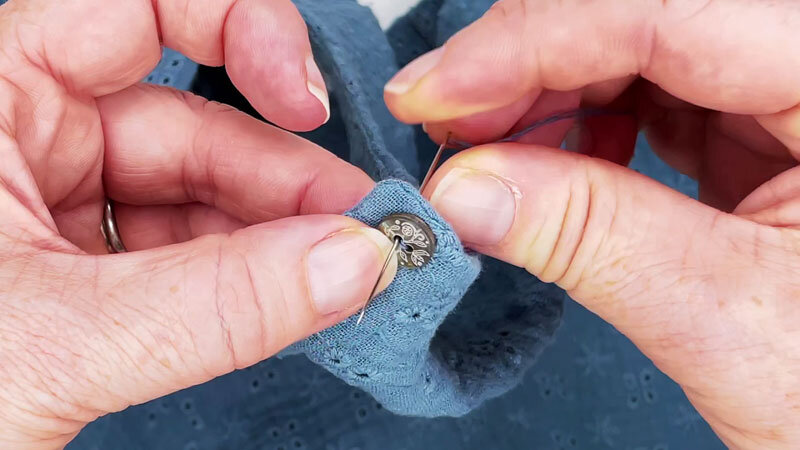
Next I lay my button on top of the Rouleau. The button edge should be on the mark you made for the seam allowance.

Next, fold the Rouleau over the top of your button.
Carefully remove the button while holding the Rouleau in place.

Pin your Rouleau securely so it stays the correct size for your button.

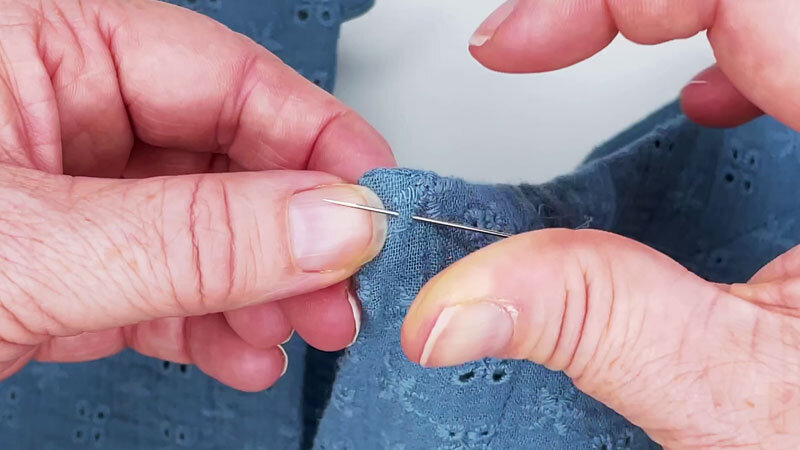
Stitch across the loop on your seam allowance mark with a small stitch to secure it. Trim the excess fabric from the ends of the loop.

Next, sandwich the loop between the garment and the facing.

Stitch along your seam allowance lines to maintain the correct loop size. Trim any excess bulk.
Pull your loop through!

To determine button position, push a pin into the stretched loop.
This will be where you attach your button.
Stitch the button in place.
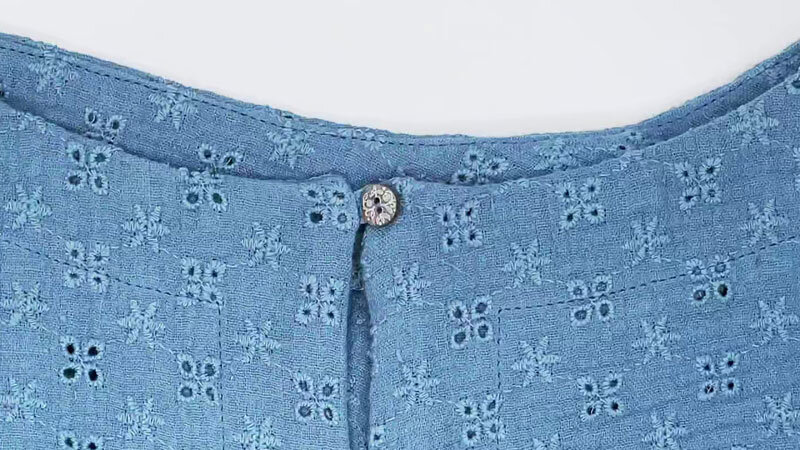
Voila!
So there you have it, a pretty straight forward process and a lovely little detail.
If you found this post useful, then please share it :)
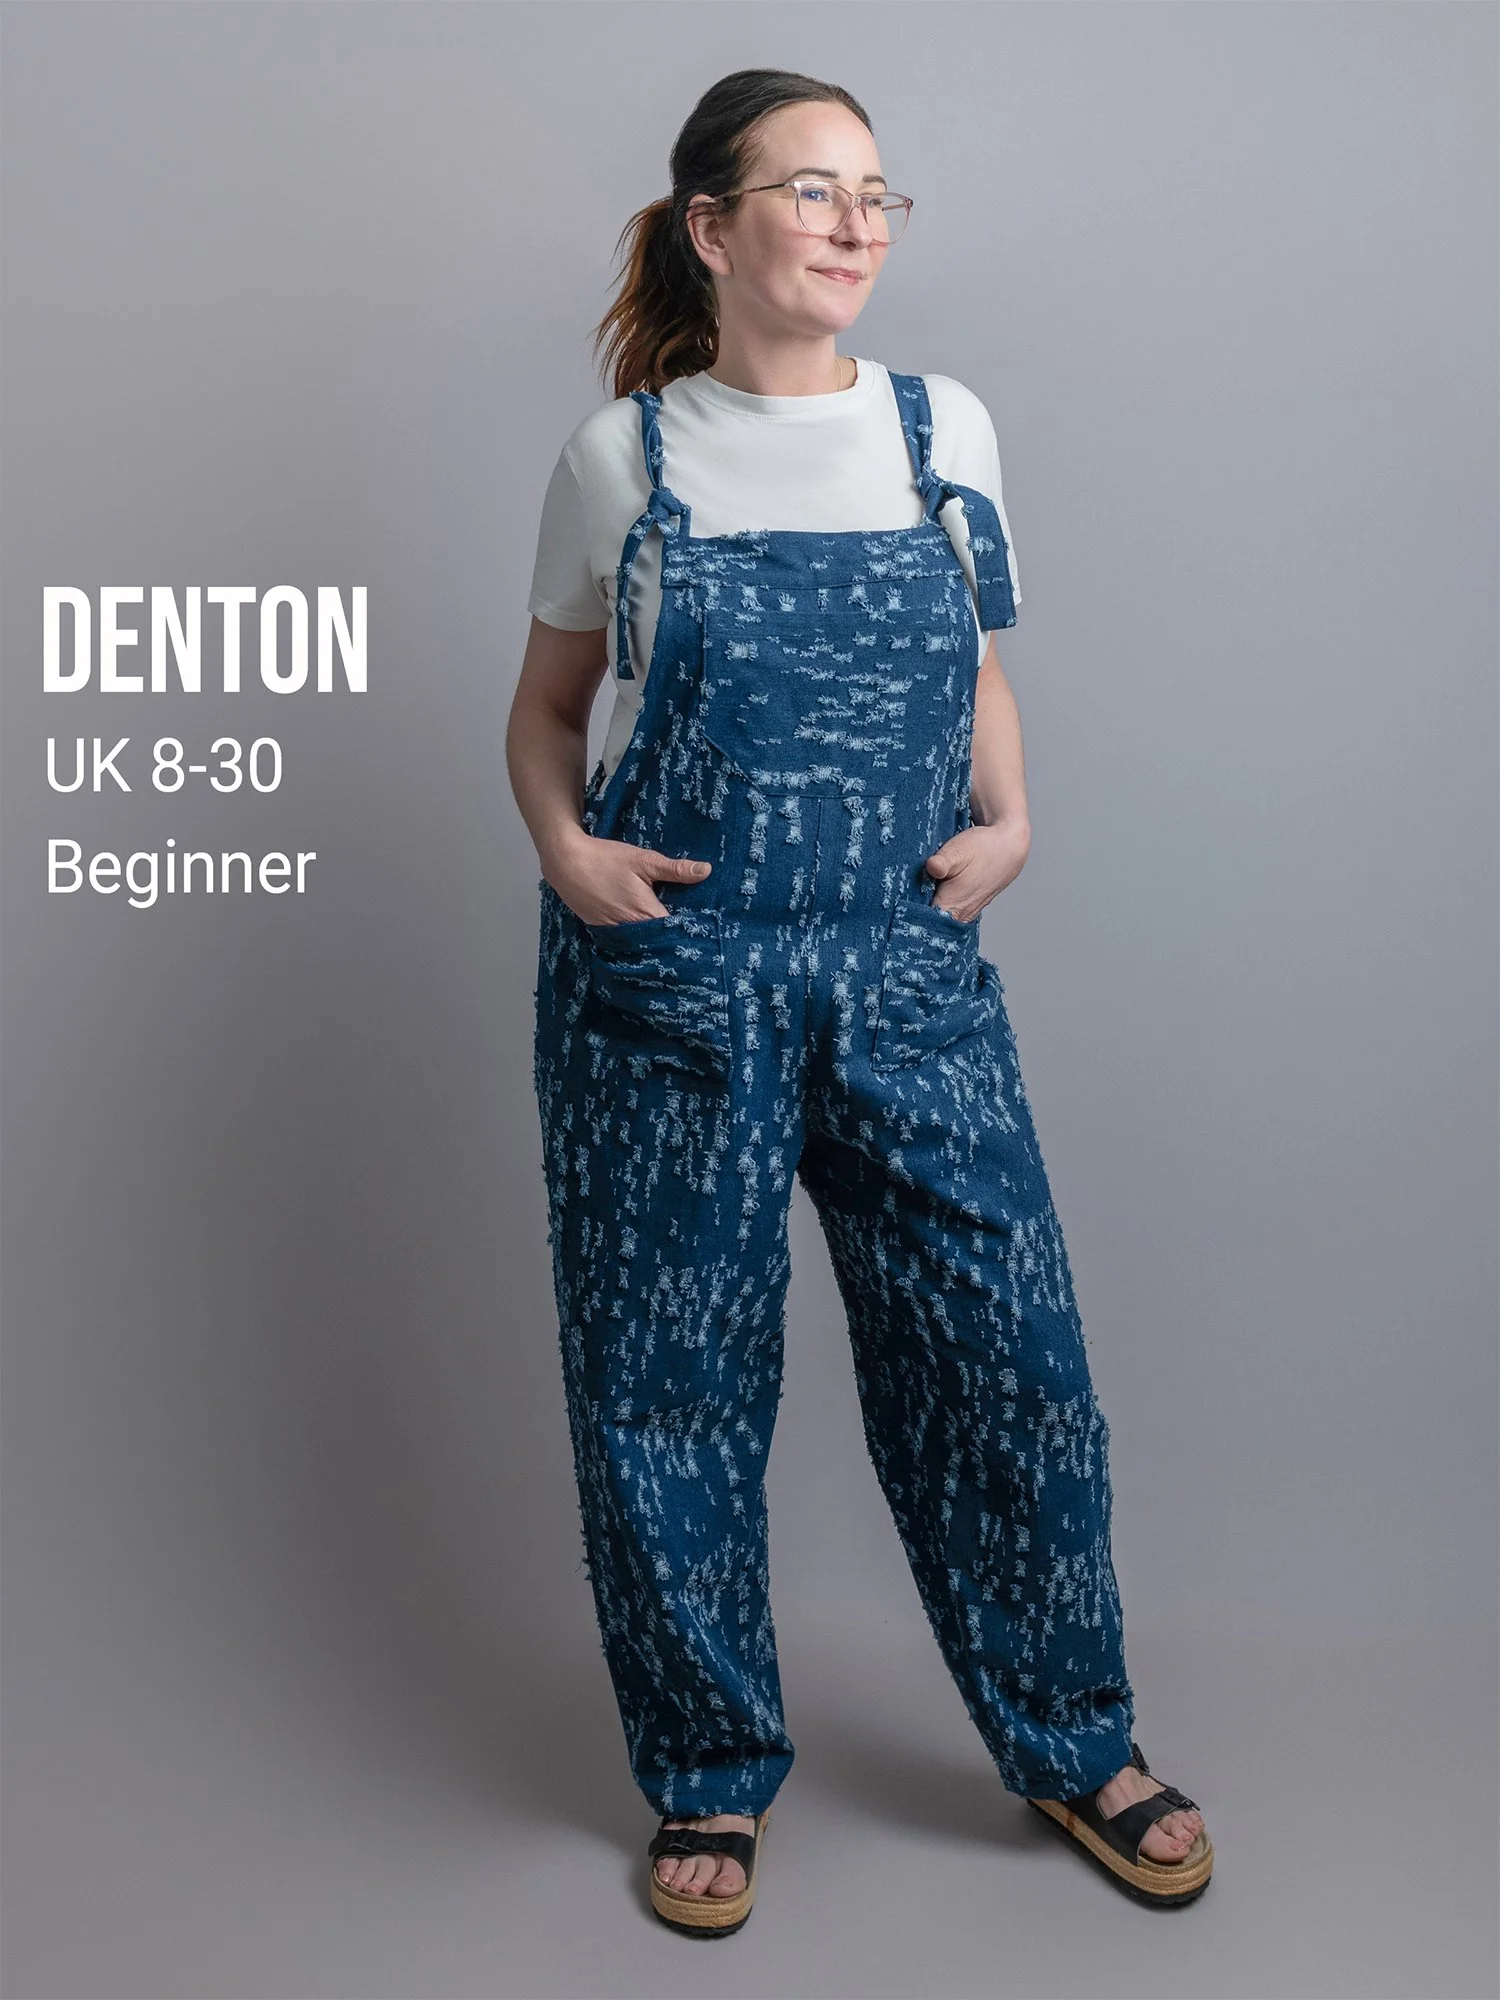
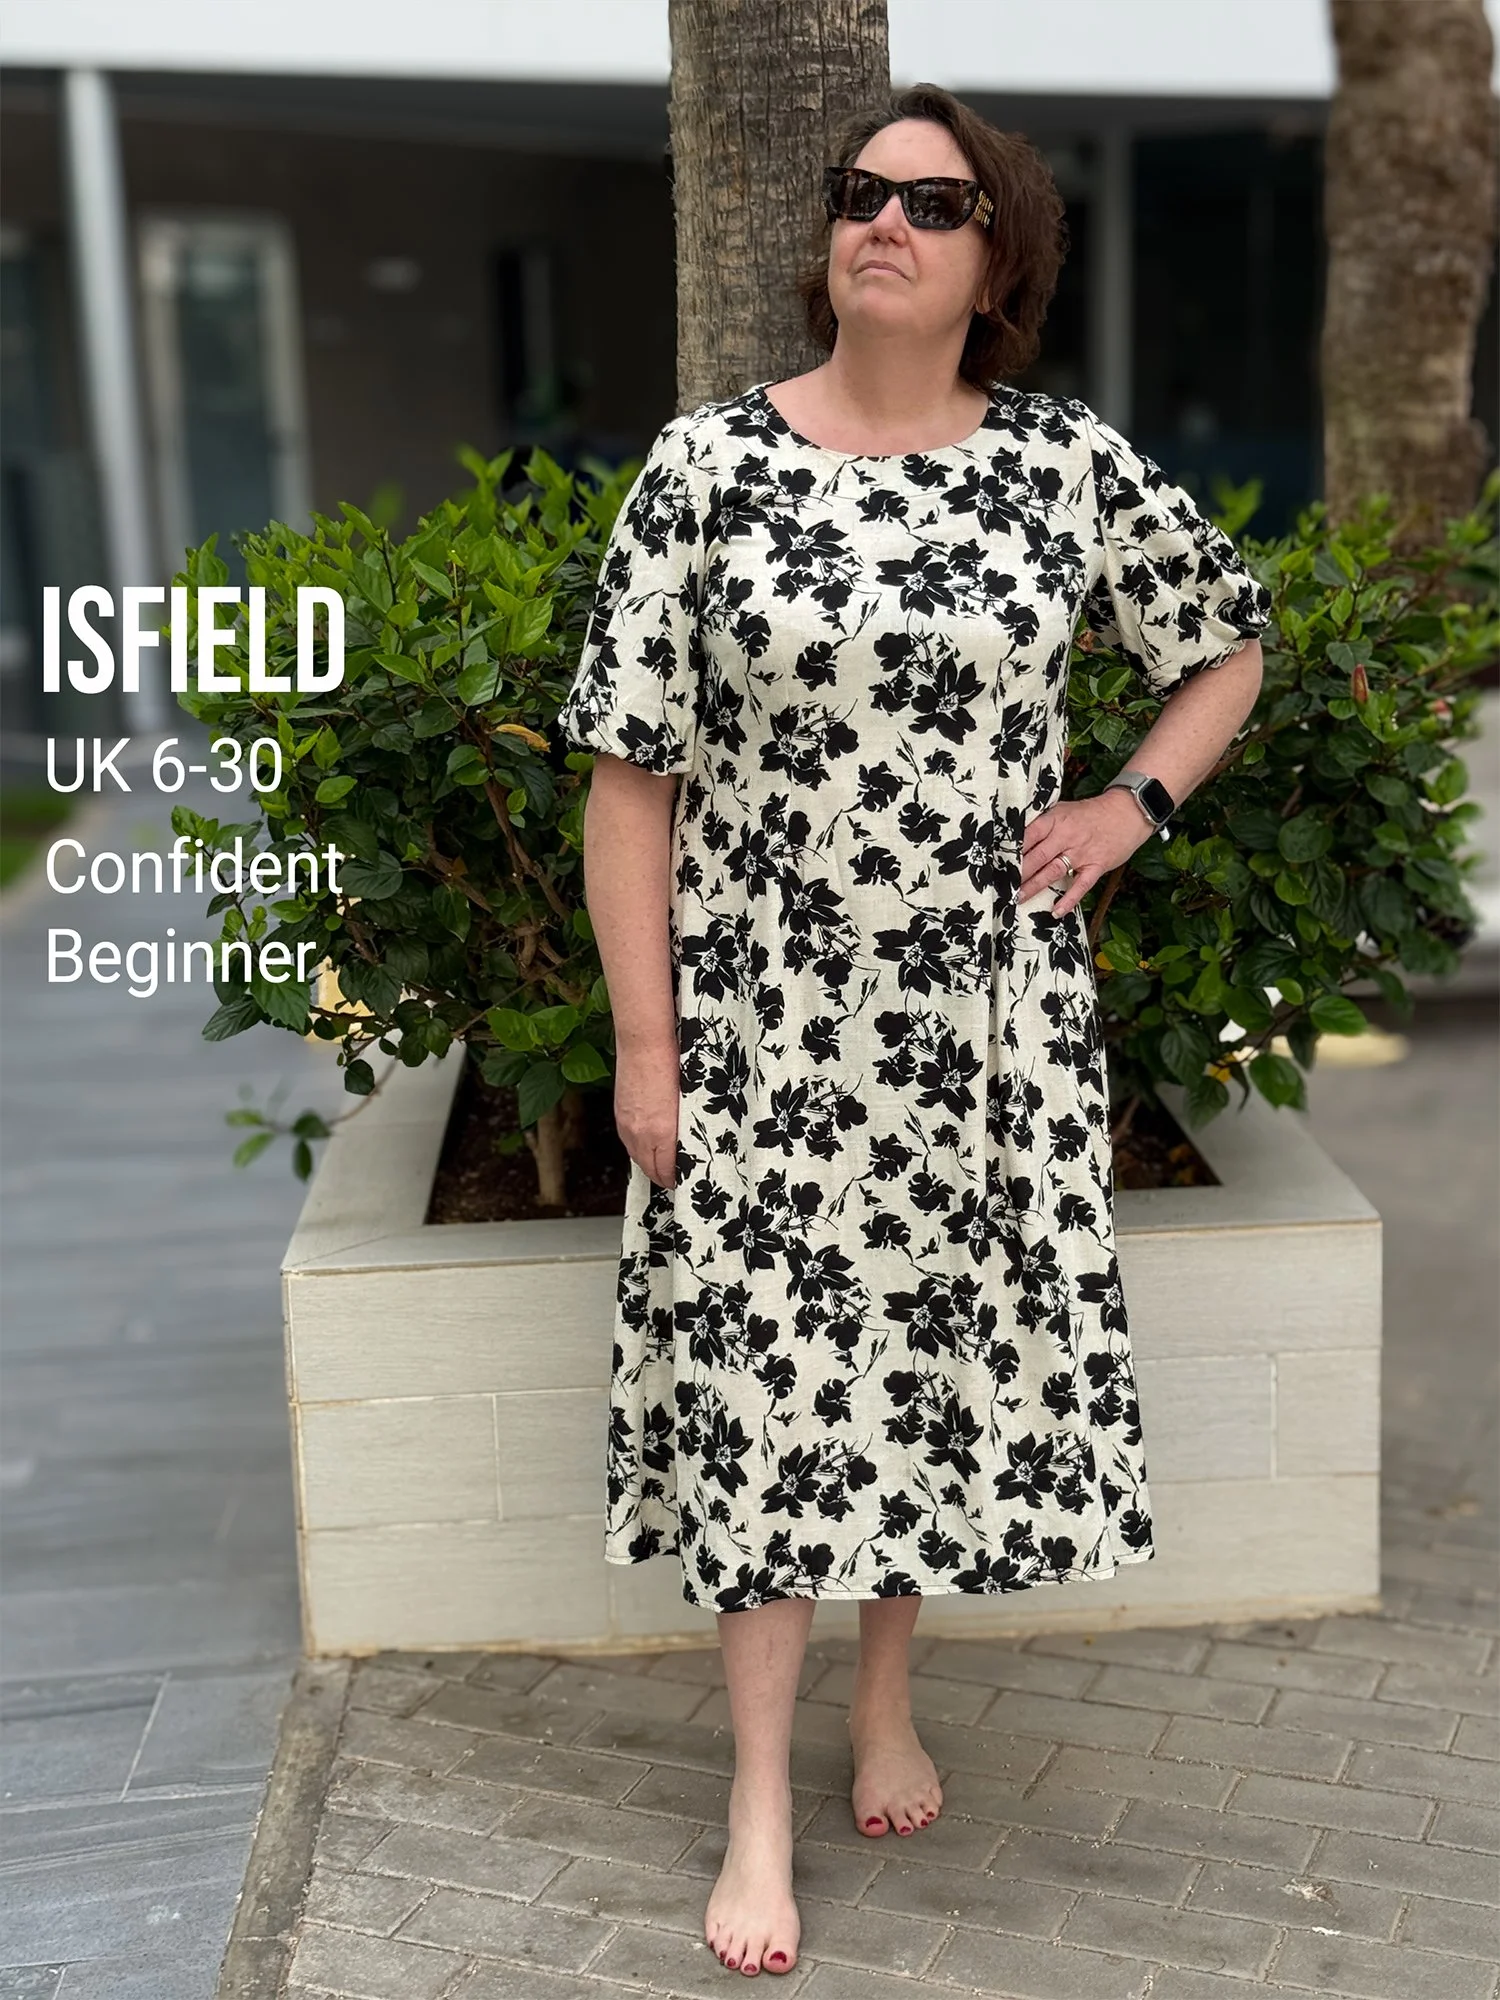
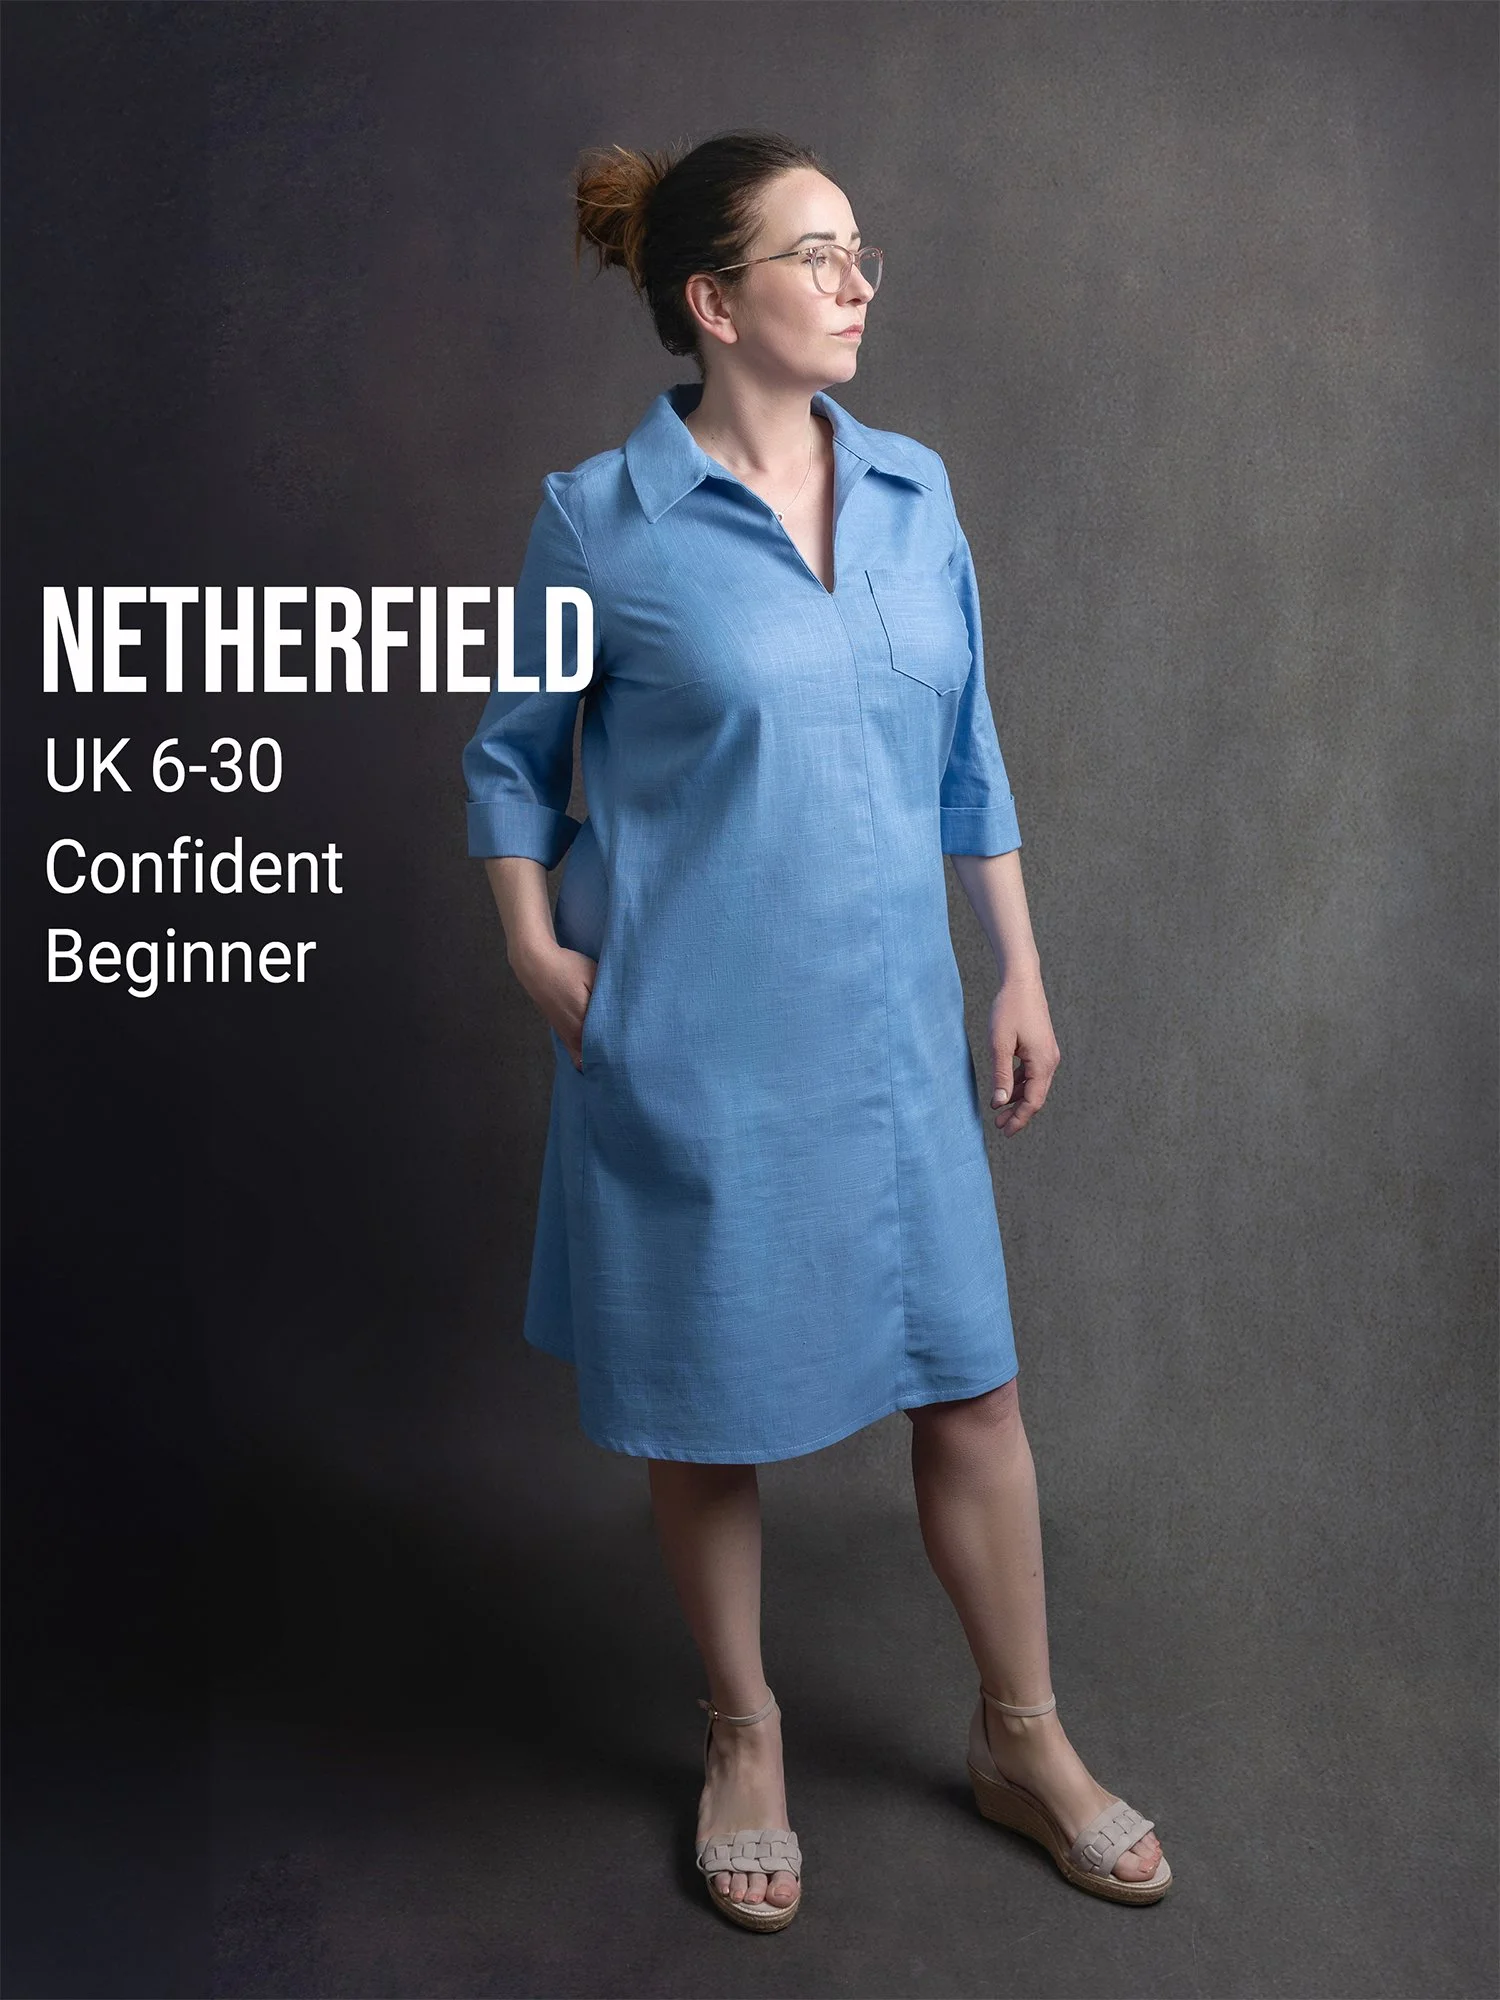
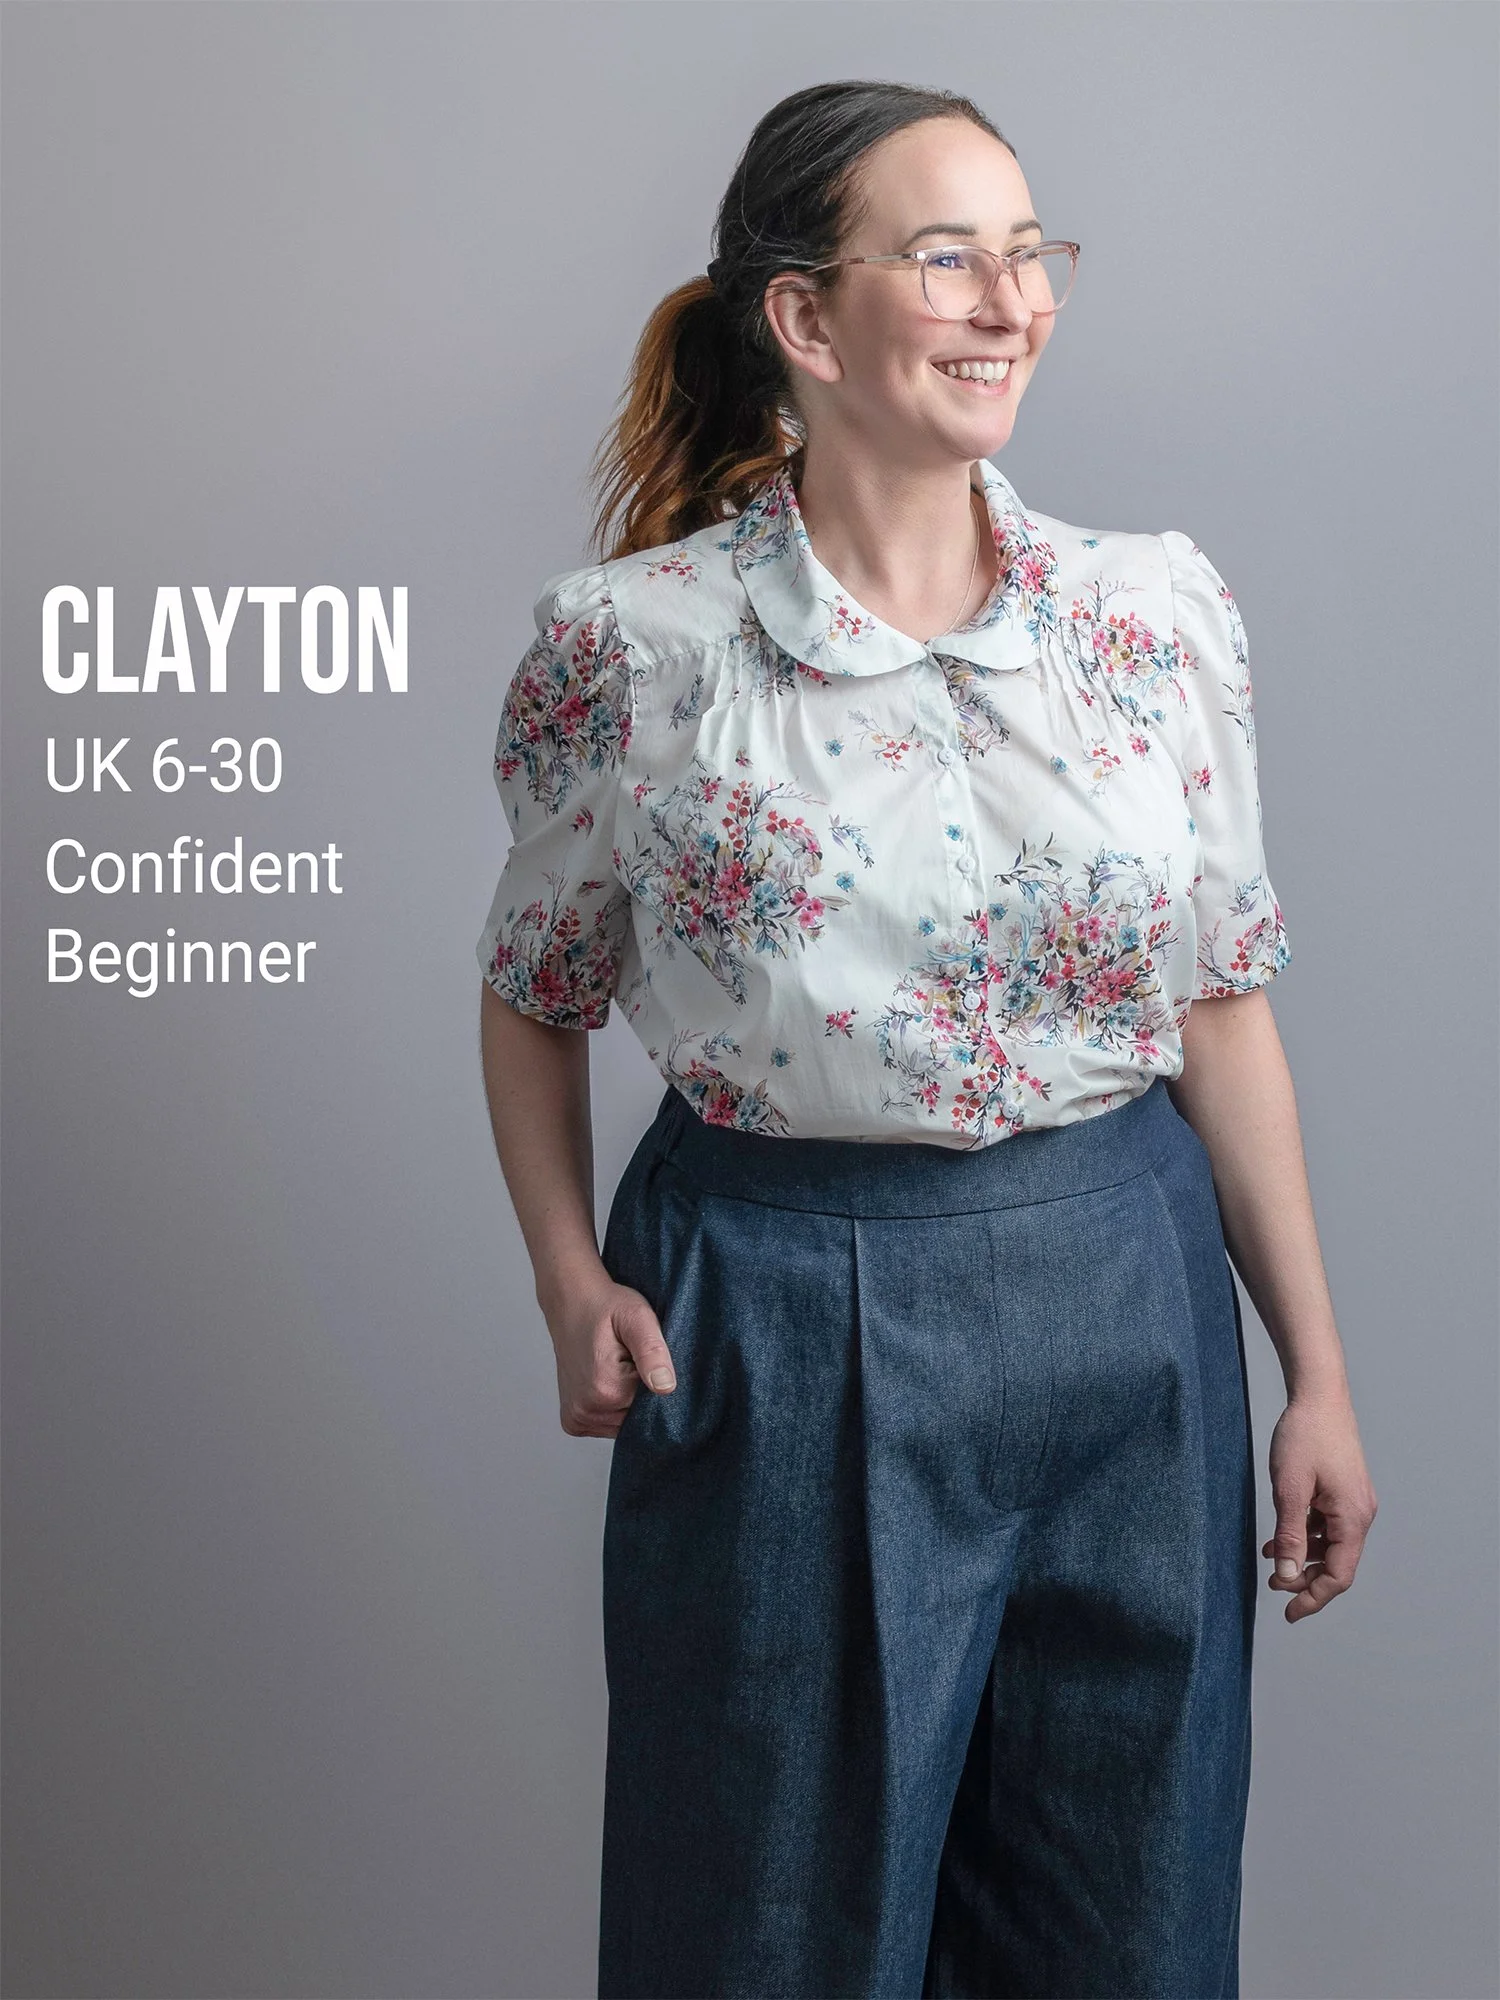
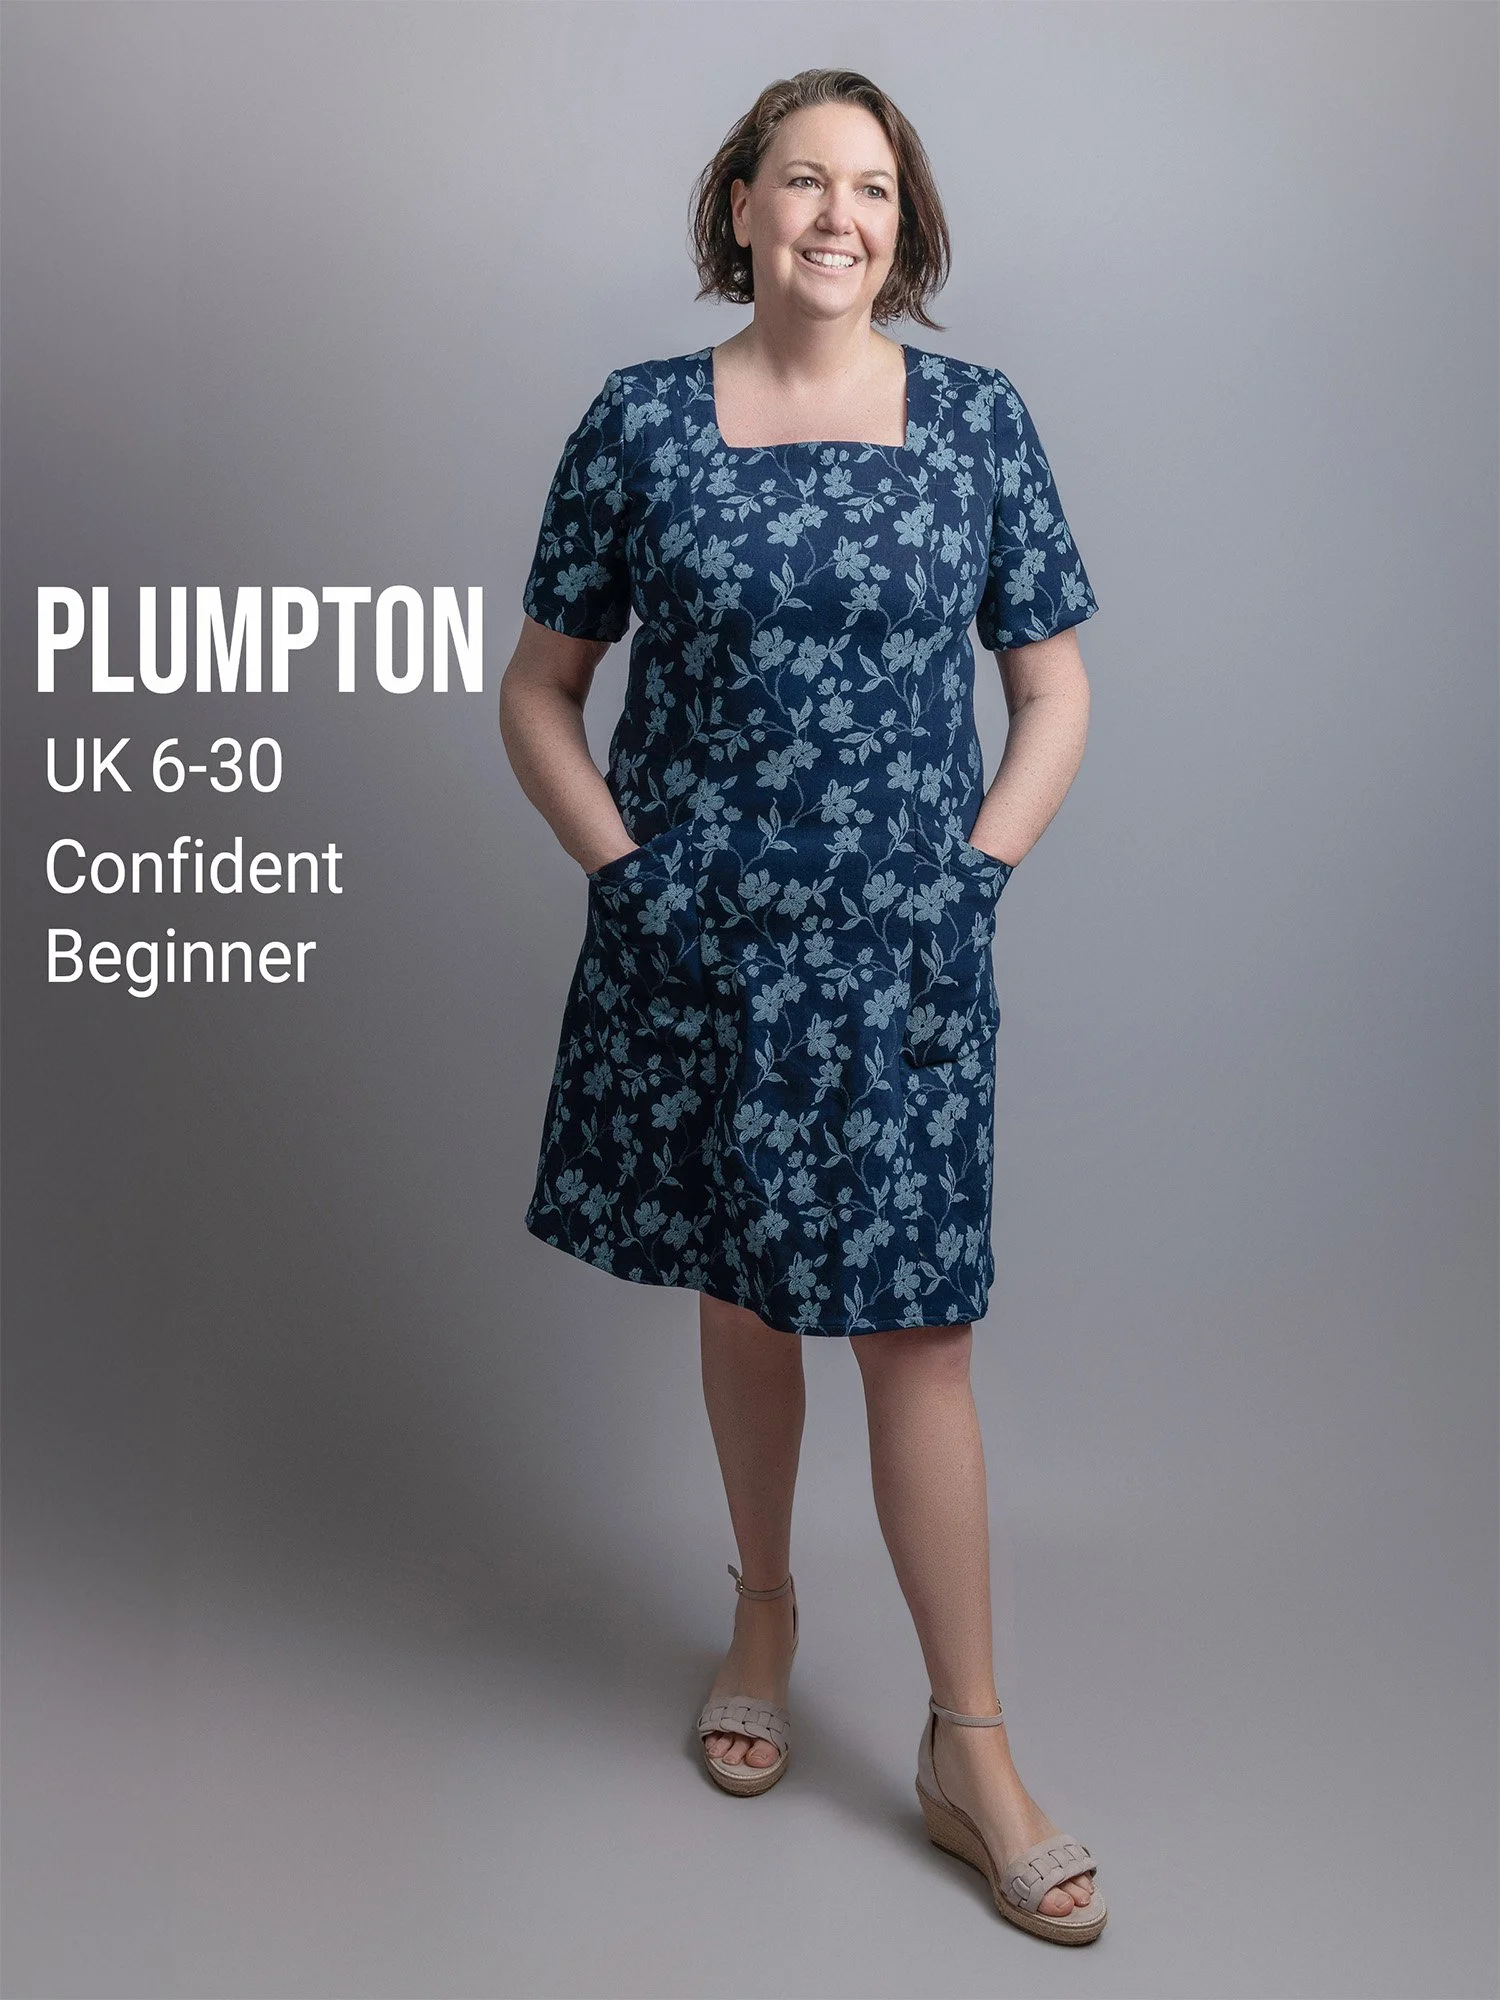
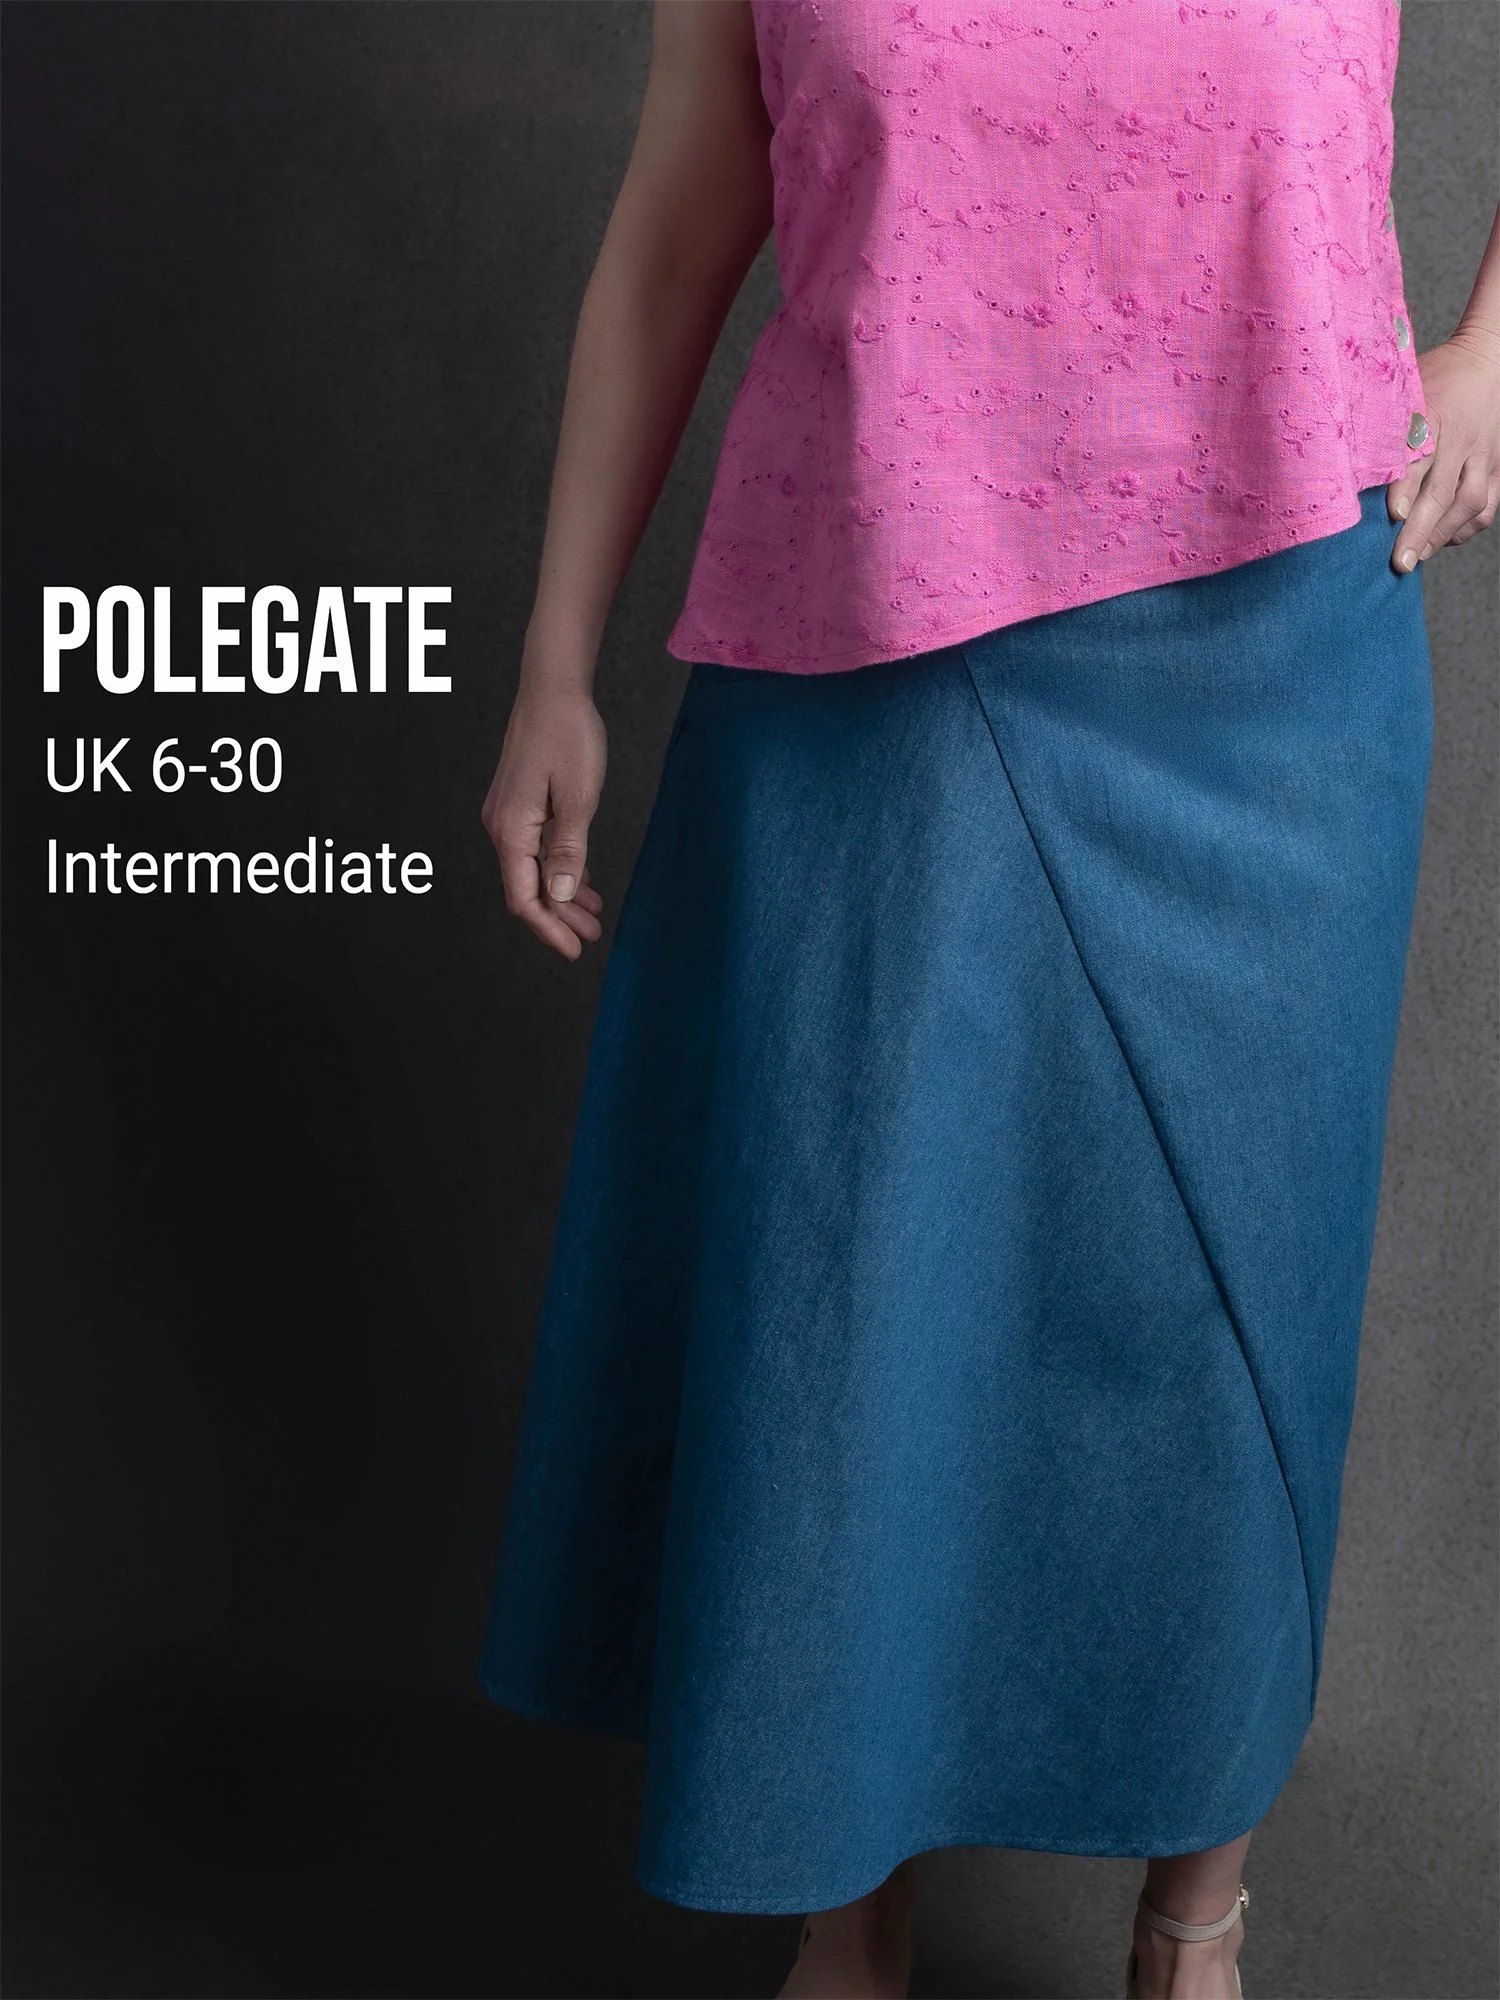
Our Dressmaking Patterns

Sussex Seamstress is an independent pattern maker, based in Sussex, UK. A selection of our patterns (sizes 6-30) are shown below, with paper patterns, pdf downloads, and full sewing kits available.