Perfect Interfacing - How To Block Cut For Better Results
All kinds of things can go wrong when applying interfacing to fabric, be it distortion of the fabric, shrinkage, curling, misalignment of the fabric & interfacing, differences in the shape of the fabric piece and interfacing piece caused by natural variation in the cutting process or just accidentally ironing it to your ironing board cover - there’s a lot of room for error.
Many tutorials show the technique of cutting out a pattern piece in fabric, doing the same with interfacing, and then applying the cut interfacing to the cut fabric. Although you can do this and get good results, it can be tricky to get just right, especially for beginners.
However, there’s a very simple technique that can make things much more clean and reliable, with a pretty good chance of near perfect results.
Let’s take a look at block cutting.
For this example we’ll use a couple of Yoke pieces that require interfacing. All the images I’m using here come from the tutorial video of the Midhurst Skirt. We’ve also edited that down into a short video that just focused on the block cutting and interfacing, so you if you prefer video you can watch that via the link below, otherwise skip past and I’ll take you through this simple process in this blog post.
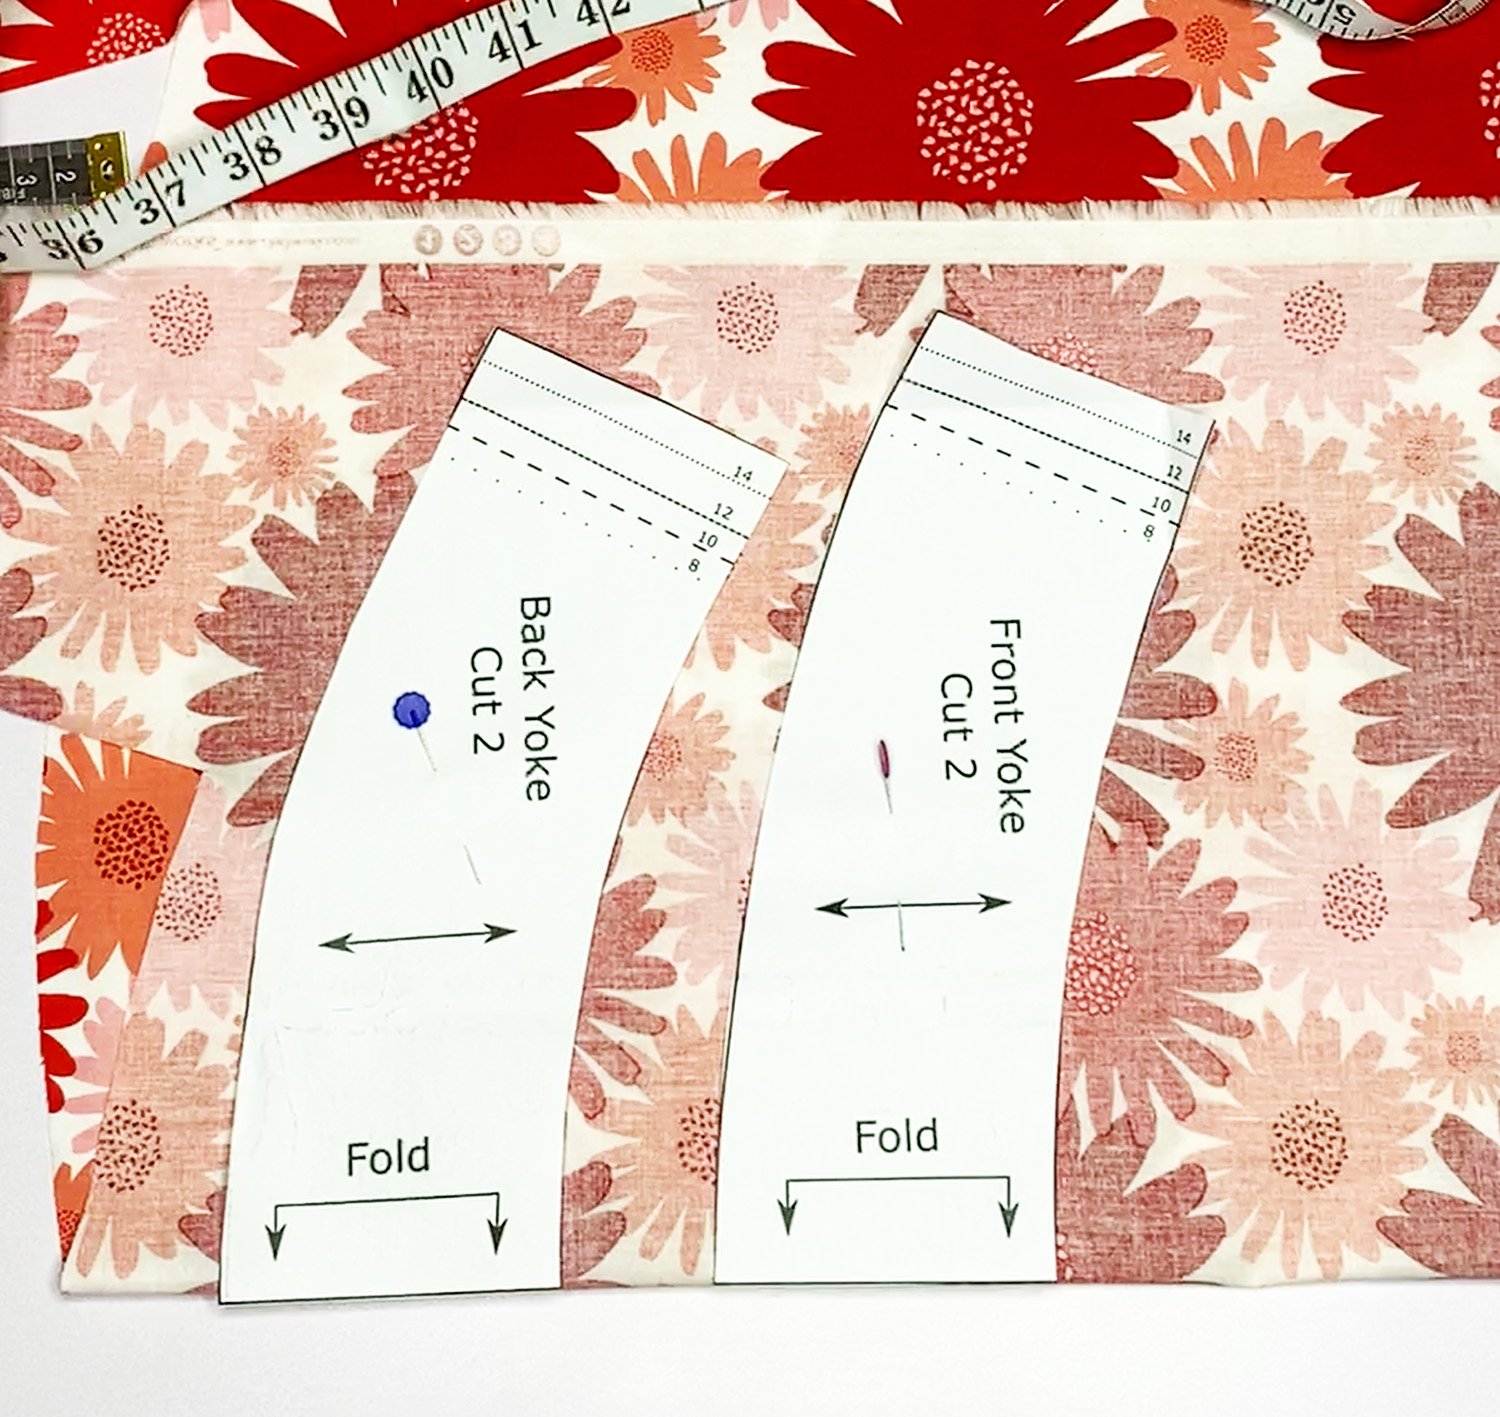
Ok, so first we take the pattern pieces that require interfacing and pin them to the fabric. In this case we’ve got a couple of Yoke pieces that require cutting on the fold, so we’ve folded the fabric along the straight grain (parallel to the selvage edge) and then pinned the yoke pattern pieces in place.
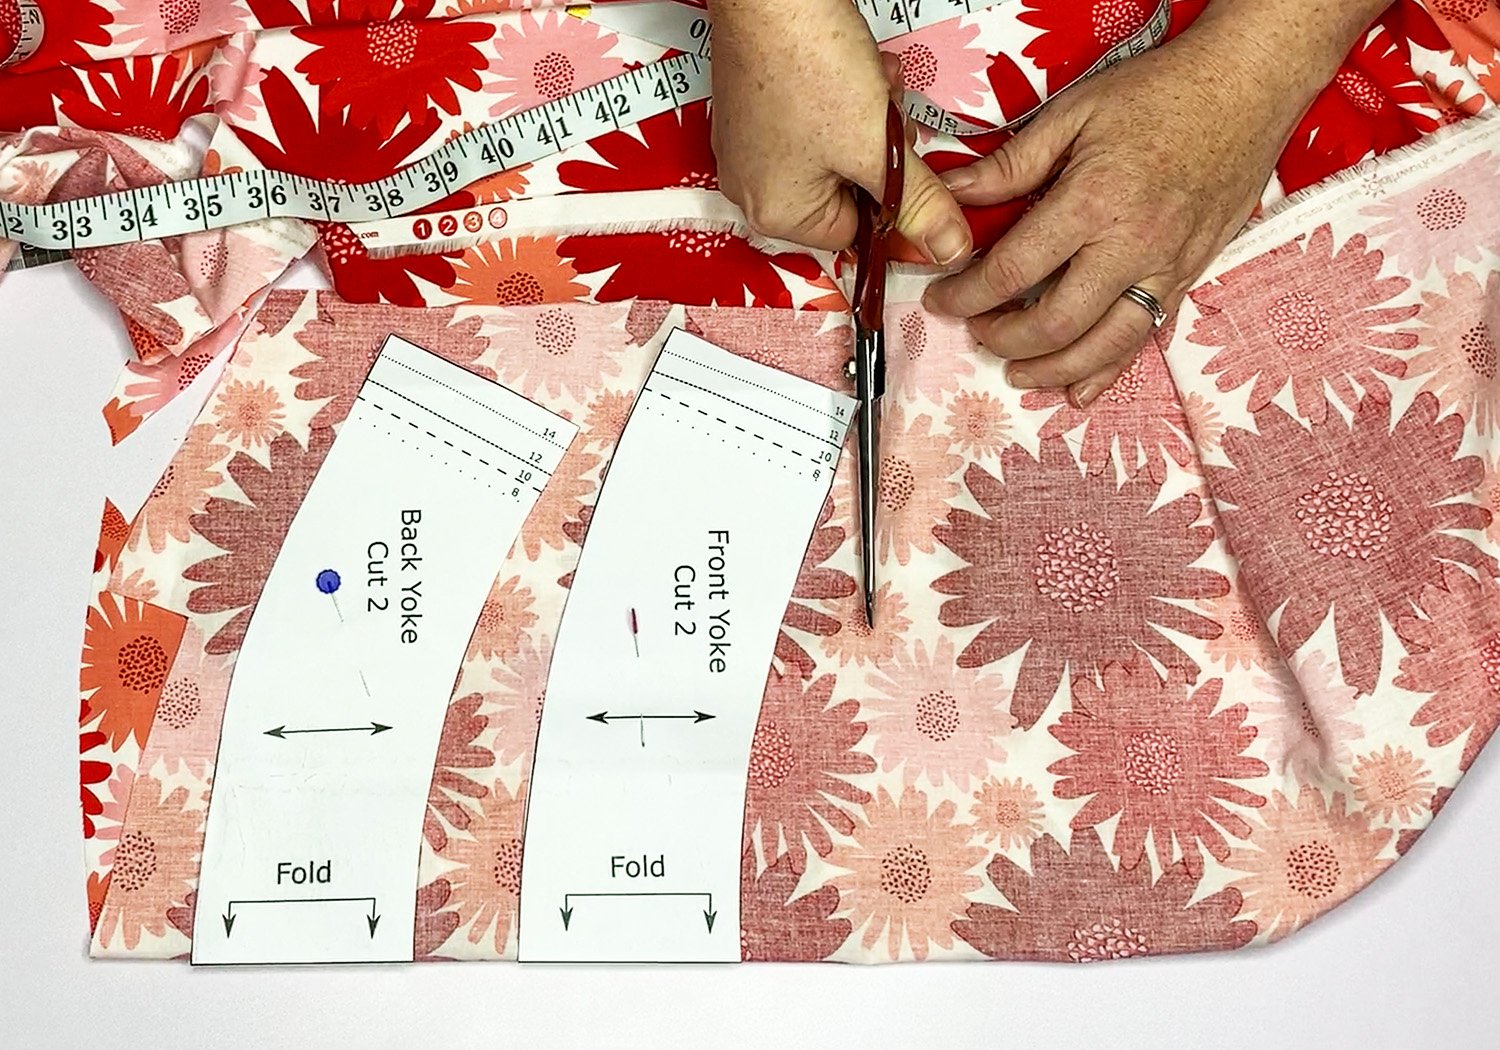
Next, instead of cutting the pieces out immediately, we cut out a rectangle that encompasses both pieces.

This is a block cut. You can use the same technique with a single pattern piece, we’re just using two in this example to show how multiple pieces can be block cut at once.

Next we remove the pattern pieces and grab some iron-on fusible interfacing that’s large enough for our block-cut of fabric. The side with the glue should feel slightly rough or have a sheen or shine to it.

We then lay the interfacing (glue side down!) onto the wrong side of the block cut fabric.
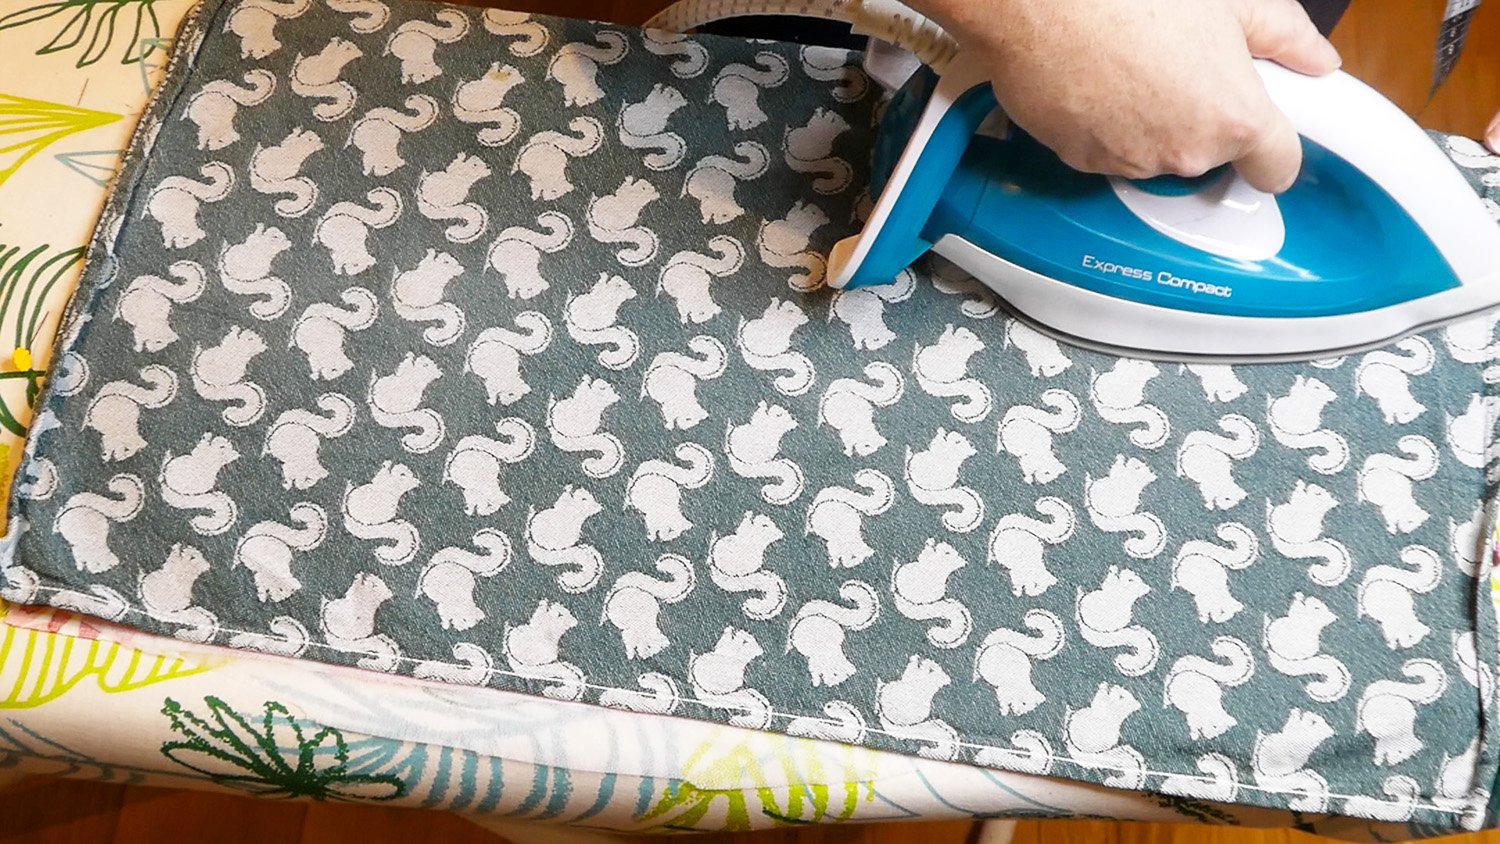
Place a clean tea-towel over the interfacing and press with the iron set to a steam setting on the highest temperature suitable for your fabric, count to to four then lift the iron off the tea towel and place it down next to the area you just pressed. Work in this way methodically across the whole piece of fabric.

Now we’ve got a block cut piece of fabric with interfacing applied to the wrong side.

Next, re-pin your pattern pieces to the interfaced side of the fabric. In this example, we’ve also folded it, right sides together, as we have pieces that require cutting on the fold.

Then we cut out the pieces as normal.

And now we have some perfectly interfaced fabric pieces, with interfacing applied neatly right up to the edge, with no misalignment and no distortion of the fabric. Easy!
The only real downside of this technique is that is uses a bit more interfacing and the fabric scraps will have that interfacing applied to them, but that’s a relatively small price to pay for the accuracy and cleaner results.
Hopefully this will help you achieve better results for yourself and make applying interfacing just that little bit easier.
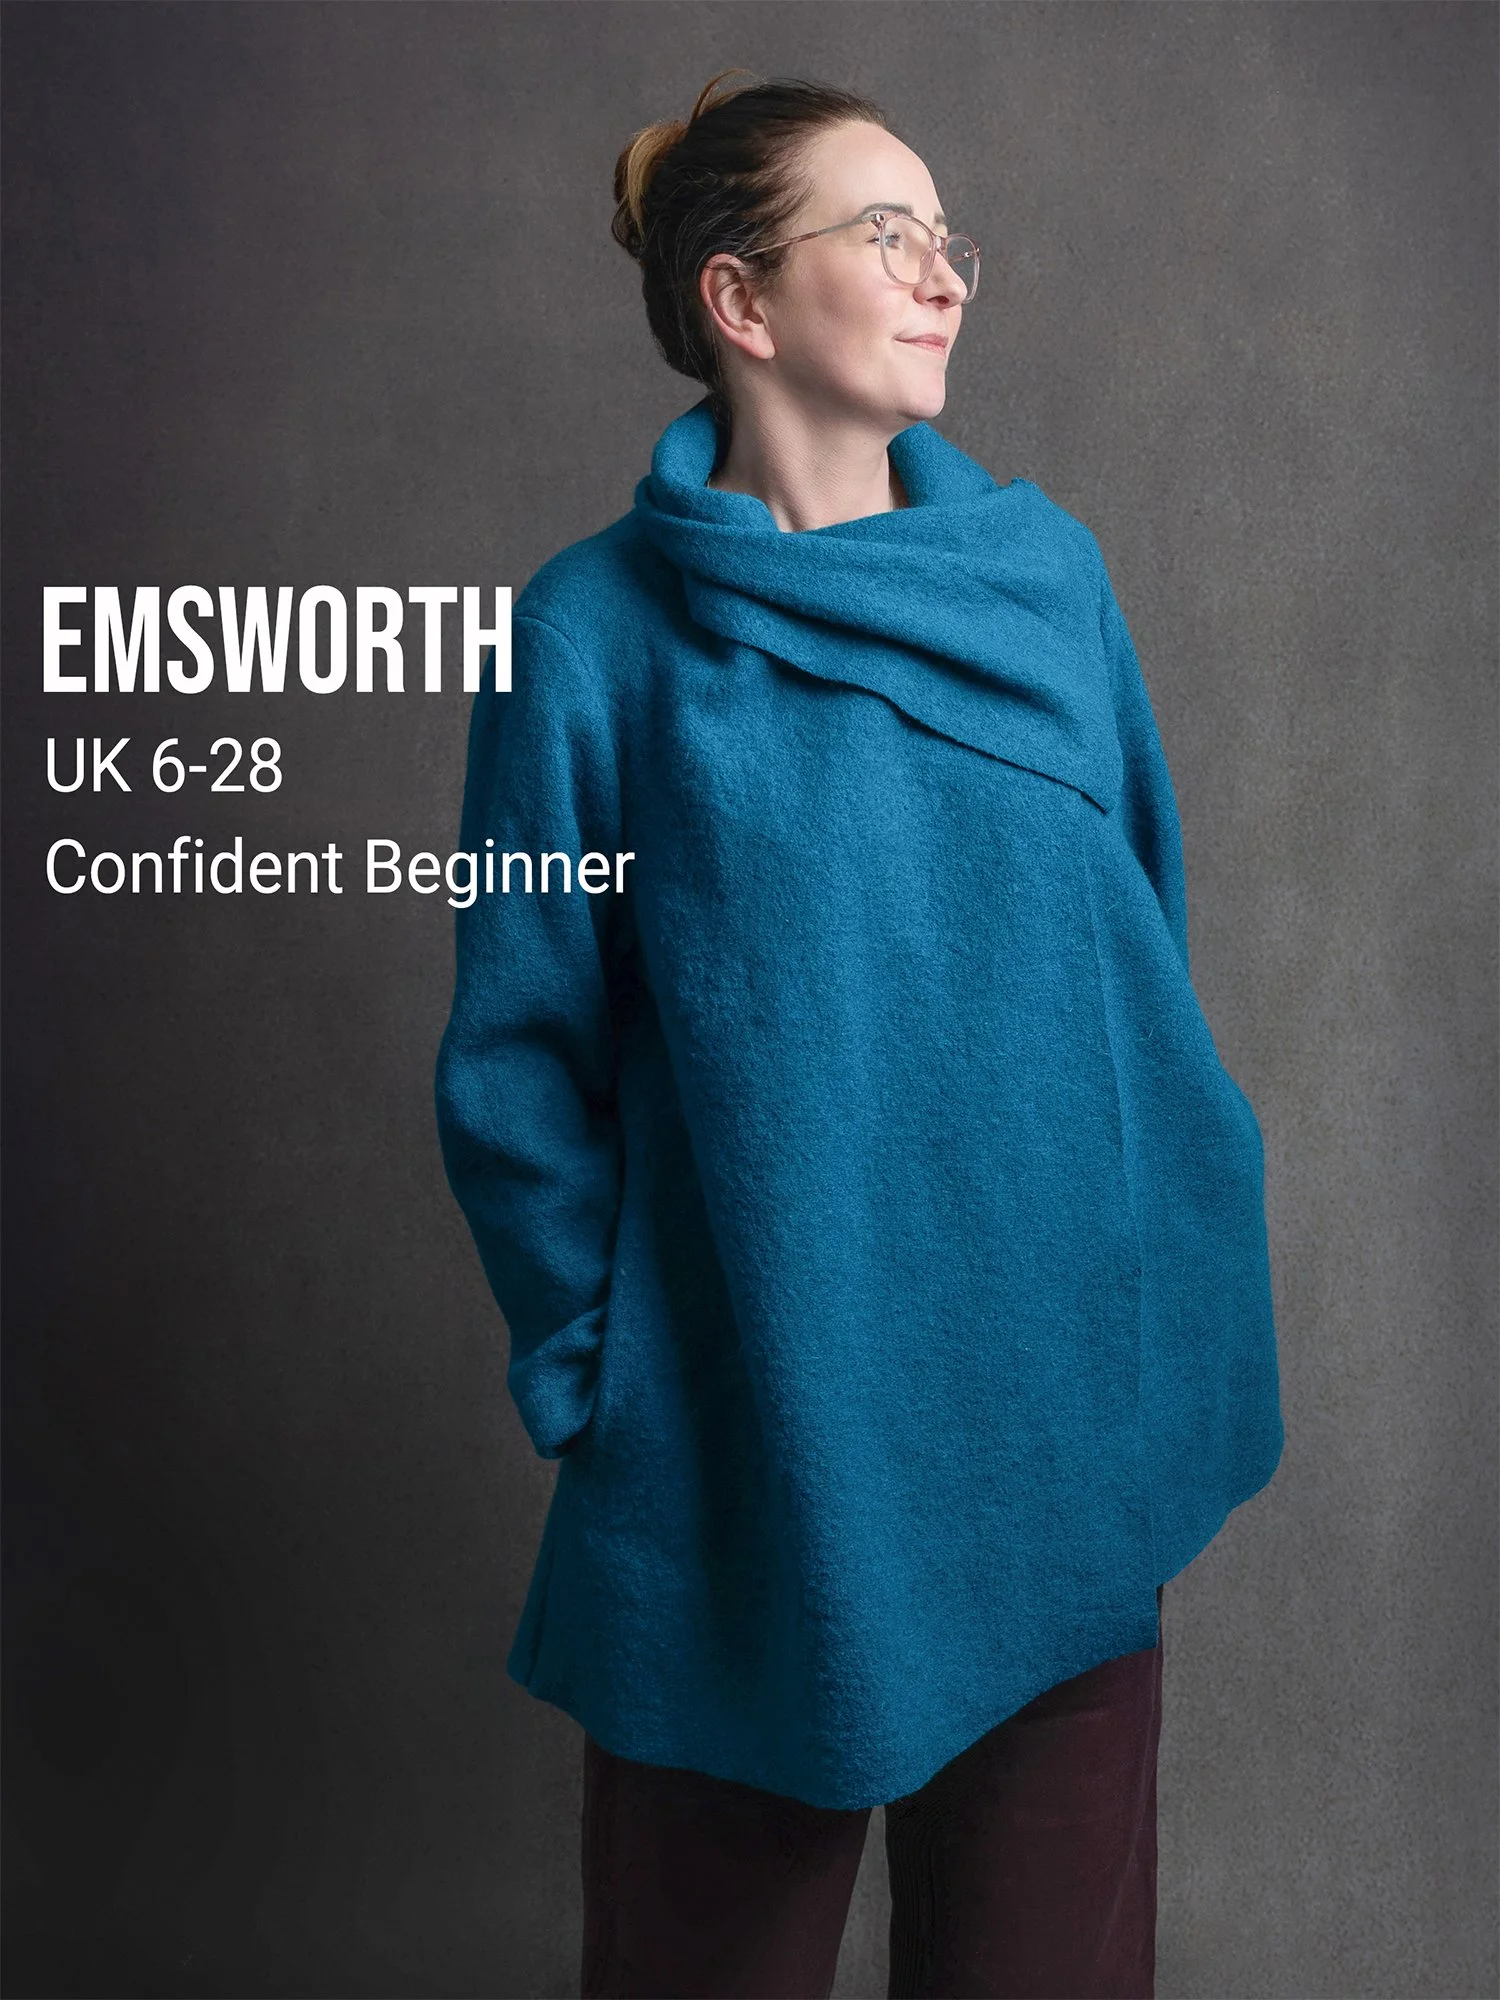
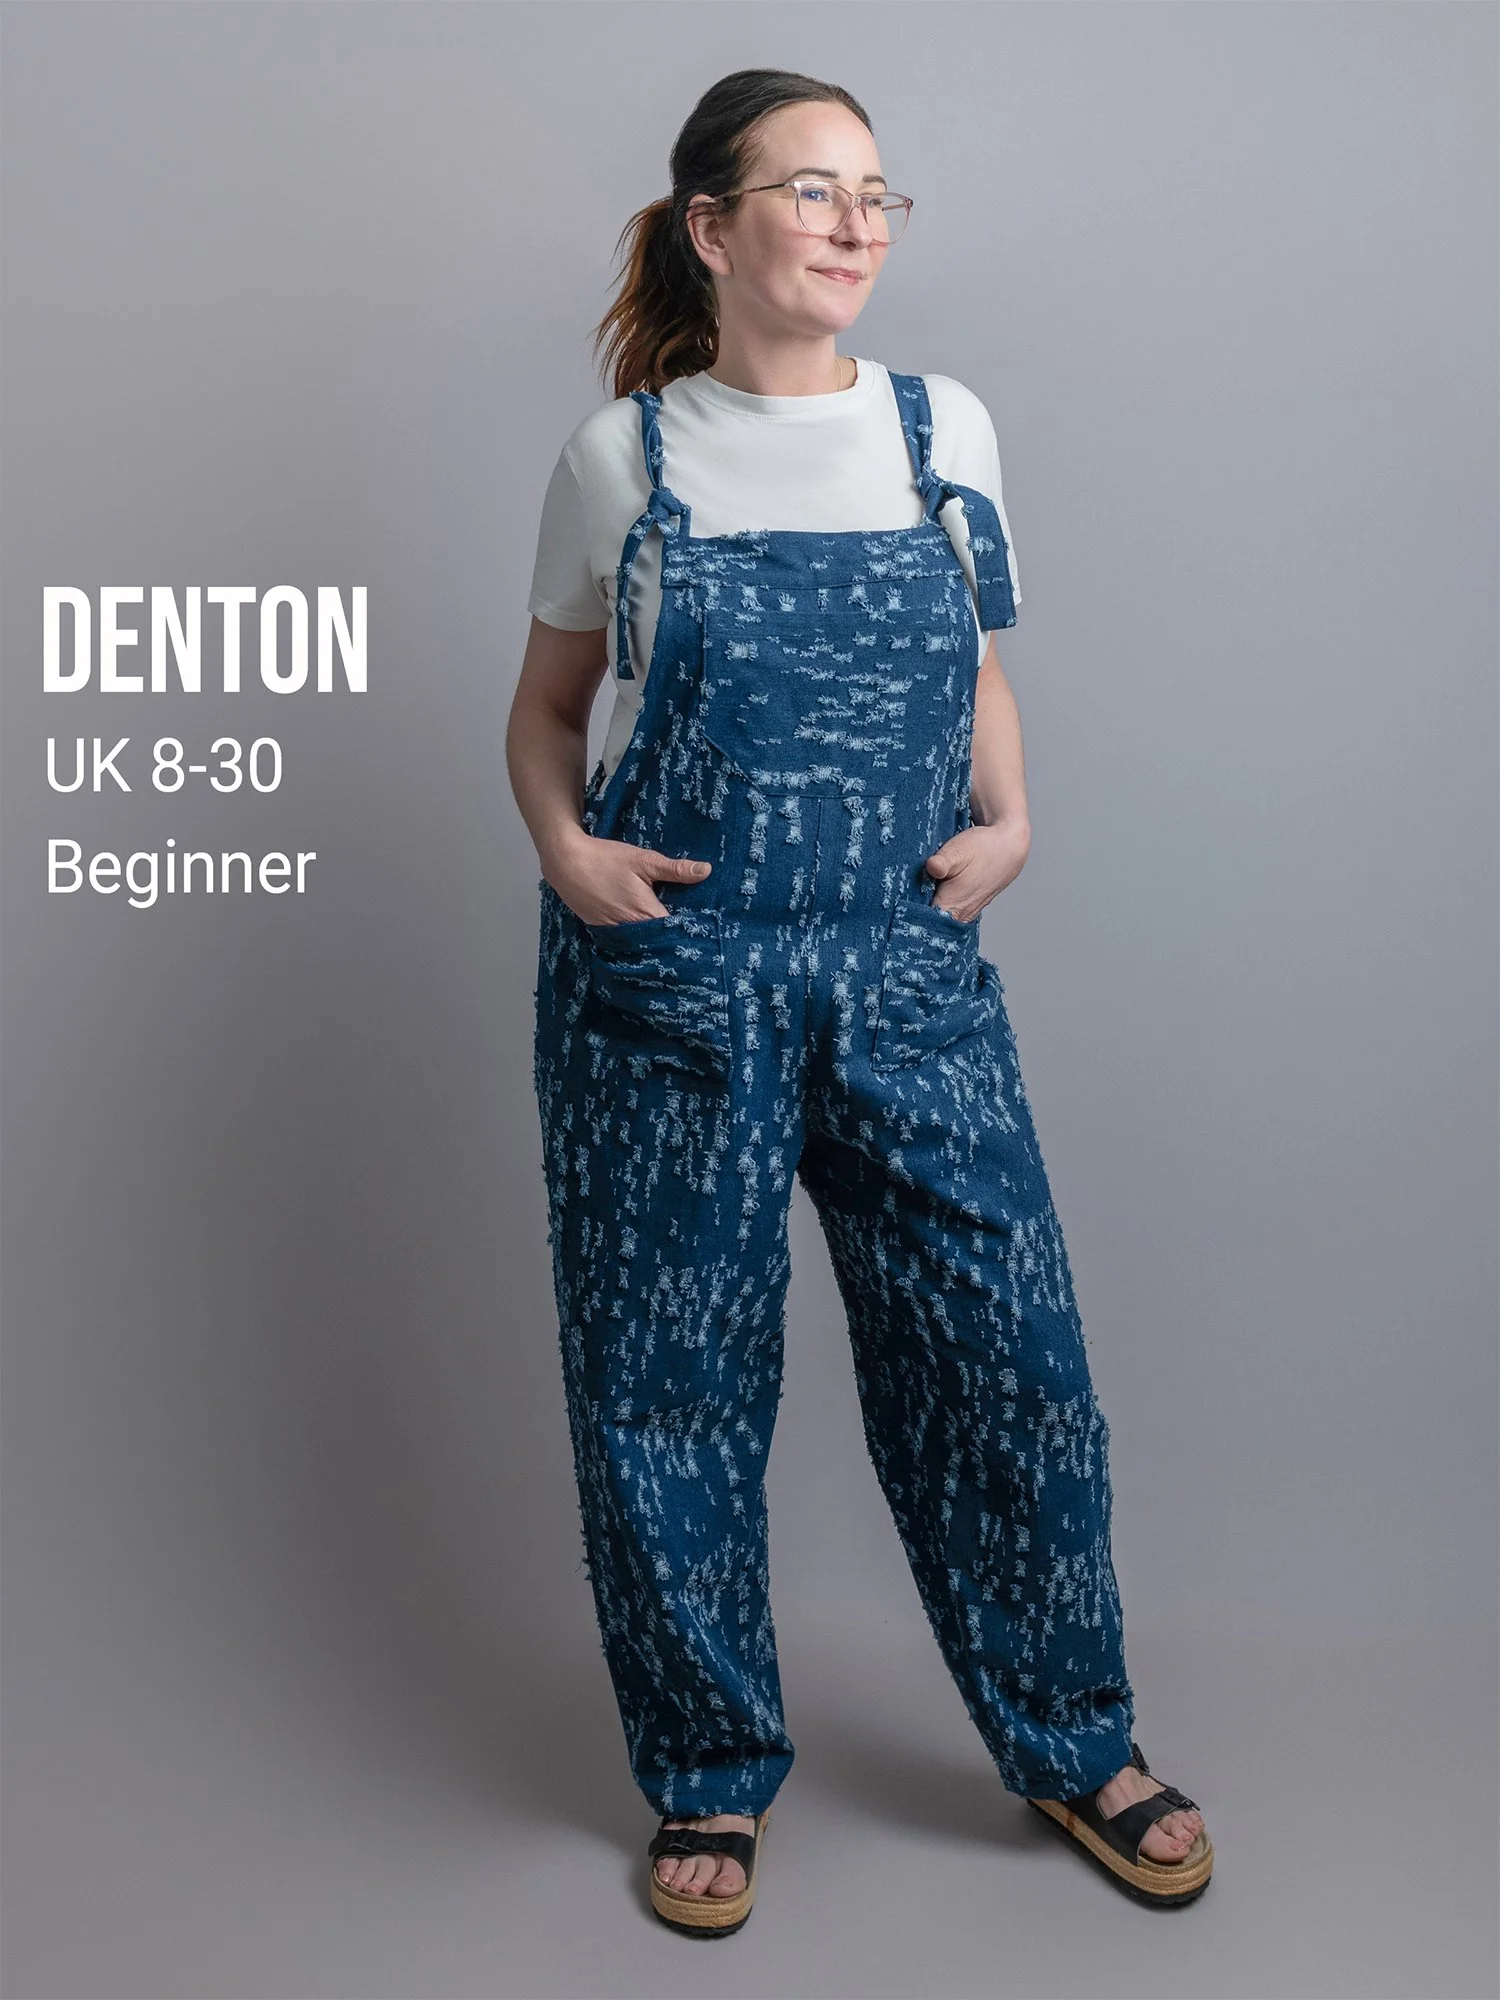
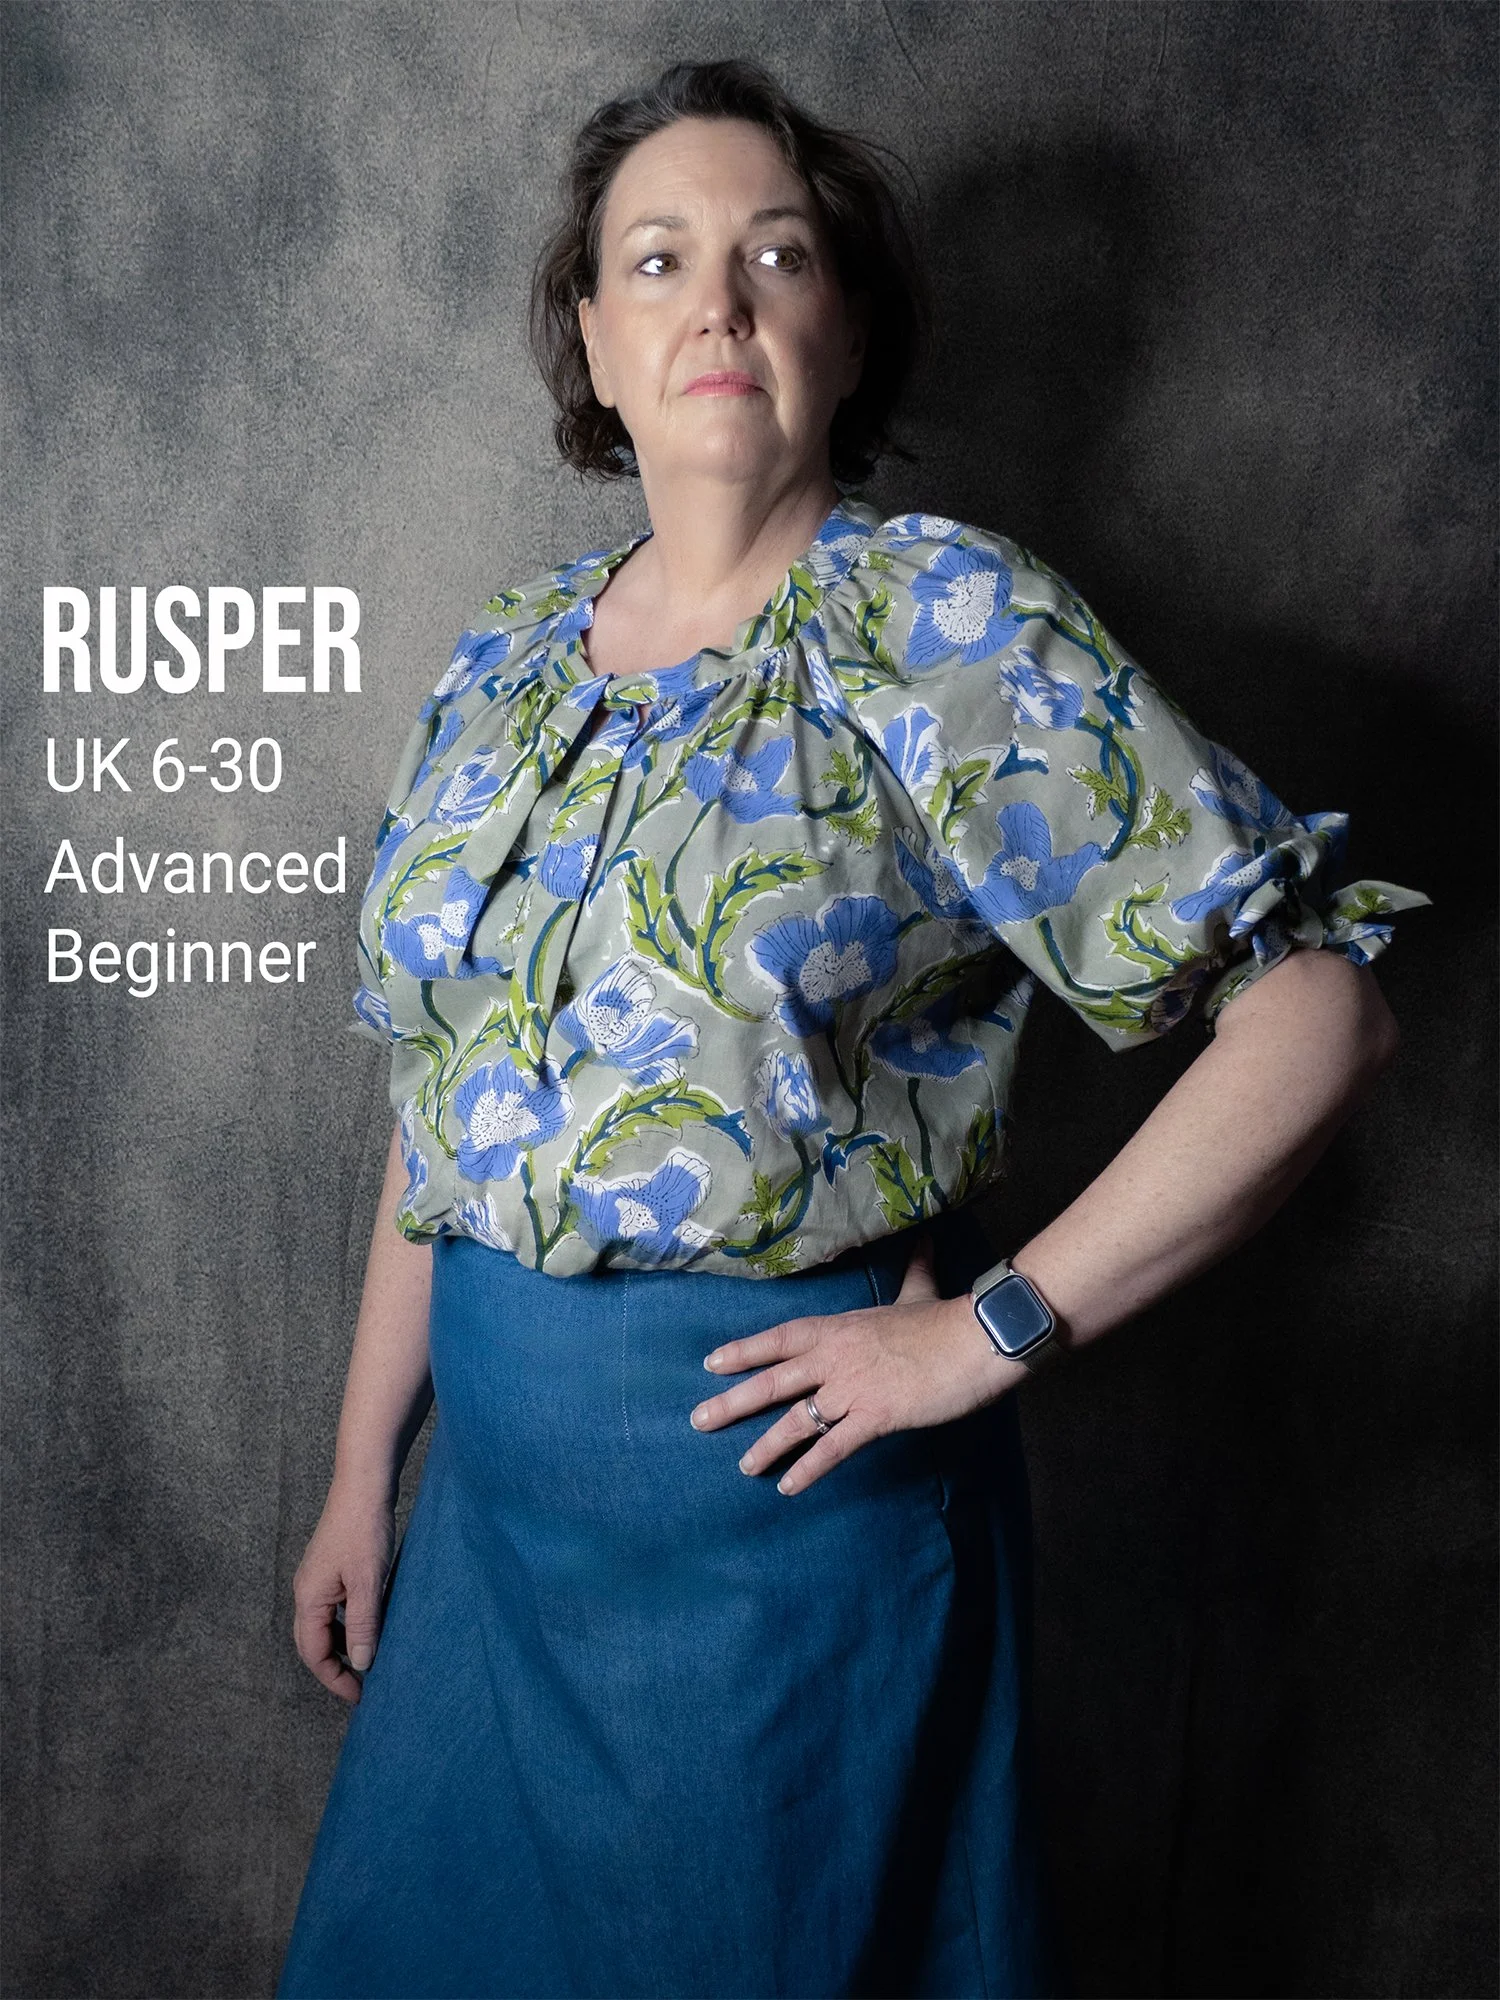
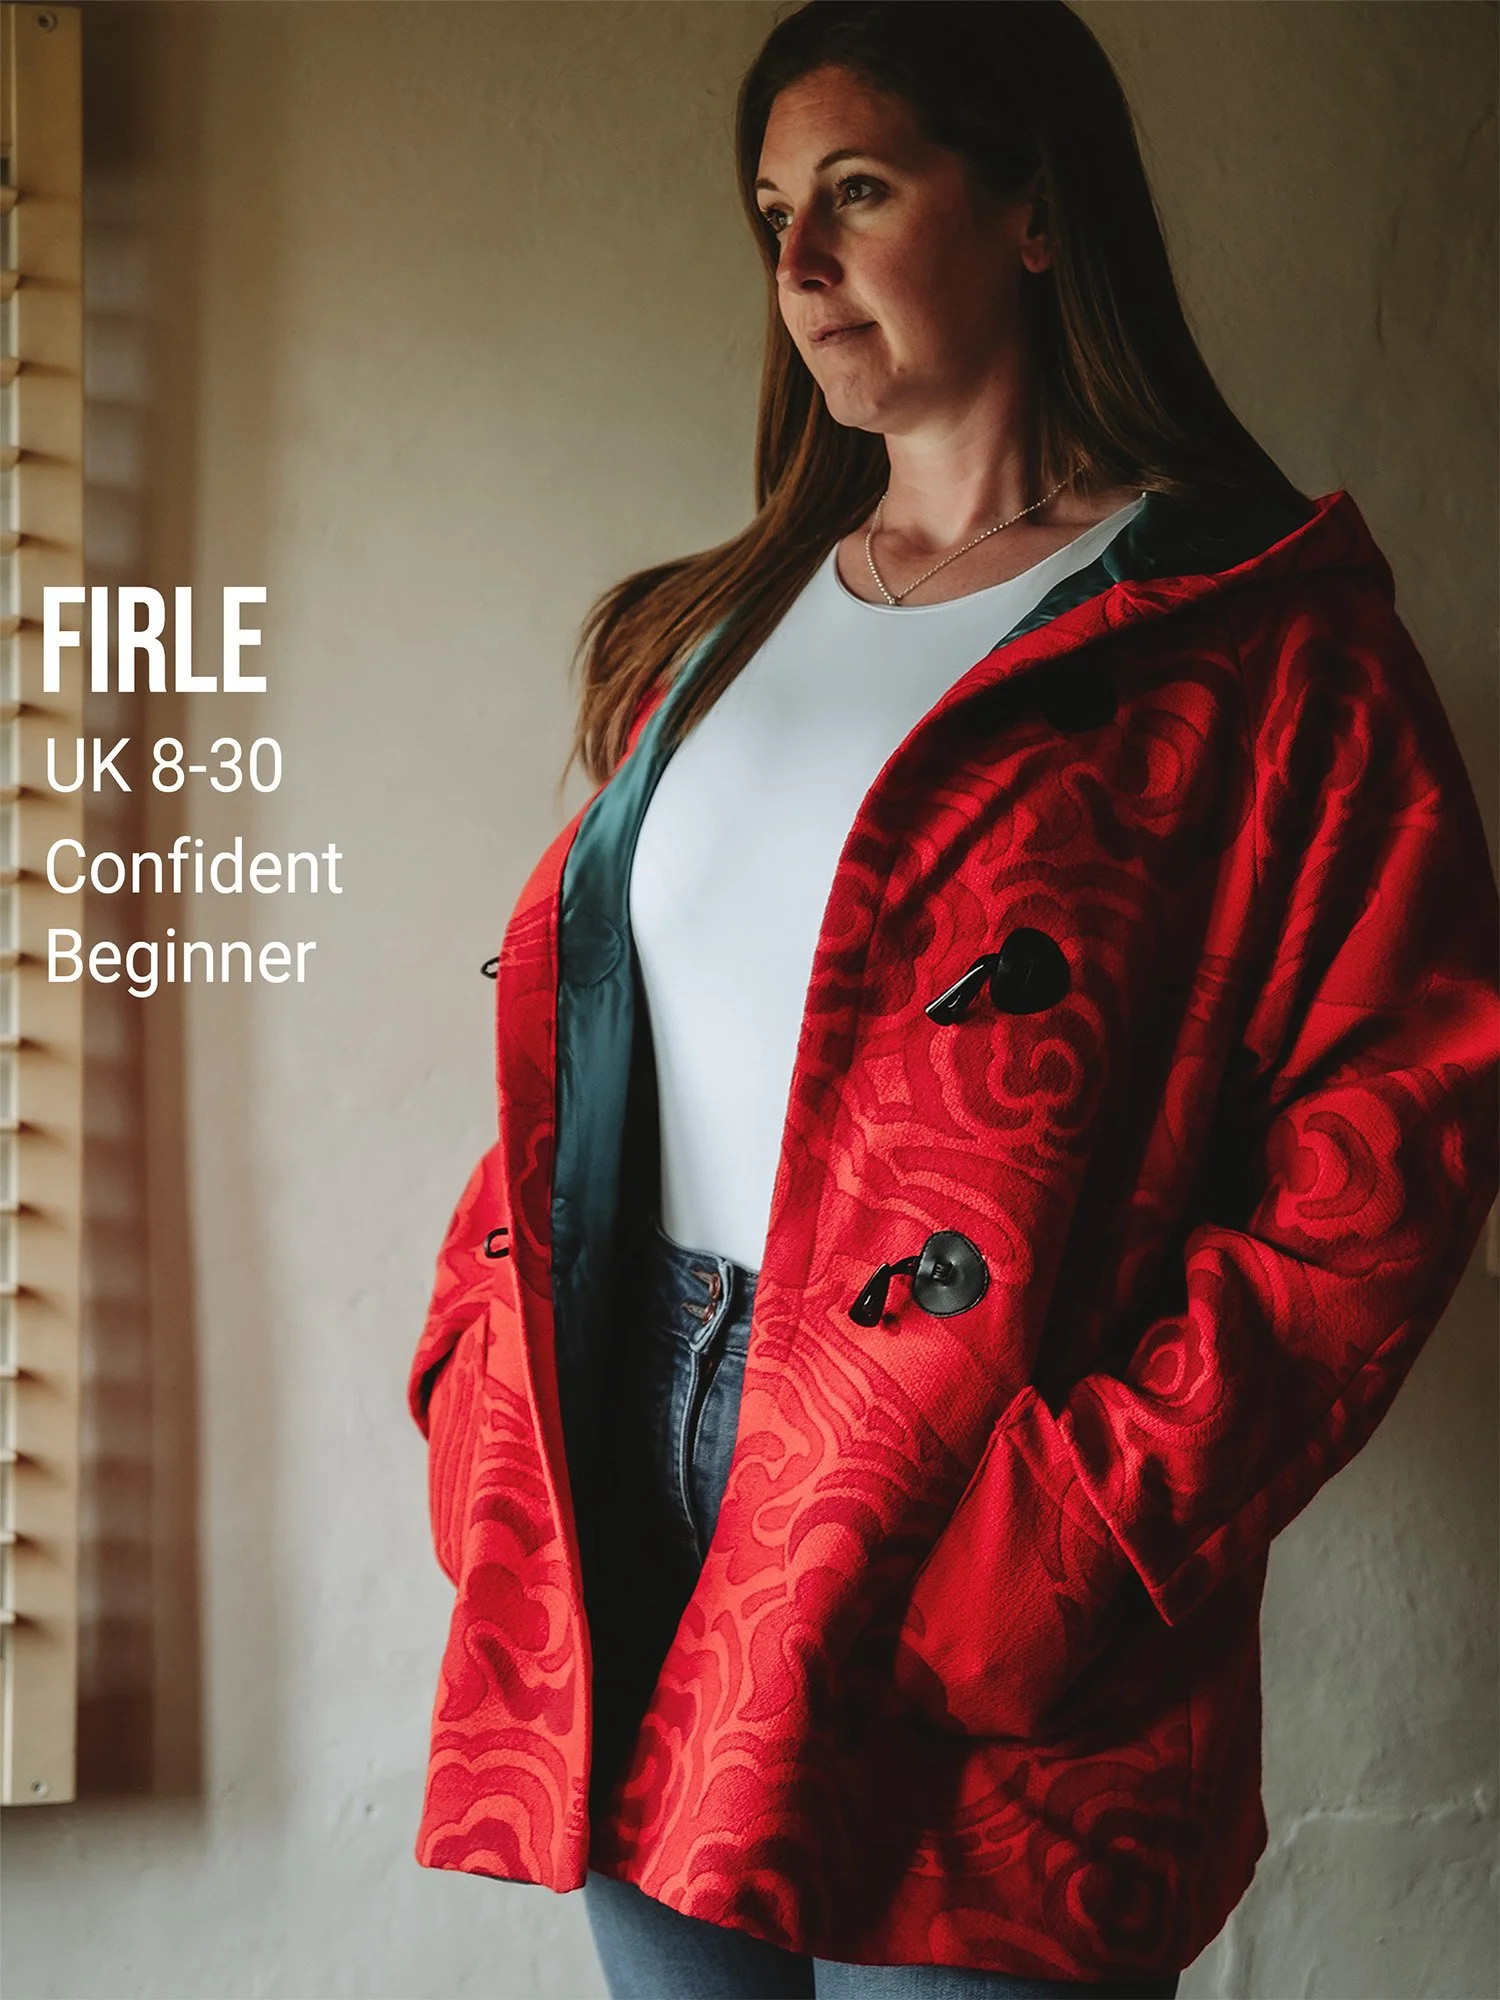
For more tips like this, all of our dressmaking patterns come with their own tutorial video that takes you through all steps of construction. You do not need to purchase a pattern to watch these. Some of our recent patterns are shown below, or check them out in our store.





Sussex Seamstress is an independent pattern maker, based in Sussex, UK.
While you’re here, why not take a look at my range of sewing patterns for women?
The Broadwaters are classic culottes that combine the feminine silhouette of a skirt with the practicality of wide-legged trousers. They feature a flattering shaped front waistband with an elasticated back for pull on-and-off comfort and easy fitting. The deep front and back pleats add drape without adding bulk over the tummy area; while the generous slanted pockets provide everyday functionality.
This pattern is also available as part of a full kit with pattern, fabric and notions. You can find it on the kit page.
Sizing
UK: 6 - 30.
US: 2-26. EU: 32-56.
Suggested Fabrics
Make up in a Needlecord, 8oz Denim, Gaberdine or medium weigh wool / wool mix for the cooler months. A Cotton Poplin, Linen or Linen mix will give a more structured silhouette in the warmer summer months; or go for a softer more draped effect with a viscose or cotton lawn.
Fabric Requirements
Fabric Width 140cm:
Up to Size 30: Directional = 3.5m, Non-Directional = 2.9m
Up to Size 22: Directional = 2.5m, Non-Directional = 2.2m
Up to Size 18: Directional/Non-Directional = 2.0m
Notions
• Waistband Elastic 3.5cm wide. Length = half your waist measurement + 2cm.
• Interfacing 12cm strip for front waistband. Optional 20cmx1cm strips to stabalise pocket opening.
Skill Level
Confident Beginner
Format
This is a paper pattern, we aim to ship patterns within 1-2 working days.
If you would prefer a PDF digital download pattern you can order it here: Broadwater Culottes PDF Download
Want a 10% Discount? Join our mailing list