6 Common seams and how to sew them
UPDATE: You can down download a free printable Seams Guide Chart to accompany this post.
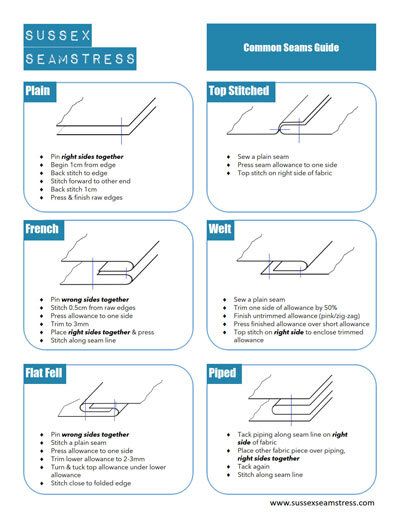
A Quick Guide to Sewing Seams. Click the image above to download a printable version.
An Introduction to Seams
When two pieces of fabric are joined by stitching them together, it creates what is known as a seam. There are many different types of seam from the basic plain seam to the fancy French seam.
Each has its own virtues and specific uses but often it comes down to a style choice.
So let’s take a look at 6 common seam types and how to sew them. If you’d like to know more about the basics of dressmaking, including more details on seam allowances and seam finishing, then also read our post on Dressmaking for Complete Beginners.
how to sew a Plain Seam

A plain seam cross section diagram. The blue line indicates where the stitching passes through the fabric.

A plain seam, right side and wrong side. In this example, finished with pinking.
The main function of all seam types is to hold 2 pieces of a garment together. The simplest type of seam is the plain seam. To sew a plain seam, first pin the edges of the two fabric pieces, with right sides together, in order to hold them in place. If you place your pins at right angles to the seam line (points toward the seam allowance), then most sewing machines will stitch over them. This basic process of aligning the fabric pieces & pinning applies to all seams.
To stitch, begin about 1cm from the end, backstitch to the end, and then stitch forward along the seam line, finally securing the seam by backstitching at the other end. Be careful when stitching not to distort the fabric, and keep the edges nicely aligned.
Press the seam open & finish the raw edges, either with an overlocker or a zig-zag stitch.
how to sew a Top Stitched Seam

A single top stitched seam diagram.

A double top stitched seam cross section diagram

A single top stitched seam, right side and wrong side
We can turn a plain seam into something more decorative with top stitching. We can create either a top stitched or double top stitched seam. Your pattern will indicate which is required.
The benefit of the single top stitch is that it adds strength to your seam, whereas the double one does not.
For either type of top stitched seam, start by sewing a plain seam. Then, for a topstitched seam, press the seam to one side and topstitch at the desired distance from the seam on the right side of the fabric (see photo above).
For a double top stitched seam, press the seam open instead, and stitch on each side of the seam - again, on the right side of the fabric (see cross section diagram above)
You can often find top stitched seams on pockets and pleats.
HOW TO SEW A Welt Seam

A welt seam cross section diagram

A welt seam, right side and wrong side
Another decorative seam is the welt seam. Used for thicker fabrics, it’s stronger than a plain seam and less bulky than a flat-fell seam. It’s especially useful in fabrics prone to fraying.
Start by stitching a plain seam. Then trim one side of the seam allowance down by around 50%. We don’t need to finish this side because in a moment we we are going to hide it away! Pink, zig-zag or overlock the other seam allowance. This is the only side that is going to show.
Press all the seam allowance to one side, such that the fished seam allowance covers the trimmed, unfinished seam allowance. Top stitch on the right side of the fabric such that the stitch passes through the finished seam allowance, enclosing the unfinished side.
There’s also a double version of this seam, though it gives a similar look as the flat-fell, which we’ll look at later.
HOW TO SEW A French Seam

A French seam cross section diagram

A French seam, right side and wrong side
French seams sound fancy (they are French, after all), but they are actually quite easy to do.
They are mainly used when the fabric is too delicate to finish any other way or when the fabric is sheer and the seam will show through, e.g. chiffon & cotton lawn.
Unlike most seams, start a French seam by pinning the wrong sides of the fabric pieces together. Stitch 0.5cm from the raw edges (where there is a 1cm seam allowance), press the allowance to one side and trim to 3mm.
Now place the right sides together and press along the stitched seam. Finally, stitch along the seam line. This will enclose the raw edges, so they are nicely tucked away.
If you want to see the whole process, my Tillington Top pattern page has a free tutorial video that includes lots of French Seams, plus tips on pressing.
HOw TO SEW A Flat-Fell Seam

A flat-fell seam cross section diagram

A flat-fell seam, right side and wrong side
A flat-fell seam is a strong, sturdy seam found in garments like jeans and sportswear.
As with the French seam, start a flat-fell by placing the fabric pieces wrong side together. Now stitch a plain seam and press the seam allowance to one side. Trim the lower seam allowance to just a few mm. Then turn under the edge of the top seam allowance and tuck it under the trimmed seam allowance (see the cross section diagram above if you are confused).
If your fabric isn’t too bulky, you can then machine stitch close to the folded edge, otherwise you may need to slip stitch the fold in place.
HOW TO SEW A Piped Seam

A piped seam cross section diagram

A piped seam, right side and wrong side
Finally, the piped seam. This is often used for necklines as it gives a nice smooth line. It’s also found in soft furnishing, cushions, etc.
Simply tack piping along the seam line on the right side of one of the fabric pieces. Then place the other piece of fabric over the piping, with the right sides of the fabric together and tack again. Finally, stitch along the seam line. Done!
Final SEAM SEWING Tips
Once you’ve finished stitching your seam, always press it. Pressing at every stage creates a professional, crisp finish.
Always press on the wrong side or inside of your garment. Pressing on the right side results in shine and the seam allowance showing through as an imprint - not pretty!
Usually seam allowance is left to give strength to your seam. If using a heavier weight fabric you should ‘grade’ your seam allowance by trimming one or both sides to reduce the bulk.
If your fabric choice has a tendency to fray you need to neaten the raw edges with an overlocker or set your sewing machine to a zig zag stitch to neaten. The zig zag should be wide enough and long enough to stop the fabric fraying. It’s always a good idea to have a few fabric scraps to hand to try out stitch lengths and widths before sewing your actual garment. Pinking shears are an option on lighter, closer weave fabrics but I don’t find it an effective way of neatening on the thicker, looser weaves.
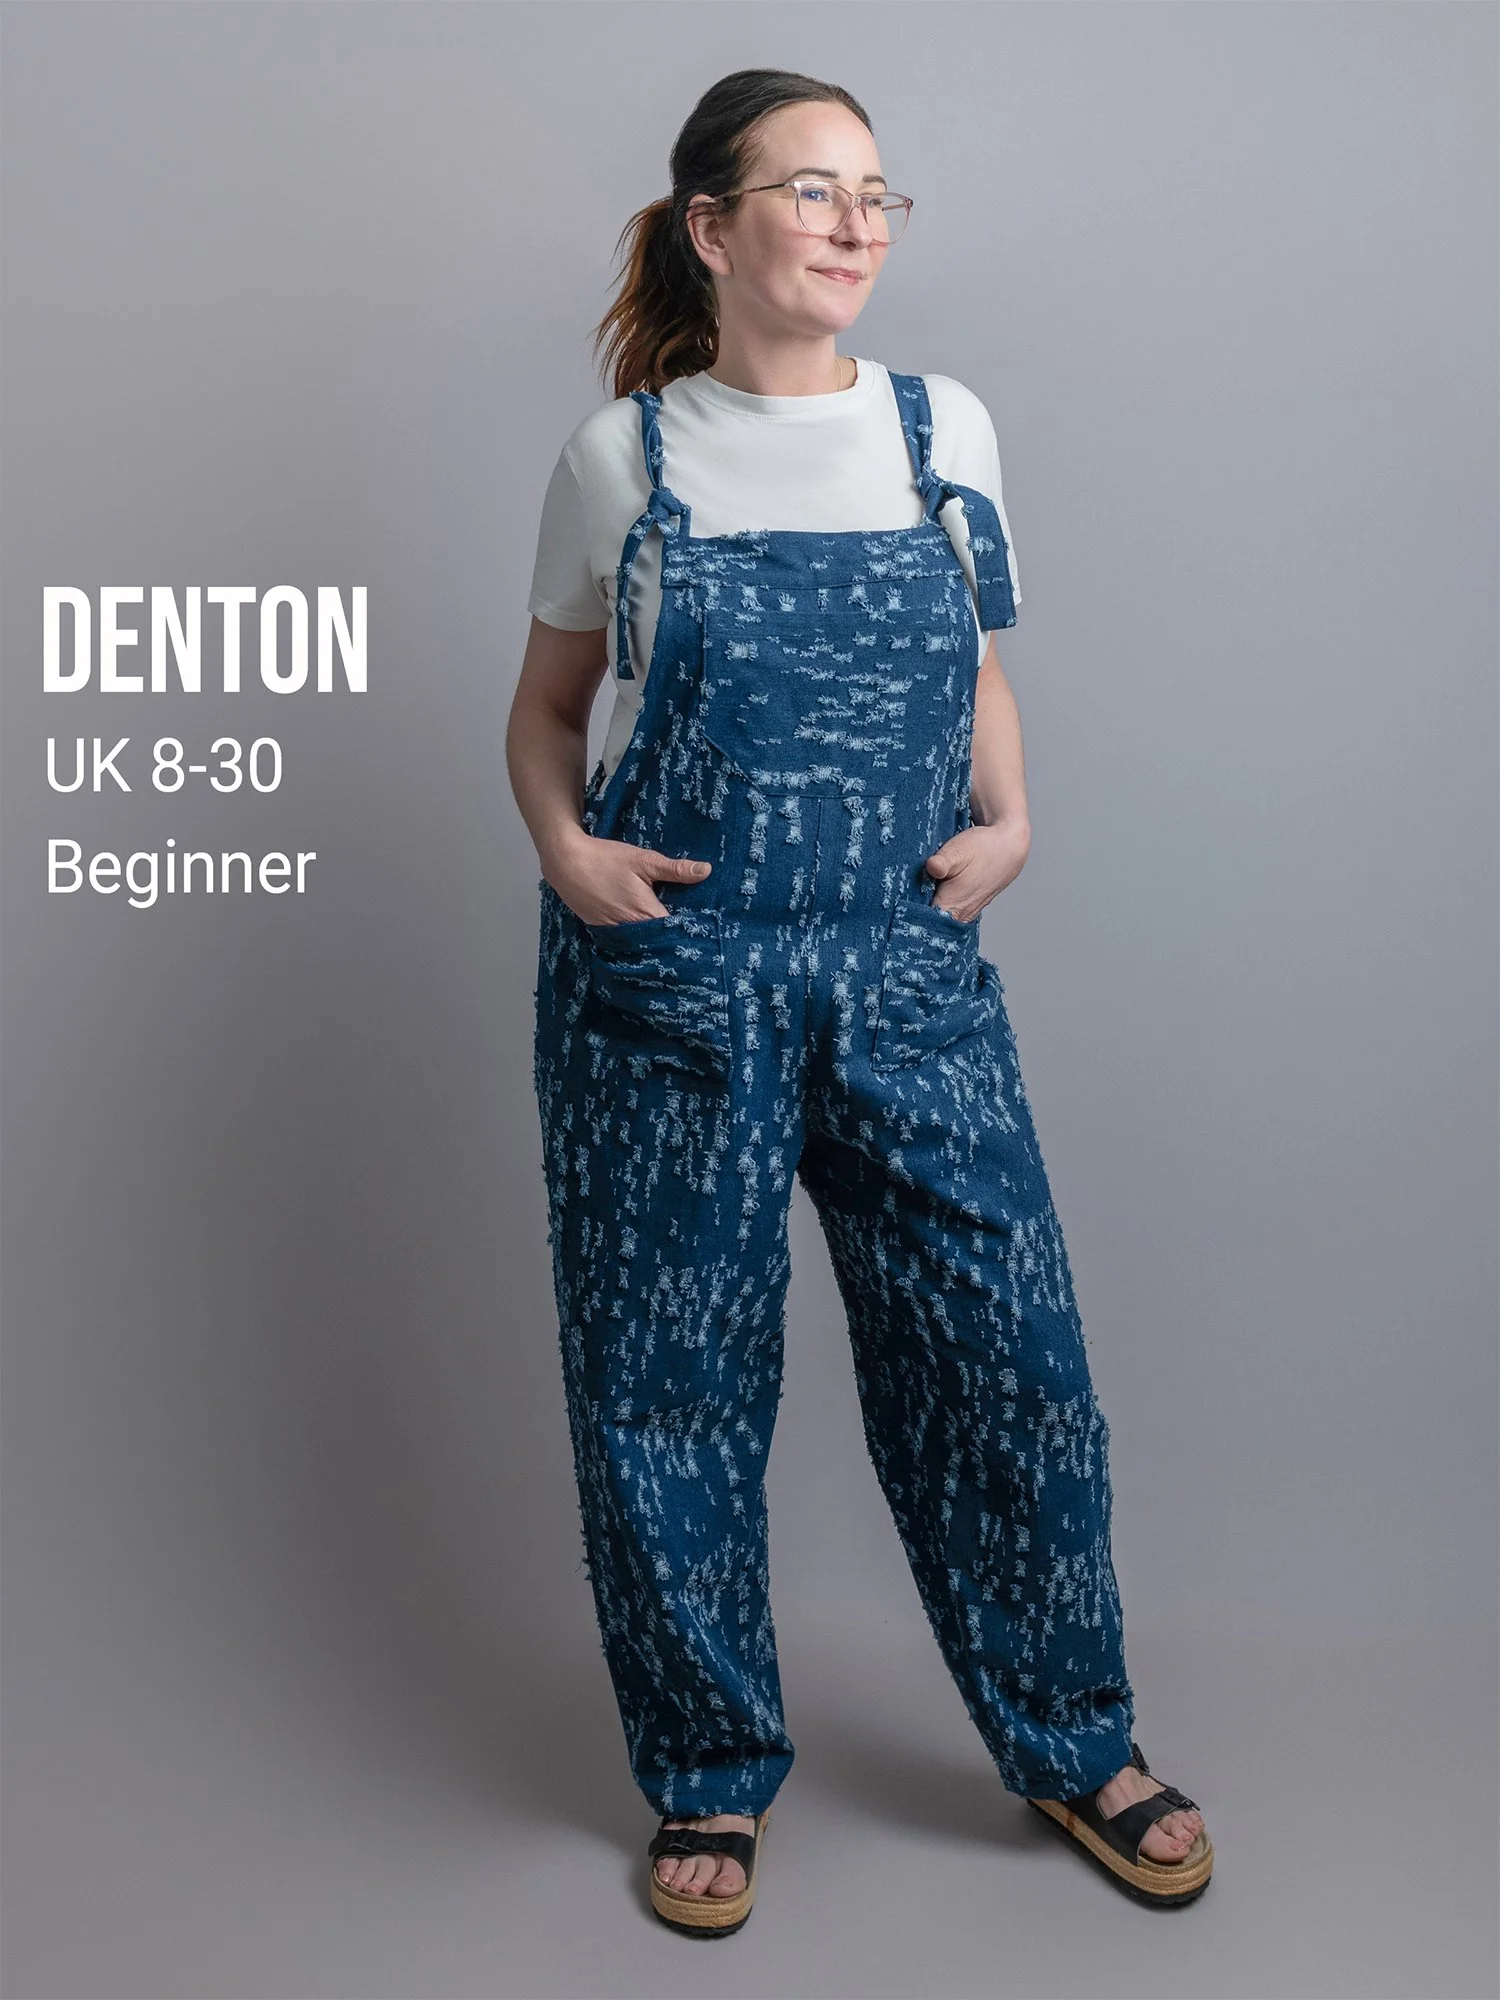
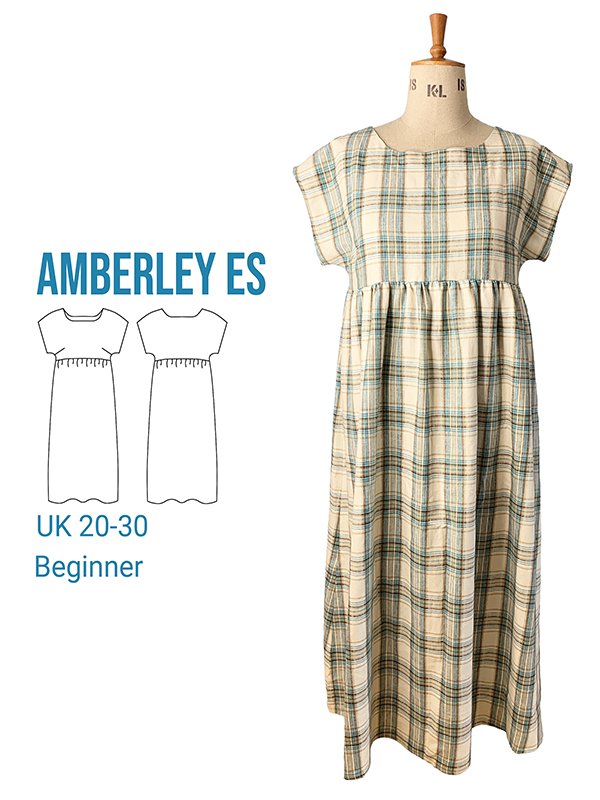
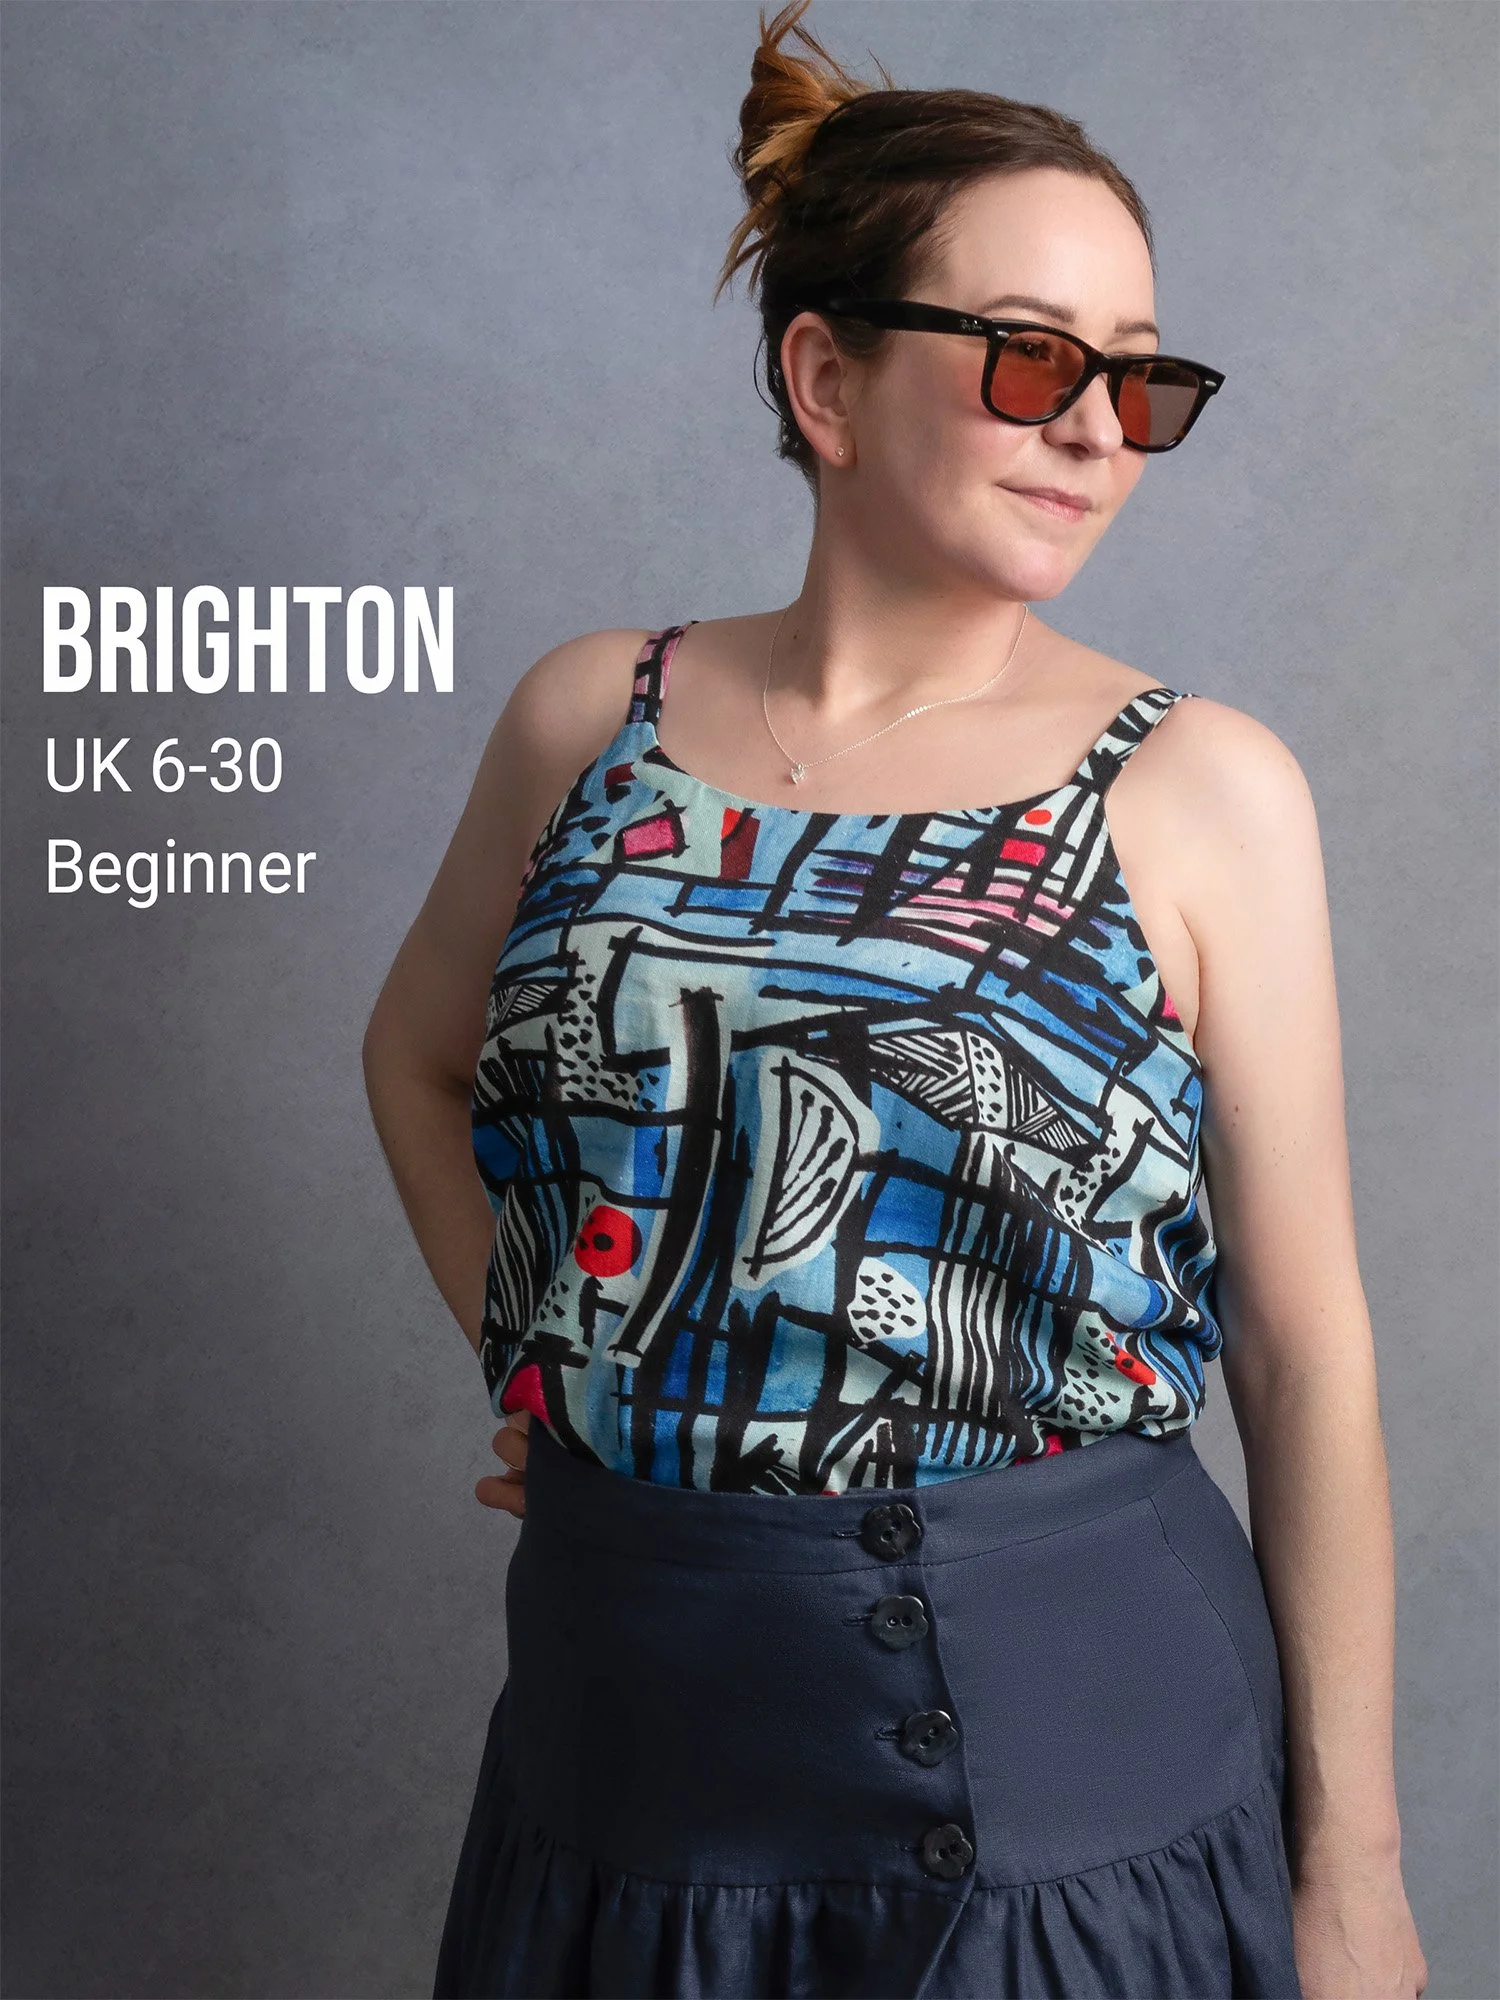
Our Dressmaking Patterns for Beginners

Sussex Seamstress is an independent pattern maker, based in Sussex, UK. A selection of our patterns suitable for beginners are shown below, with paper patterns, pdf downloads, and full sewing kits available. Each has it’s own YouTube Tutorial.